Initial Setup and Connection
Get started with the Agent Development Environment
The Agent Development Environment (ADE) is your gateway to building, testing, and monitoring stateful agents. This guide will help you access the ADE and connect it to your Letta server, whether it’s running locally or deployed remotely.
Accessing the ADE
Letta offers two ways to access the Agent Development Environment:
Cloud/Web ADE
The cloud-based ADE is available at https://app.letta.com. You can use the cloud-based ADE to connect to both Letta Cloud, and agents running on your own Letta deployments.
Key features of the cloud ADE:
- Works in any modern browser
- No local software installation required
- Automatically connects to local Letta servers
- Can connect to remote Letta servers with proper configuration
- Always up-to-date with the latest features
Letta Desktop
Letta Desktop provides an all-in-one solution that includes both the Letta server and the ADE in a single application.
Key features of Letta Desktop:
- Combines the Letta server and ADE in one application
- Automatically establishes connection between components
- Ideal for offline development (no internet connection required)
- Runs on Windows (x64) and macOS (M-series)
Letta Desktop is currently in beta and has known installation issues. If you are running into problems, please report your bug via our Discord, or try using the cloud/web ADE instead (which you can combine with a locally running Letta server).
Understanding Connection Types
If you’re using Letta Desktop, the ADE will automatically open and connect to localhost:8283
when you run the app, so you can skip the connection steps in this guide.
The ADE can connect to different types of Letta servers:
- Local Server: A Letta server running on your local machine (
localhost
) - Remote Server: A self-hosted Letta server running on a different machine or cloud service
- Letta Cloud: Letta’s managed cloud service for hosting agents
All connections use the Letta REST API to communicate between the ADE and the server, with appropriate security measures in place.
Connecting to a Local Server
Connecting to a local Letta server is the simplest setup and ideal for development:
- Start your Letta server using Docker
- Access the ADE by visiting https://app.letta.com
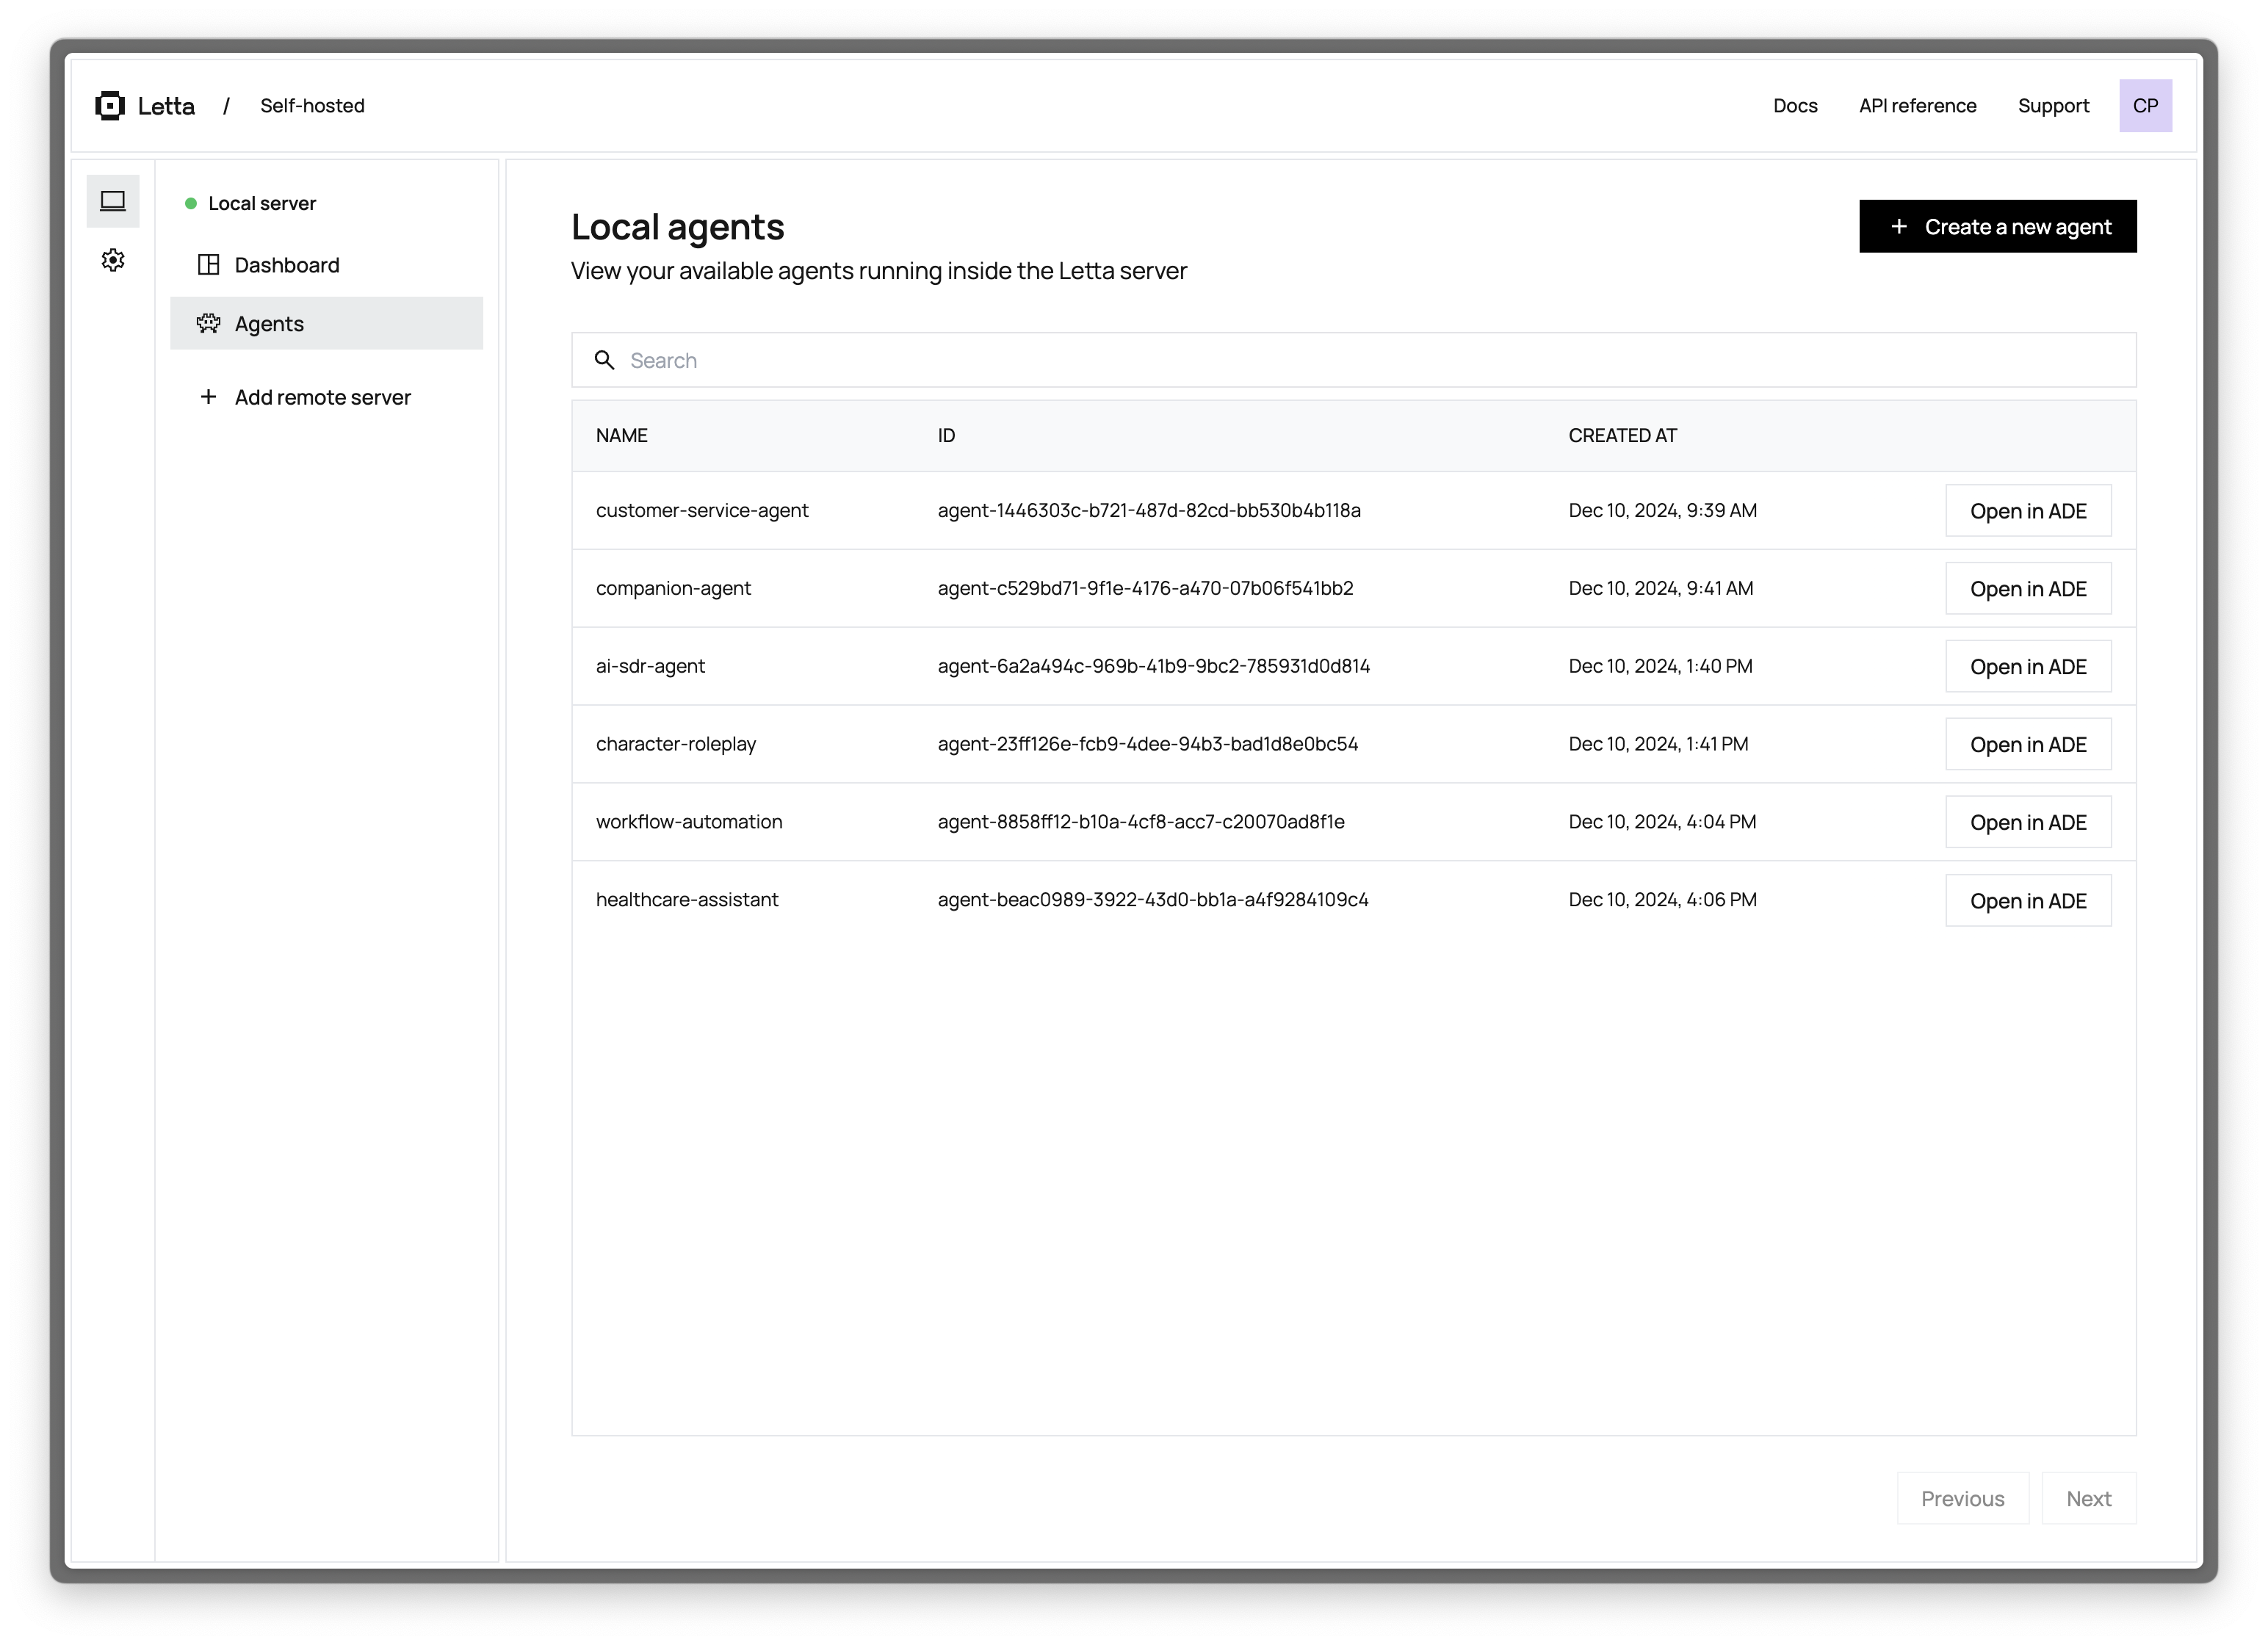
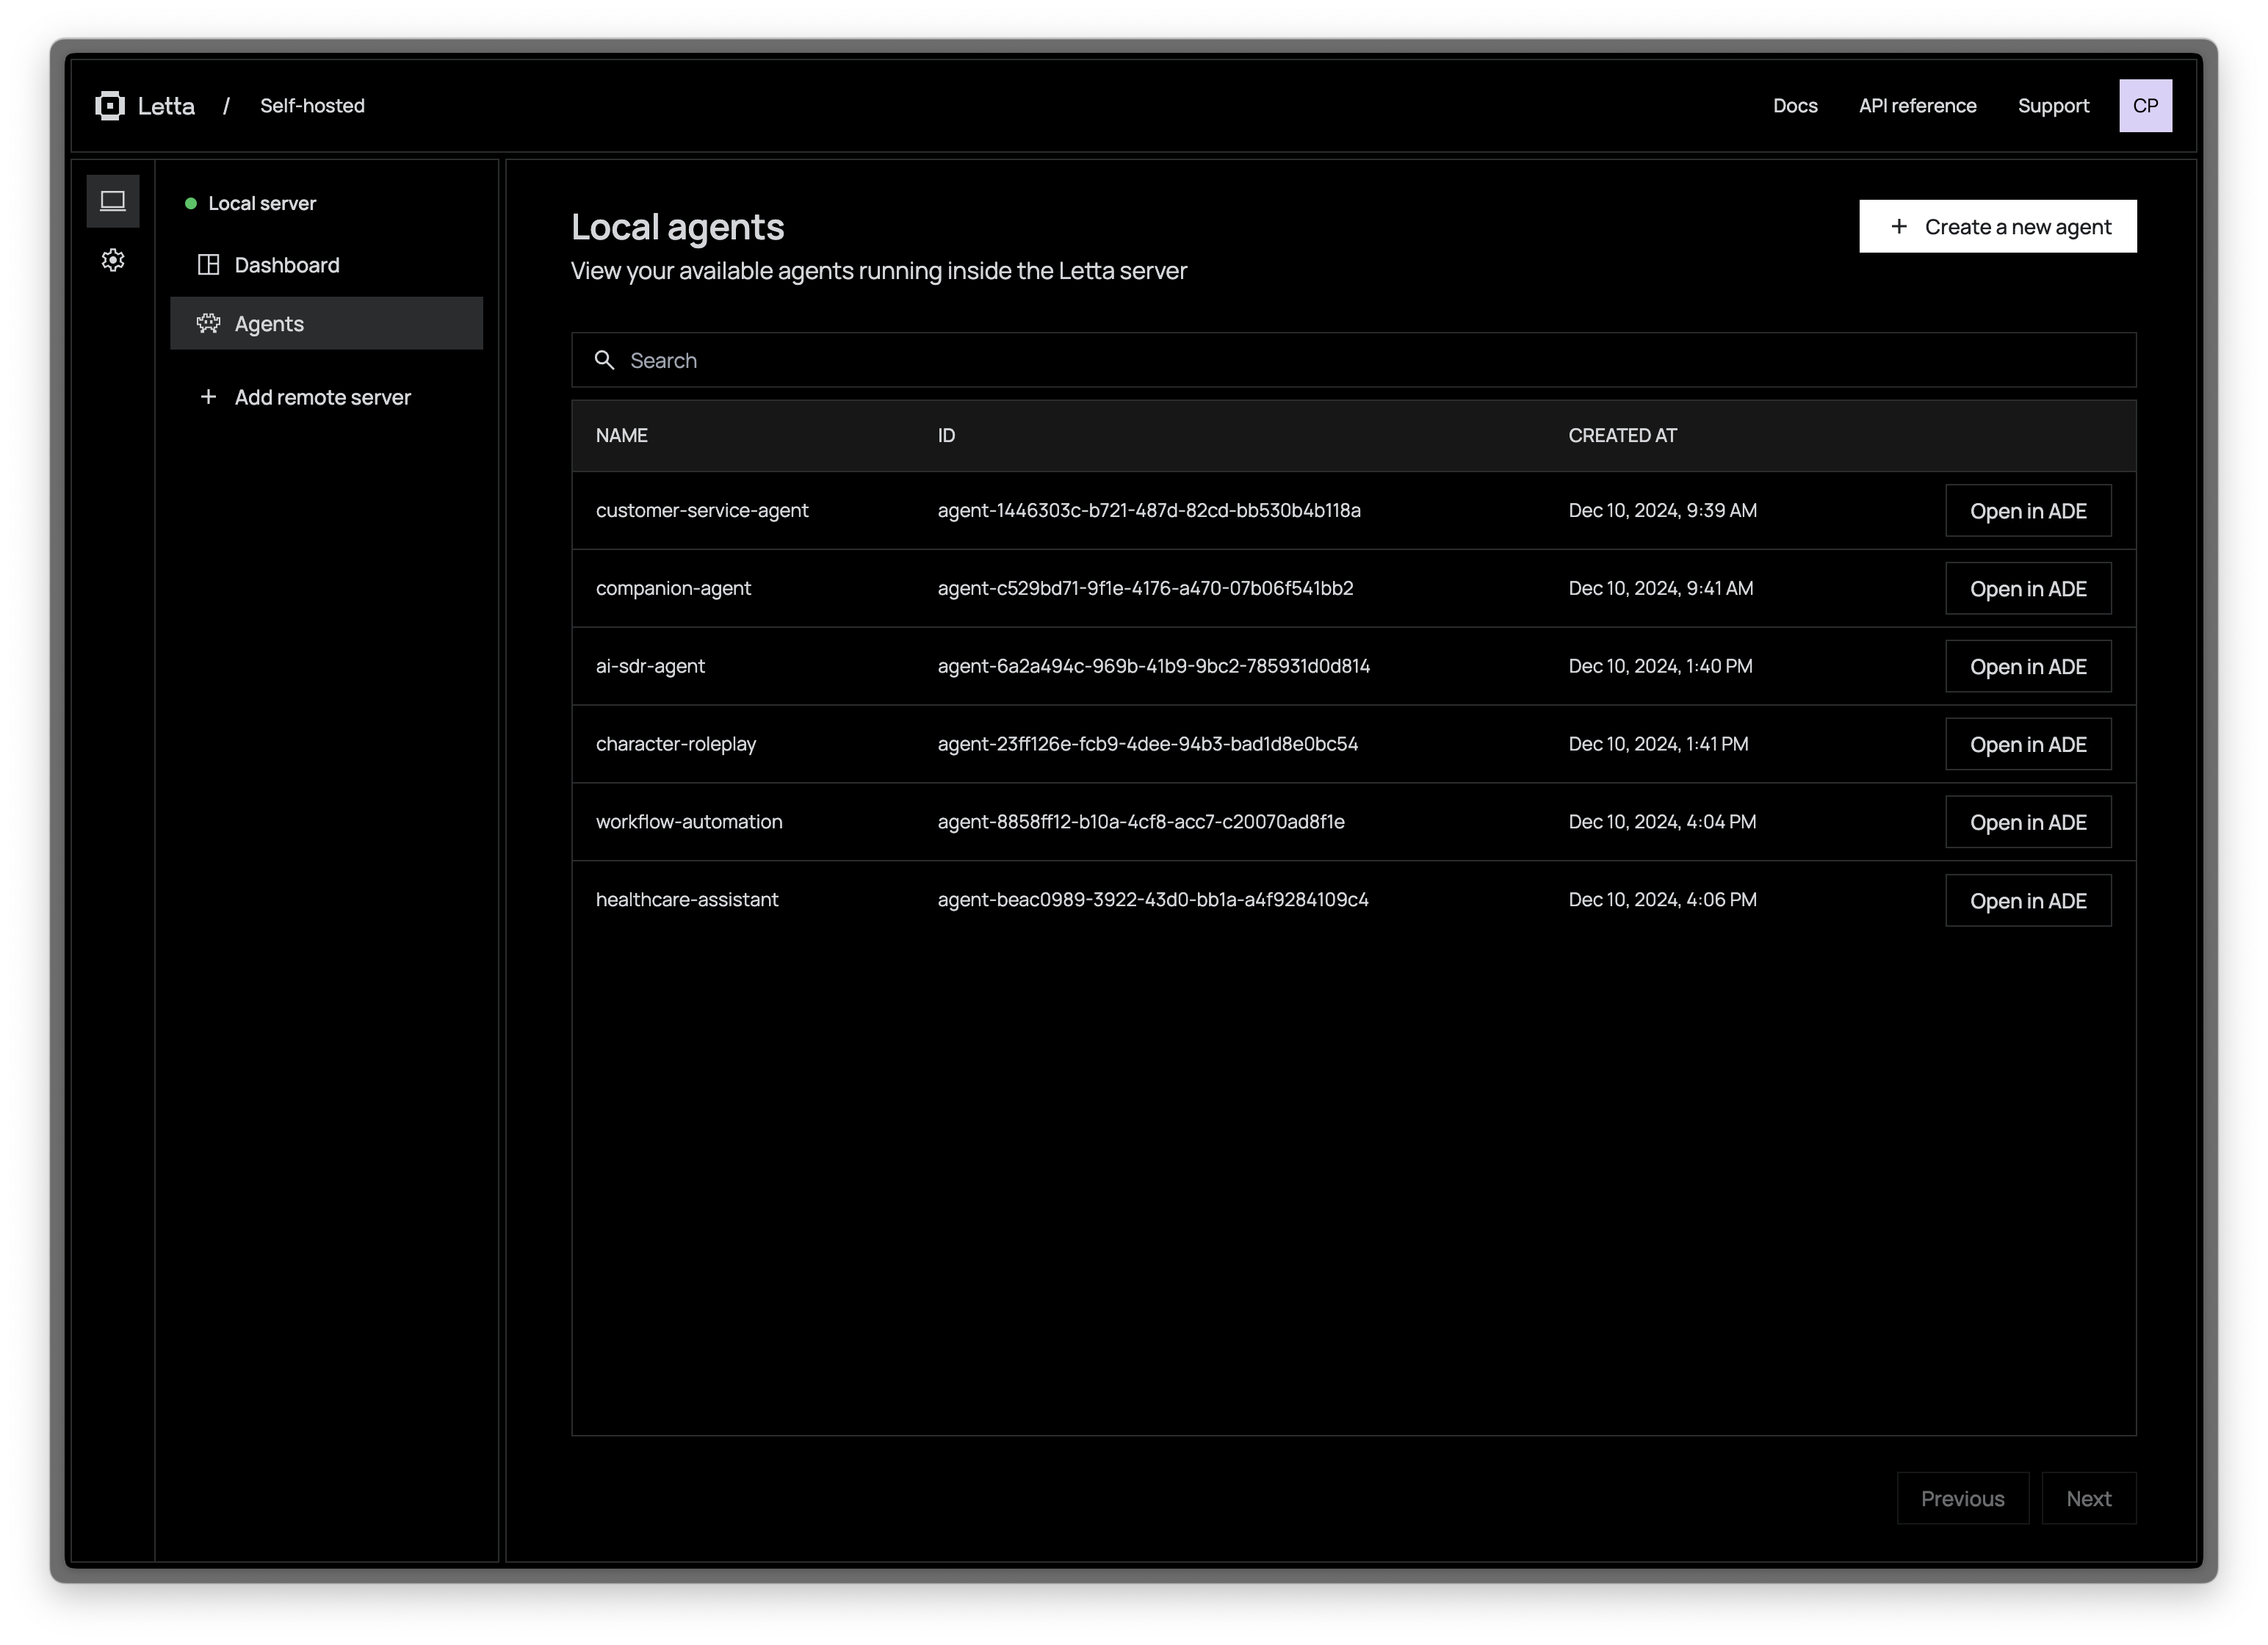
- Select “Local server” from the server list in the left panel
The ADE will automatically detect your local Letta server running on localhost:8283
and establish a connection.

Connecting to a Remote Server
For production environments or team collaboration, you may want to connect to a Letta server running on a remote machine:
The cloud/web ADE does not support connecting to http
(non-https
) IP addresses, except for localhost
.
For example, if your server is running on a home address like http://192.168.1.10:8283
, the ADE (when running on a browser on another device on the network) will not be able to connect to your server because it is not using https
.
For more information on setting up https
proxies, see the remote deployment guide.
To connect to a remote Letta server:
- Deploy your Letta server on your preferred hosting service (EC2, Railway, etc.)
- Ensure HTTPS access is configured for your server
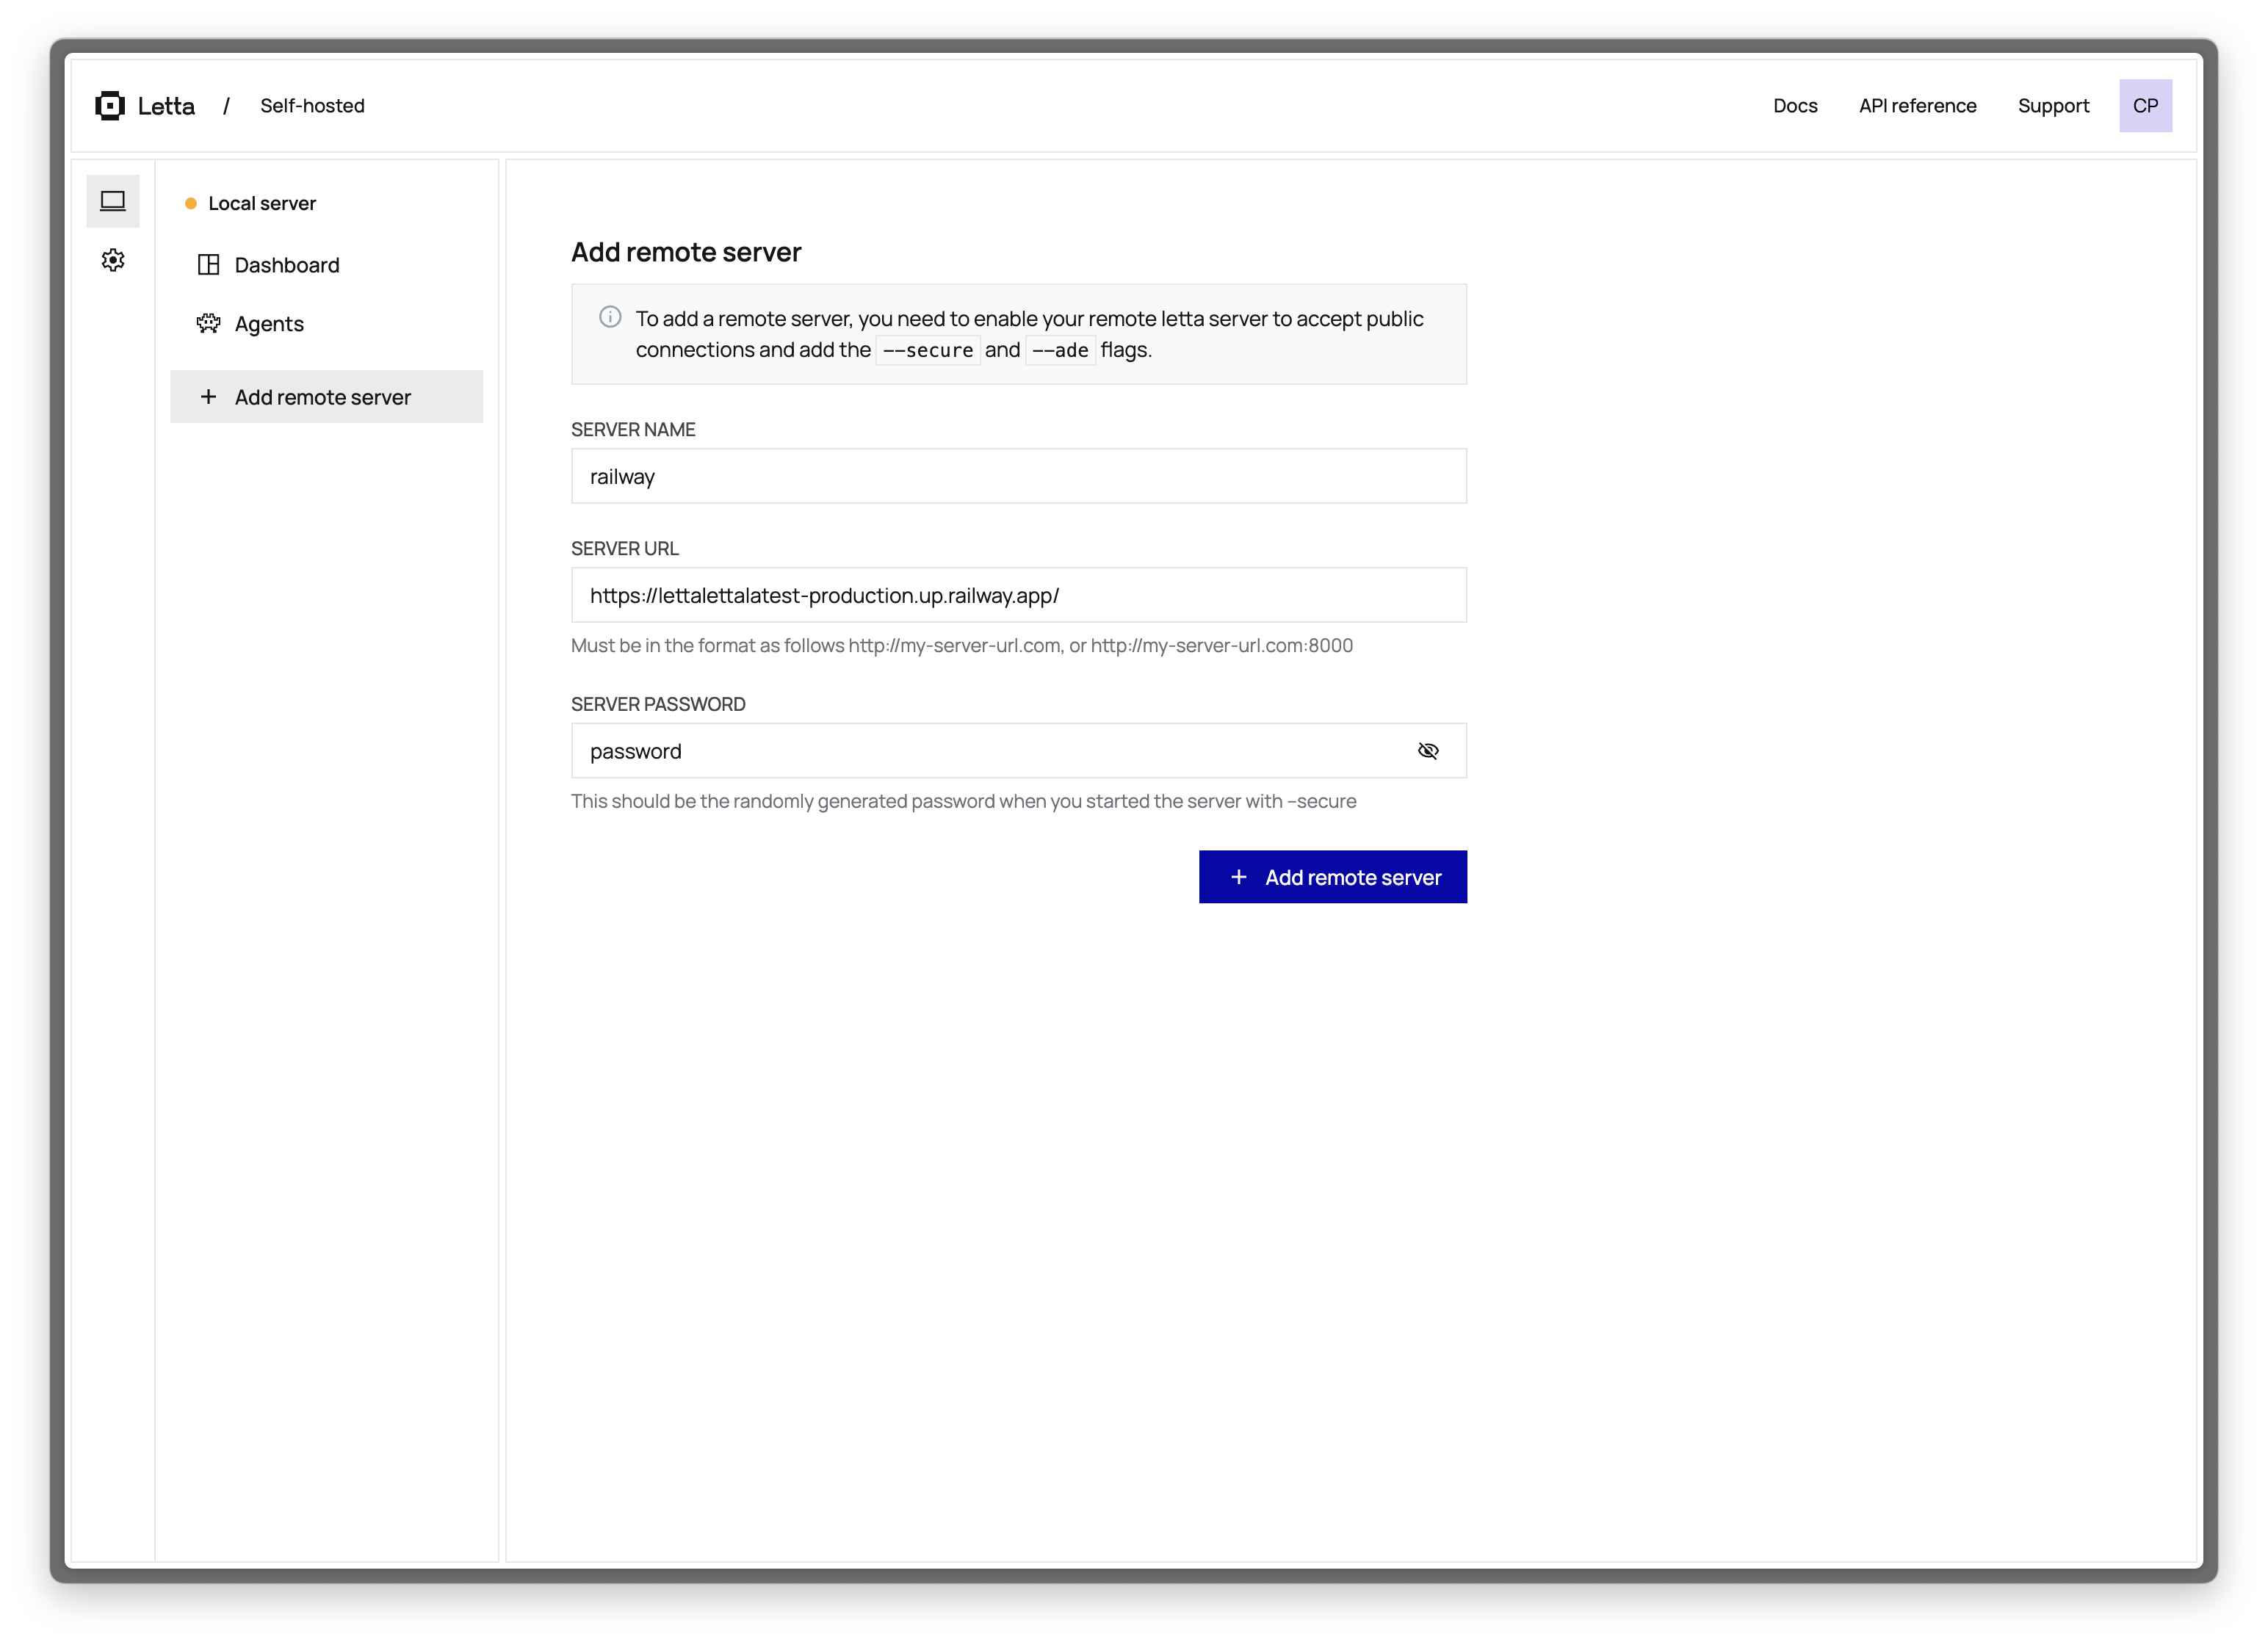
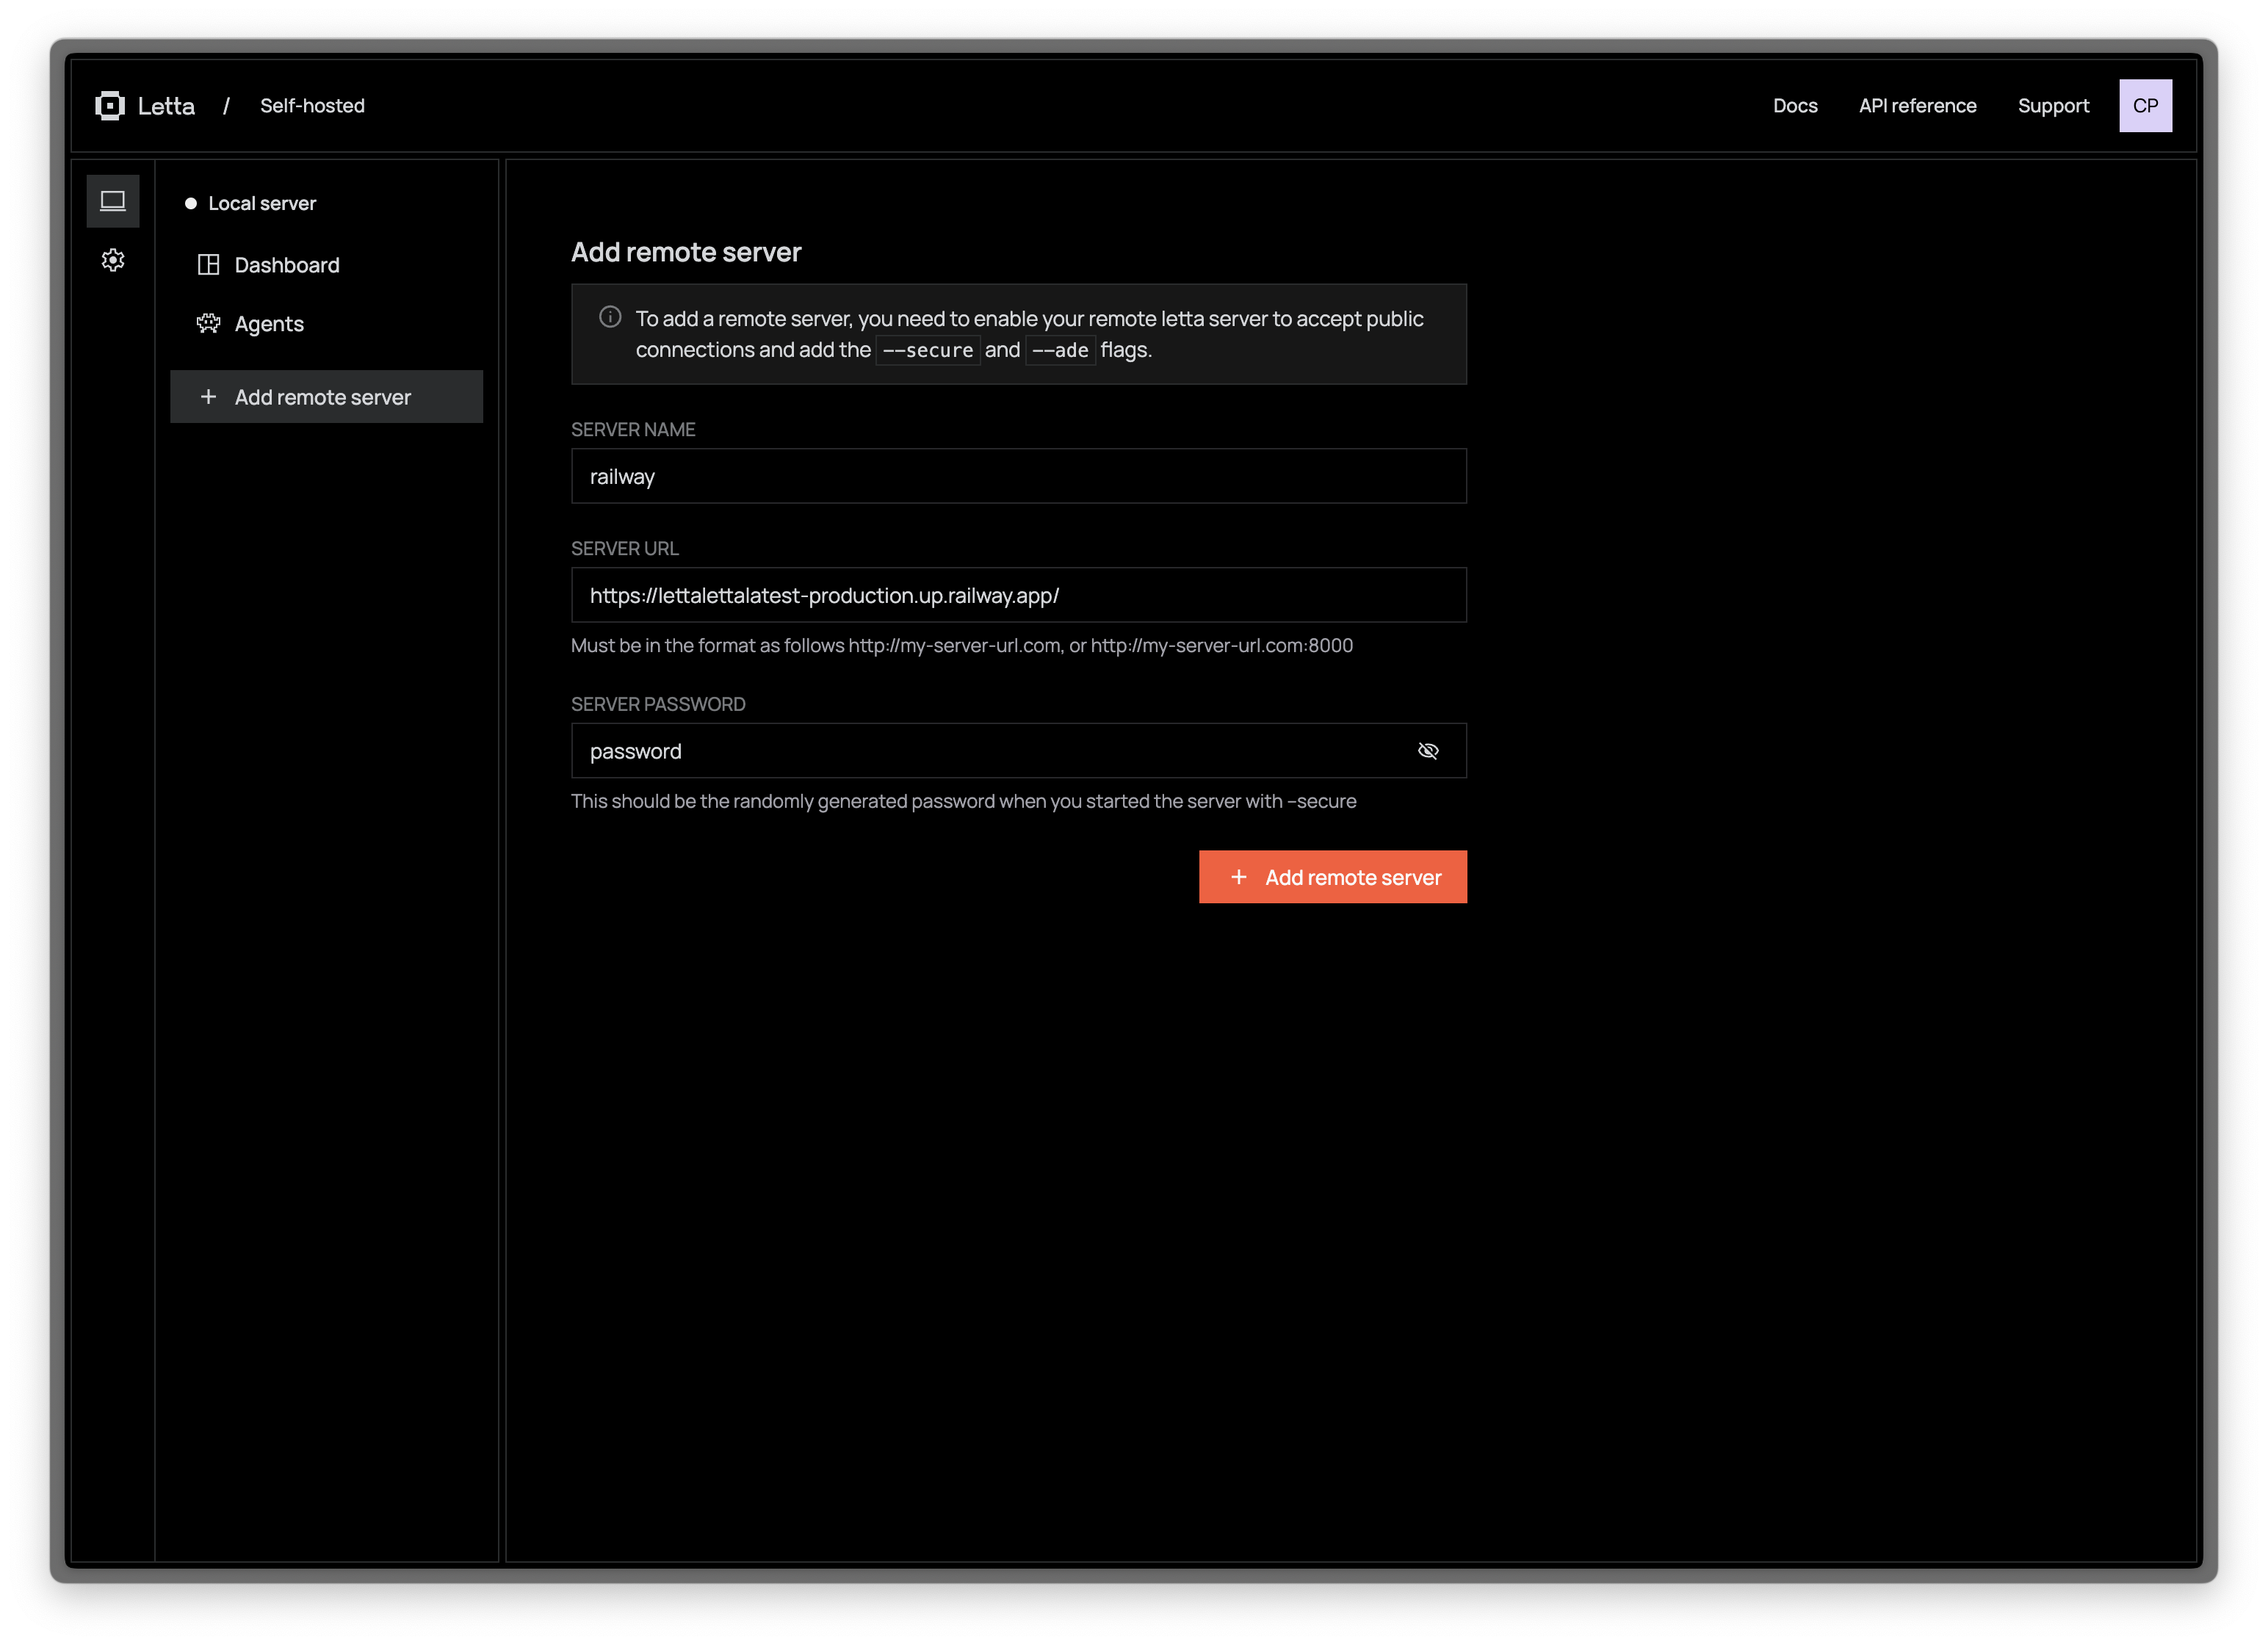
- In the ADE, click “Add remote server”
- Enter the connection details:
- Server name: A friendly name to identify this server
- Server URL: The full URL including
https://
and port if needed - Server password: If you’ve configured API authentication, enter the password
Managing Server Connections
The ADE allows you to manage multiple server connections:
Saving Server Connections
Once you add a remote server, it will be saved in your browser’s local storage for easy access in future sessions. To manage saved connections:
- Click on the server dropdown in the left panel
- Select “Manage servers” to view all saved connections
- Use the options to edit or remove servers from your list
Switching Between Servers
You can easily switch between different Letta servers:
- Click on the current server name in the left panel
- Select a different server from the dropdown list
- The ADE will connect to the selected server and display its agents
This flexibility allows you to work with development, staging, and production environments from a single ADE interface.
Next Steps
Now that you’ve connected the ADE to your Letta server, you’re ready to start building agents! Here are some recommended next steps:
- Create your first agent using the “Create Agent” button
- Explore the Agent Simulator to interact with your agent
- Learn about Tools to extend your agent’s capabilities
- Configure Core Memory to give your agent persistent in-context knowledge