Building a customer success CRM with the Letta API
Programmatically create customer-specific agents with the SDK for CRM automation.
Companies generally have human customer success agents that handle dozens or even hundreds of accounts. This is a natural pattern to follow when building out AI-based agents too.
But what if each of your customers had their own dedicated AI-based customer success agent that autonomously researched their background and reached out with personalized communications?
This guide shows you how to programmatically create customer-specific agents using the Letta SDK. Instead of manually setting up agents through a UI, we’ll build an automated workflow that creates a dedicated agent for each customer who signs up for your application. When a customer signs up, their agent immediately springs into action — researching their LinkedIn profile, investigating their company, and sending a personalized welcome email — all without human intervention. This approach positions Letta as a lightweight CRM alternative or a means of augmenting your existing CRM with AI-powered relationship management.
We’ll build a customer sign-up application that demonstrates two key capabilities: autonomous agent action and ongoing conversation.
When someone signs up, their dedicated AI agent immediately:
- Researches their professional background using web search tools
- Updates its memory with findings
- Drafts and sends a personalized welcome email based on its research
After this proactive outreach, the agent remains available for ongoing customer conversations through a chat interface.
Prerequisites
Section titled “Prerequisites”To follow along, you need:
- Node.js 16 or higher: To run the application
- Git: To clone the starter code repository
- Letta: To access the agent development platform and API
- Gmail: To configure the agent’s email sending capability
- Zapier MCP: To set up the MCP email tool integration
- Exa: To configure MCP research and LinkedIn lookup tools
Step 1: Create an agent template
Section titled “Step 1: Create an agent template”Agent templates serve as blueprints that define your agent’s memory structure, tools, and behavior patterns. We’ll configure our template with web research and email tools so agents can autonomously research customers and send personalized communications. You’ll use the Agent Development Environment (ADE) to build and configure your template.
Create a new template
Section titled “Create a new template”Create and configure a new agent template in the ADE.
The complete template creation process
1. Create a new template
From the Letta dashboard, click Templates → + New template → Start from scratch.
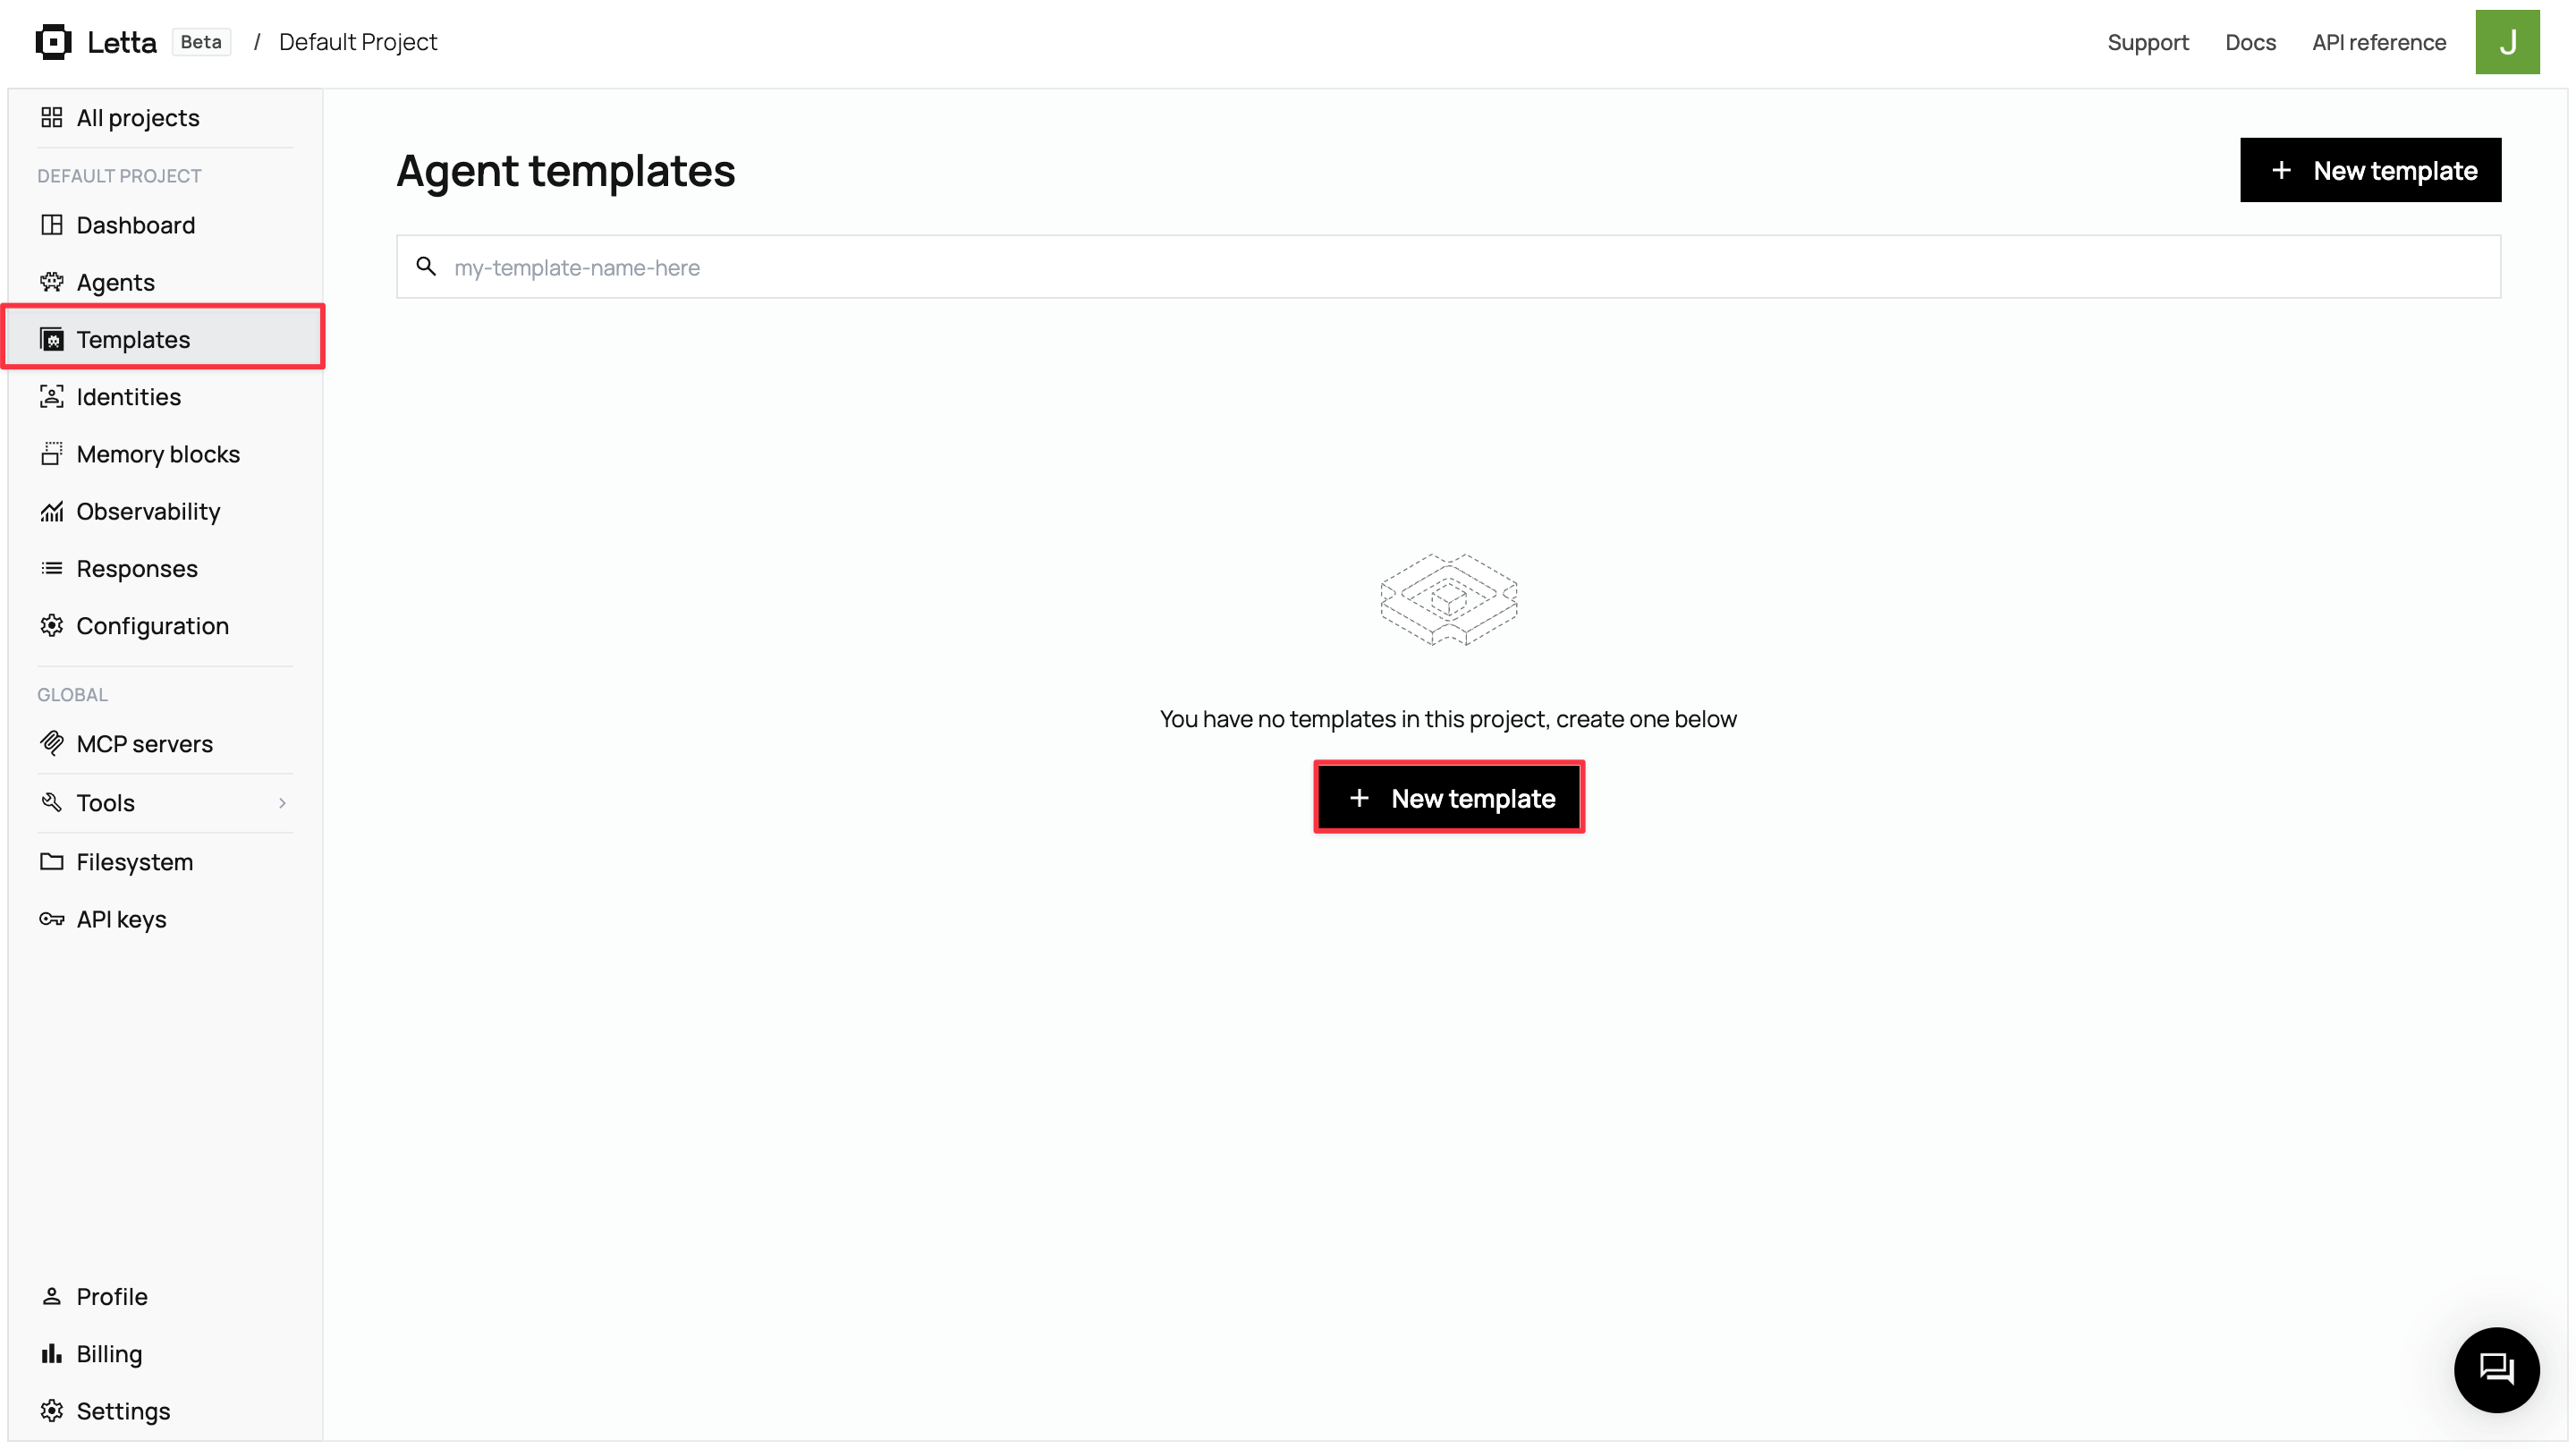
2. Explore the Agent Development Environment
The ADE interface has three key areas:
- A center chat simulator for testing
- A left sidebar for configuration (template settings, tools, LLM config)
- A right panel showing memory architecture with real-time context utilization
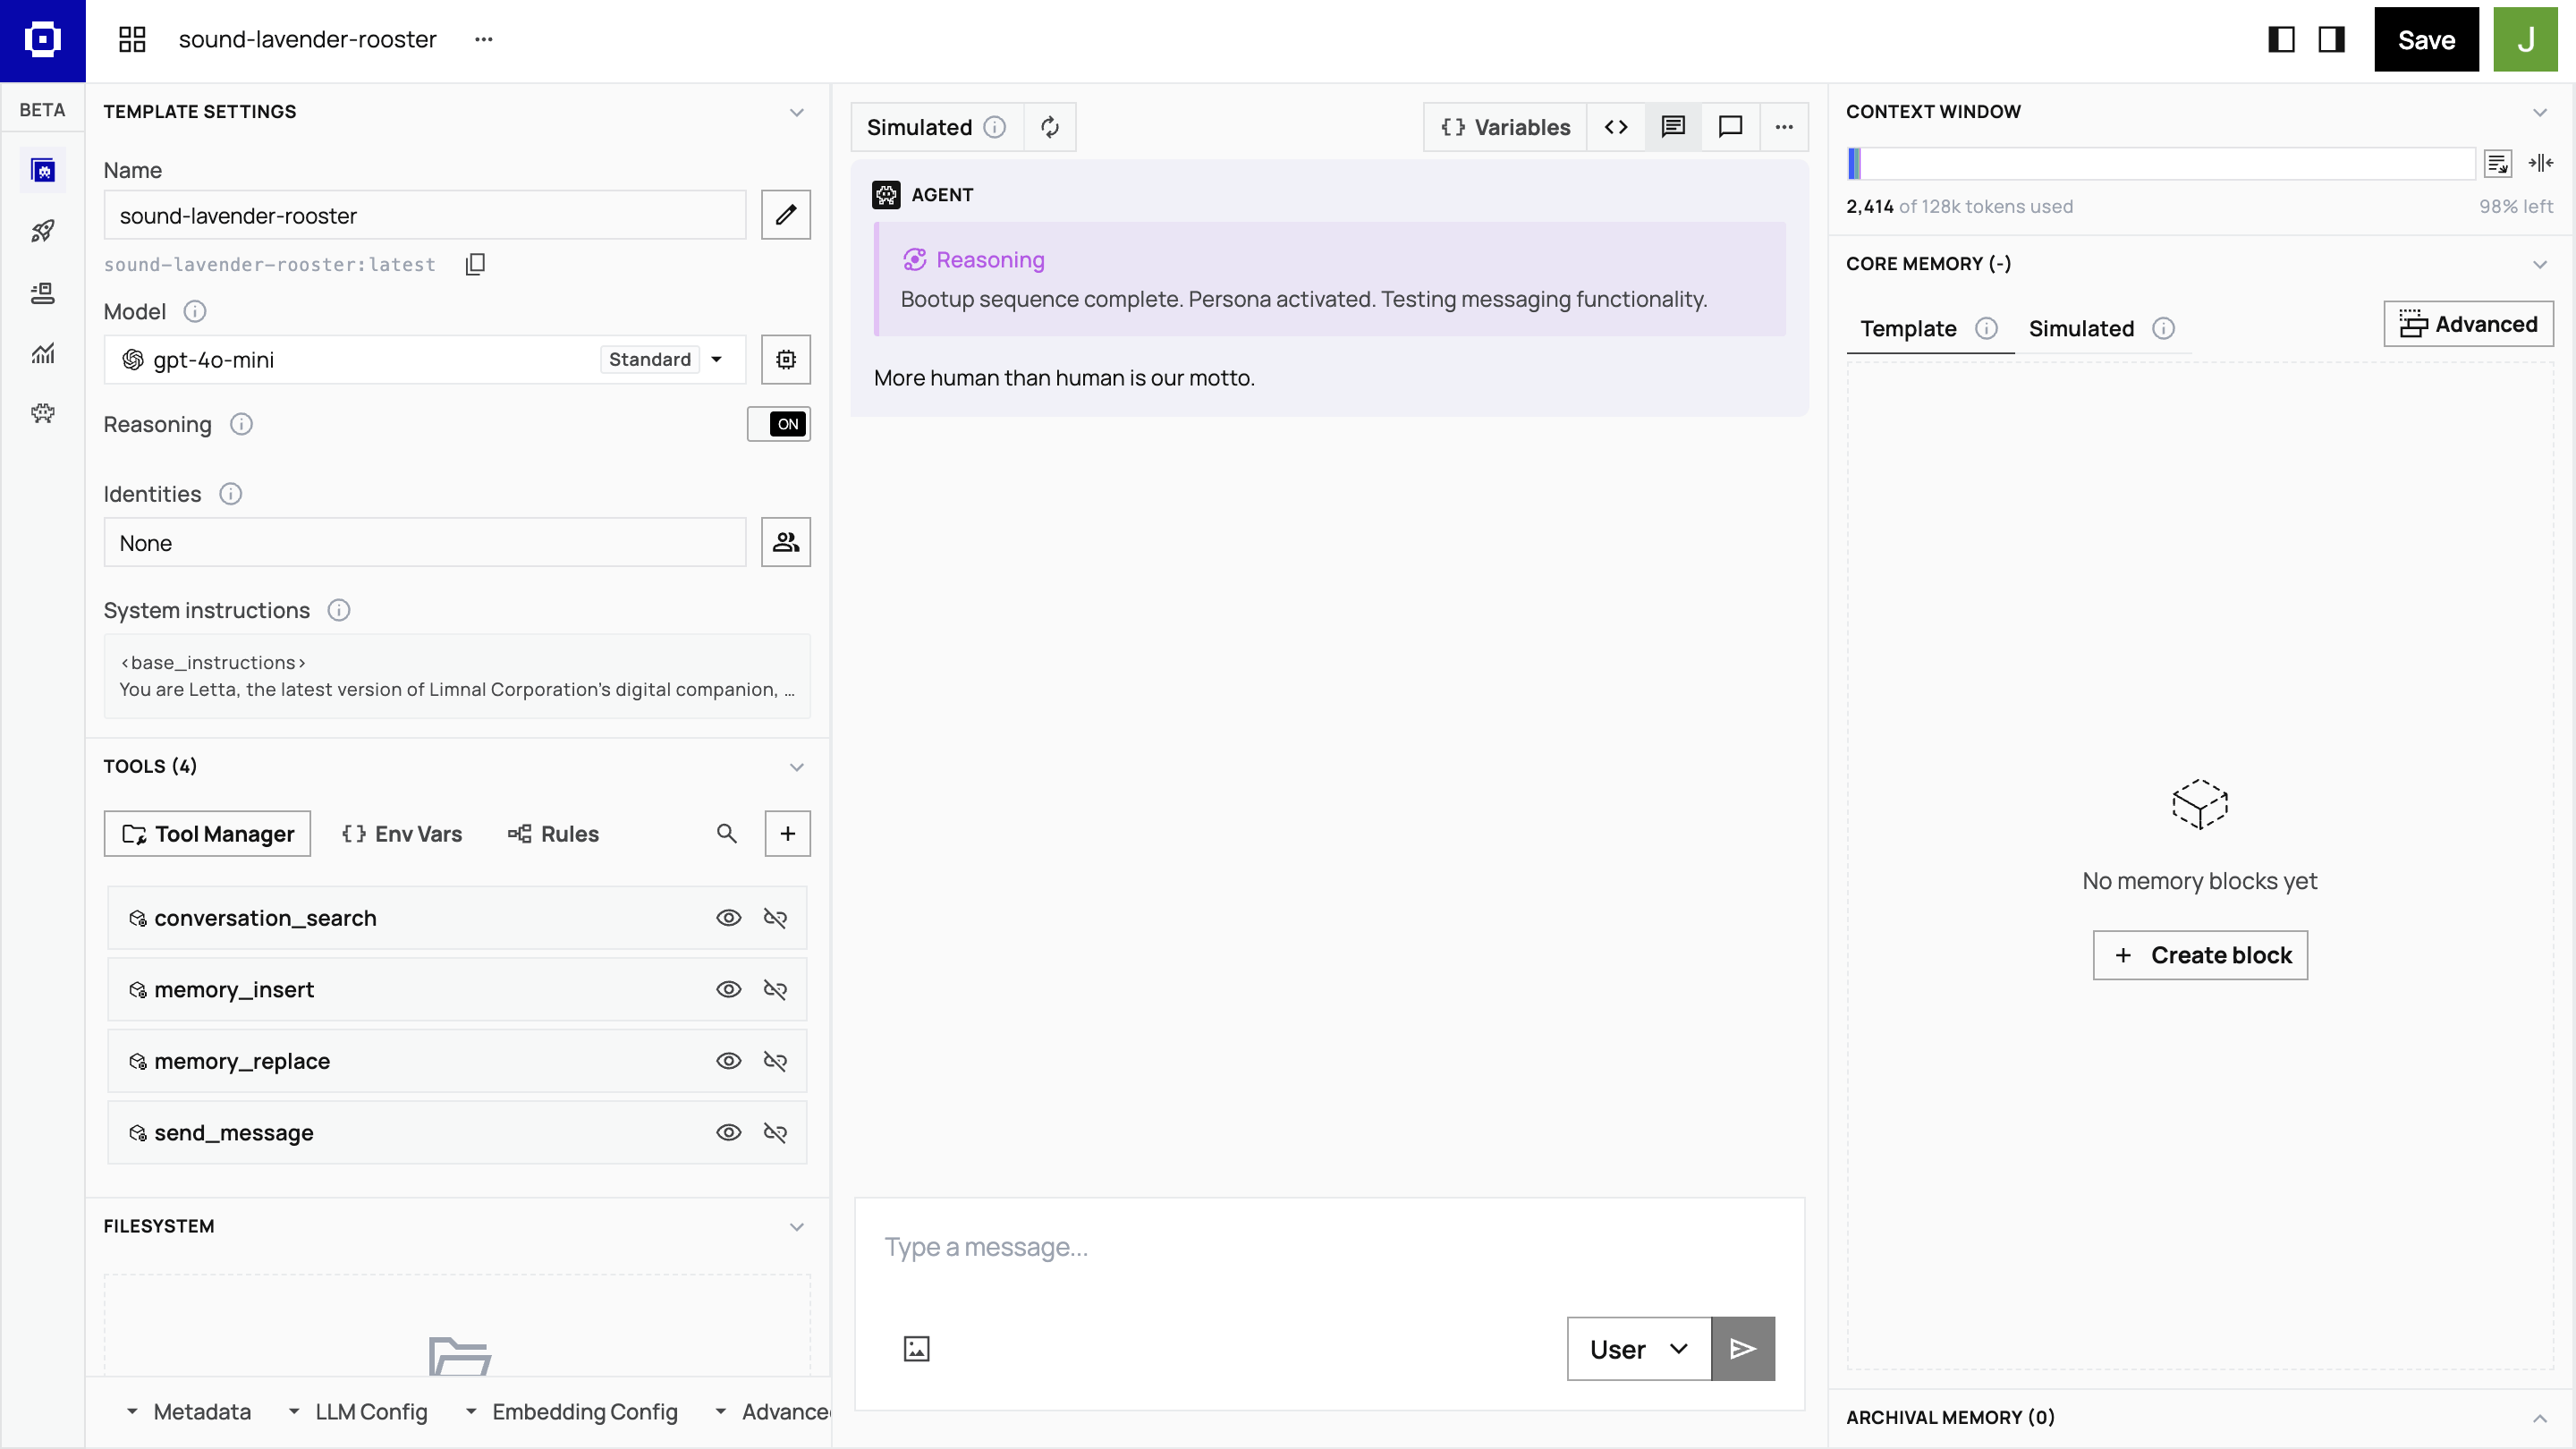
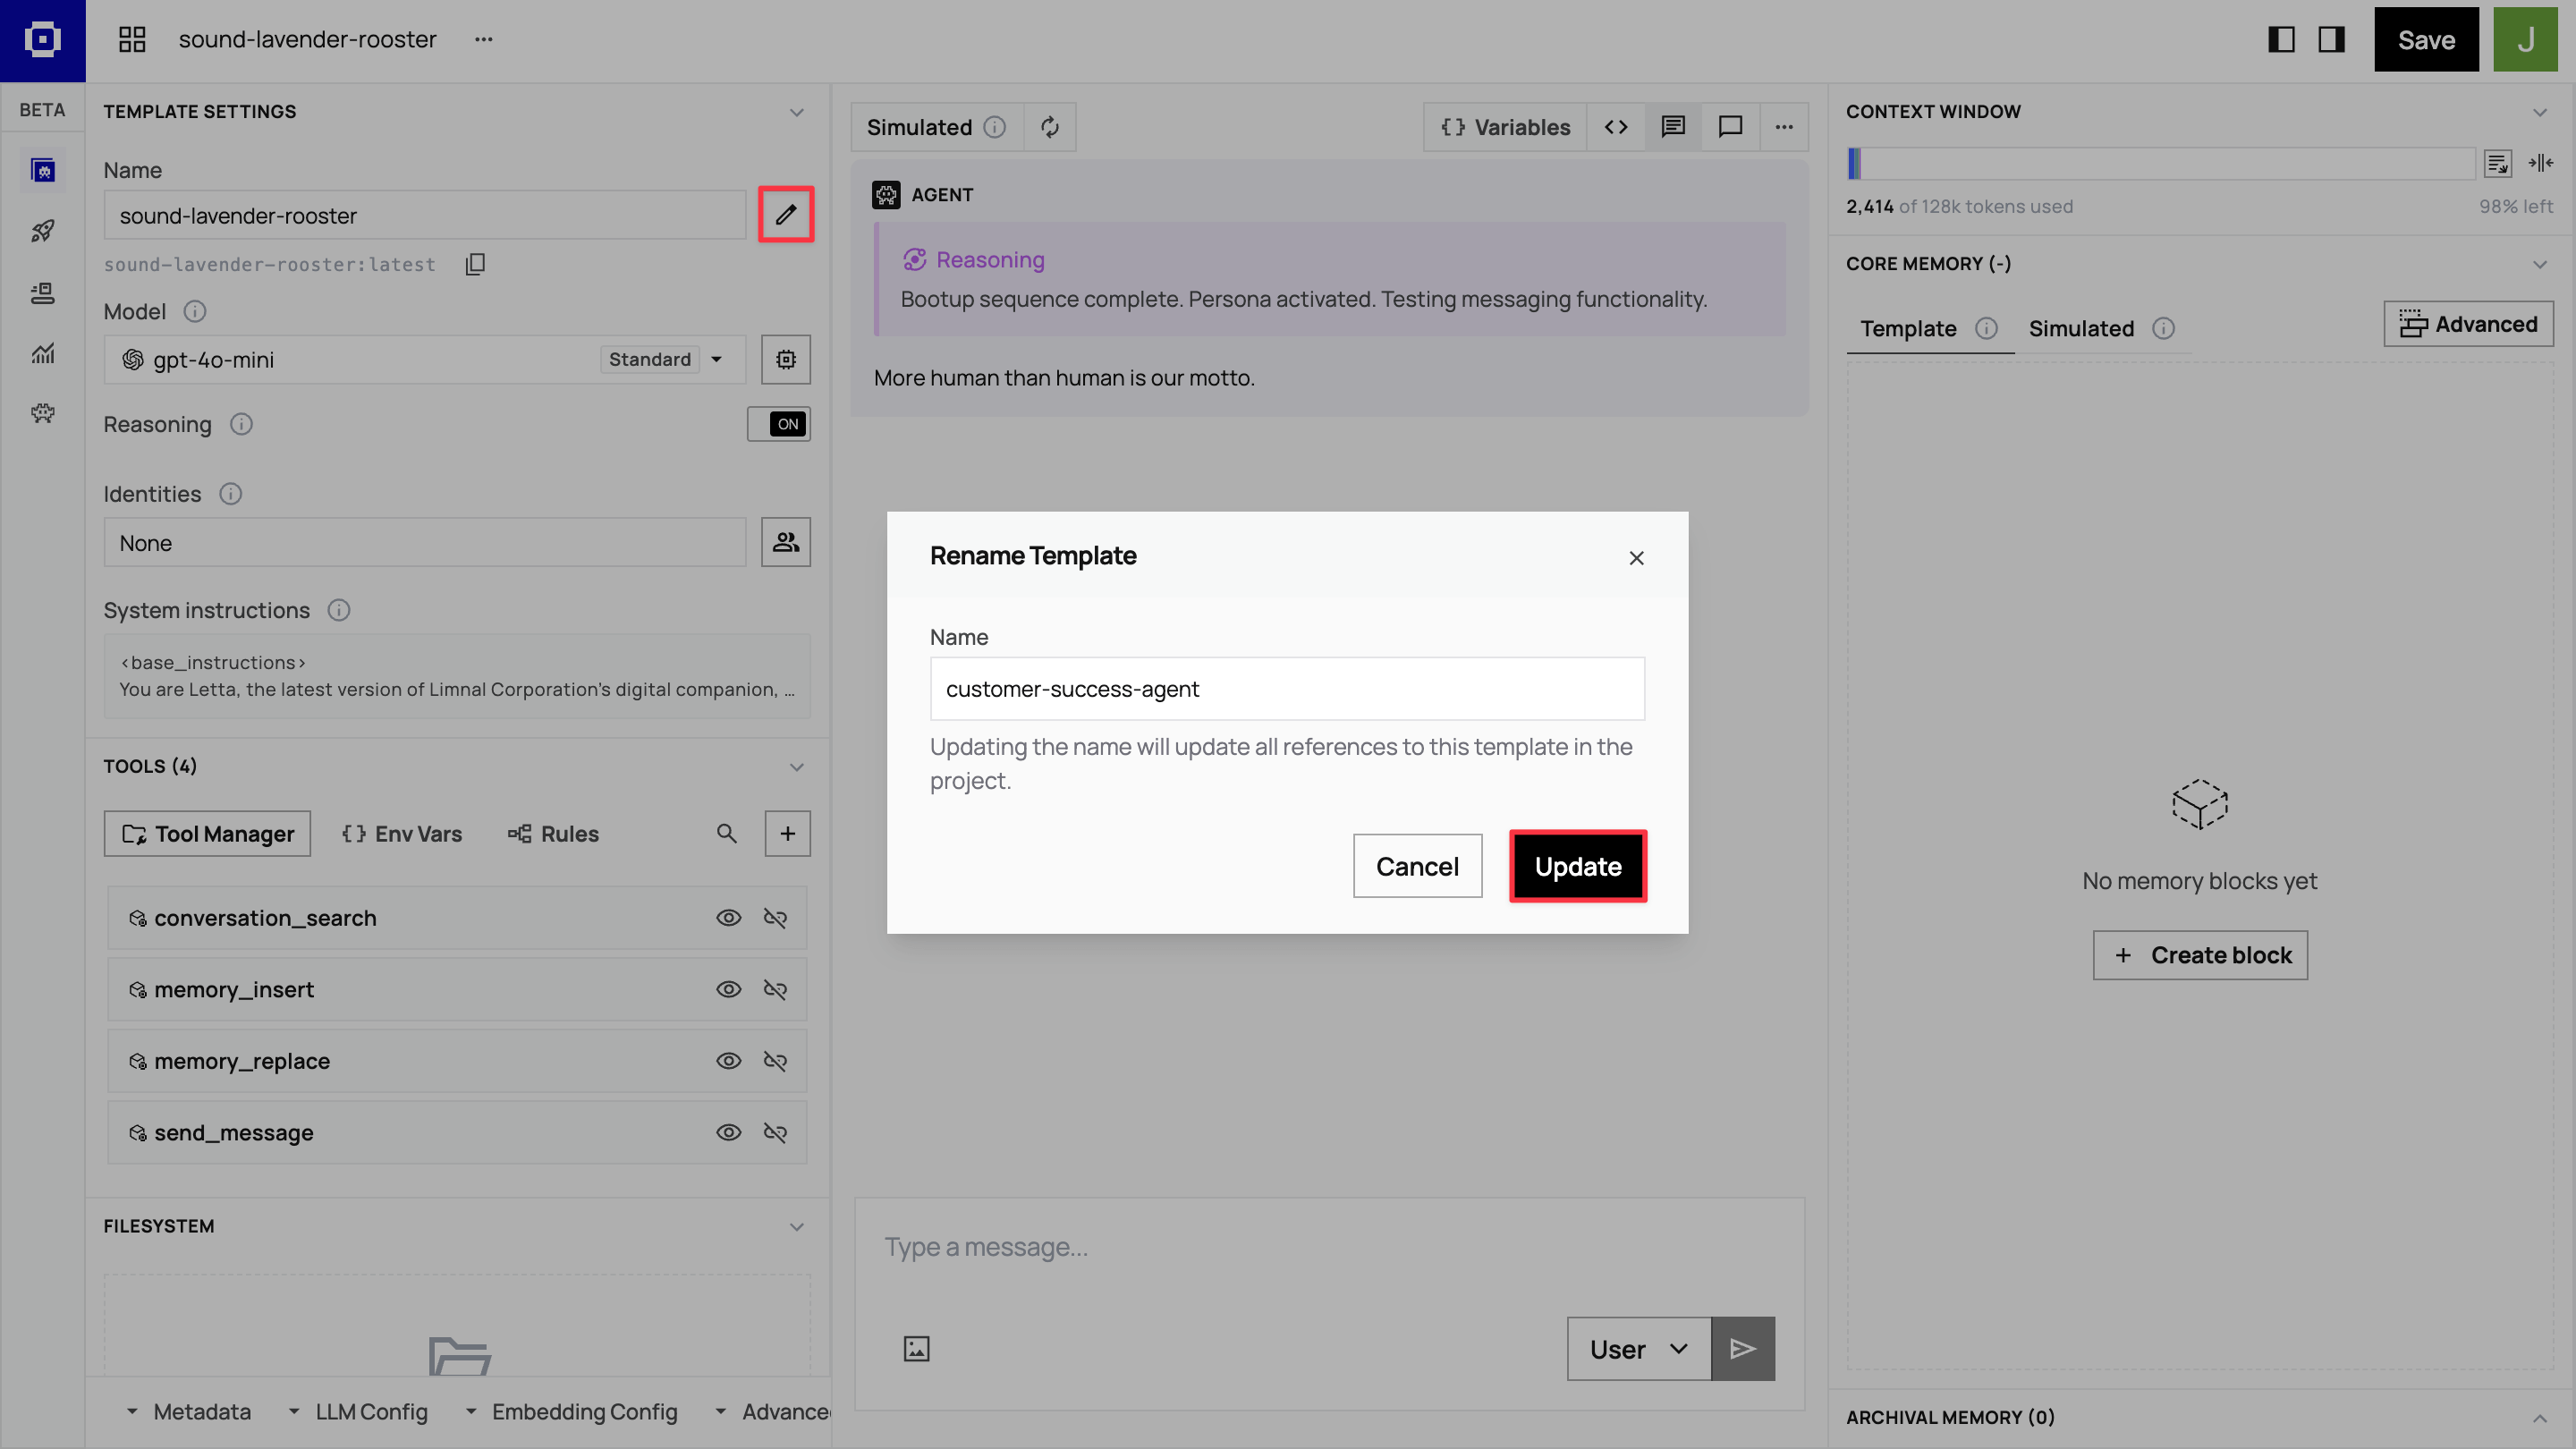
3. Name your template
Rename your template customer-success-agent by clicking the pen icon next to the Name field.
Set up memory blocks
Section titled “Set up memory blocks”Memory blocks create your agent’s persistent knowledge architecture.
In the Core Memory section of the right panel, click Advanced → + New block to add custom memory blocks.
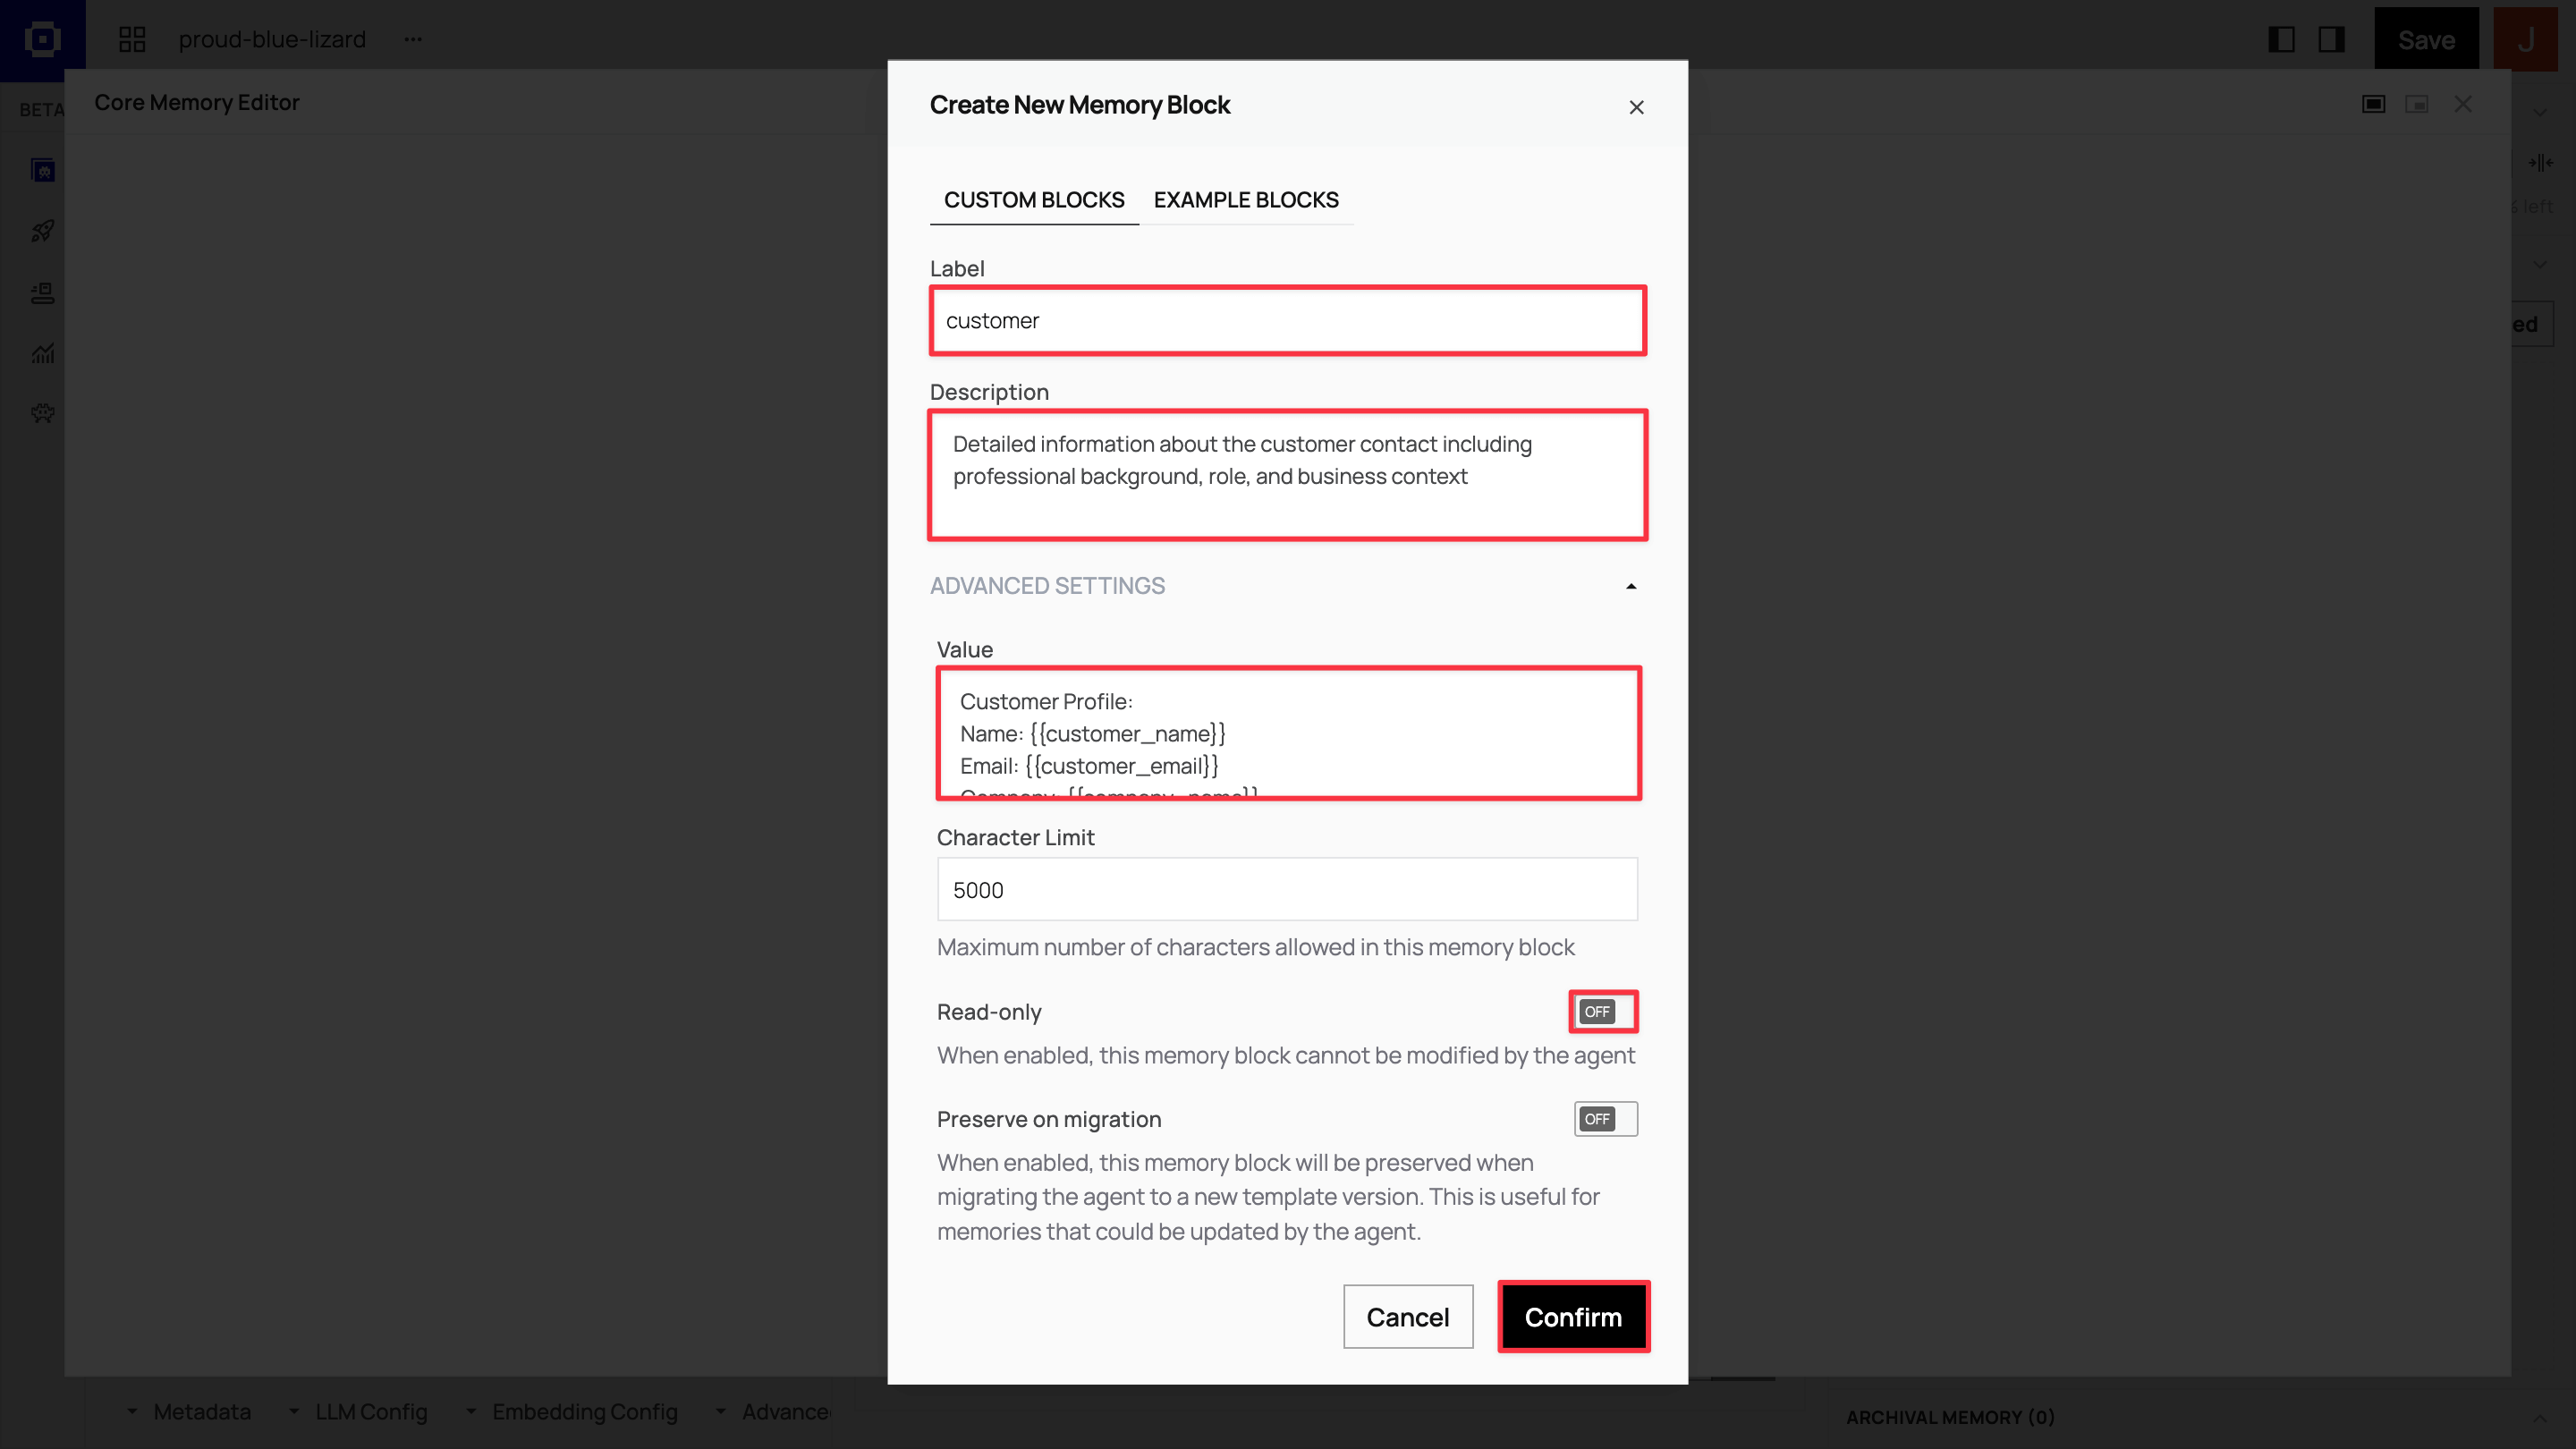
Create four core memory blocks with the following configurations:
Customer block: Customer profile and context
Label: customer
Description:
Detailed information about the customer contact, including professional background, role, and business contextValue:
Customer Profile:Name: {{customer_name}}Email: {{customer_email}}Company: {{company_name}}Title: {{job_title}}Industry: {{industry_sector}}
Professional Background:{{professional_background}}
Business Challenges:{{business_challenges}}
Communication Preferences:{{communication_preferences}}
The customer memory block stores everything your agent learns about the individual customer contact. The template variables will be populated when you create agents from this template, and the agents’ research findings accumulate in the descriptive fields.
Organization block: Company knowledge base
Label: organization
Description:
ACME Manufacturing's company information, products, and value propositions (for reference)Read-only: Yes
Value:
ACME Manufacturing - Industrial Automation Solutions
Key Products:• QualityCheck AI: Real-time quality control system (reduces defects by 30%)• SupplyOptimize: Supply chain optimization platform (20% cost savings)• ProductionFlow: Manufacturing workflow automation
Target Industries: Automotive, Aerospace, Electronics, Medical DevicesCompany Size Focus: 100-1000 employees
Value Propositions:- Reduce manufacturing defects by 25-40%- Optimize supply chain costs by 15-25%- Improve production efficiency by 20-35%- Seamless ERP integration
Competitive Advantages:- Industry-specific AI models trained on manufacturing data- 99.7% uptime SLA with 24/7 support- ROI is typically achieved within 6 months
Contact Information:- Representative: [Your Name]- Title: [Your Title]
The organization memory block contains static company information that agents reference but shouldn’t modify. Set as read-only to ensure consistent messaging across all customer interactions.
Tool use guidelines block: Research and communication guidelines
Label: tool_use_guidelines
Description:
Instructions for effective tool usage and customer research methodologyRead-only: Yes
Value:
Research Strategy:1. Begin with LinkedIn research to understand the contact's professional background2. Use web search to research the customer's company, recent news, and industry challenges3. Focus on identifying specific use cases for ACME Manufacturing's solutions4. Look for relevant business triggers (growth, challenges, new initiatives)
Communication Guidelines:- Personalize emails based on research findings- Reference specific company challenges or industry trends- Connect ACME products to the customer's likely pain points- Maintain a professional but approachable tone- Include relevant case studies or statistics when appropriate
Tool Usage Best Practices:- Use company_research_exa for comprehensive business intelligence- Use linkedin_search_exa for professional background verification- Draft emails with research context before sending- Update memory blocks with key findings after each research session
The tool_use_guidelines memory block contains instructions for how your agent should use its research and communication tools effectively.
Tasks block: Action items and objectives
Label: tasks
Description:
Current objectives, action items, and next steps for this customer relationshipValue:
Current Priorities:1. Complete customer and company research2. Identify specific use cases for ACME products3. Draft personalized welcome email4. Schedule a discovery call5. Prepare customized demo materials
Research Checklist:- [] LinkedIn professional background research- [] Company website and recent news analysis- [] Industry-specific challenge identification- [] Competitive landscape assessment
The tasks memory block contains specific customer onboarding tasks, like research, email drafting, and discovery call scheduling, with a checklist for tracking task completion.
Understand template variables
The {{variable_name}} placeholders in the customer memory block are populated with actual customer data when you create agents from the template. You enter these variables programmatically via the SDK when creating agents in the application code.
Configure MCP tools for customer research
Section titled “Configure MCP tools for customer research”Tools transform your agent from a static responder into an active researcher that autonomously gathers information and takes action. In the left sidebar of the ADE, click Tools → Tool Manager. This opens a modal where you’ll configure Model Context Protocol (MCP) servers that provide external capabilities for agents.

Your agent needs research tools for looking up customer backgrounds and company information, and email tools for automatically drafting and sending personalized welcome messages.
Configure the Exa MCP server
Exa provides web search, company research, and LinkedIn lookup capabilities for your agent.
-
In the MCP servers section of the Tool manager sidebar, click + Add MCP server. Select Exa from the list to open the configuration modal.
-
Go to exa.ai to create an account. Then visit dashboard.exa.ai/api-keys to copy and save your default secret key.
-
Paste the Exa MCP server URL,
https://mcp.exa.ai/mcp?exaApiKey=your-exa-api-key, in the Server URL field on the modal. Replaceyour-exa-api-keywith your Exa secret key and click Test connection. -
When connected, the modal displays a list of available tools, including
web_search_exa,company_research_exa, andlinkedin_search_exa. Click Confirm to add the server.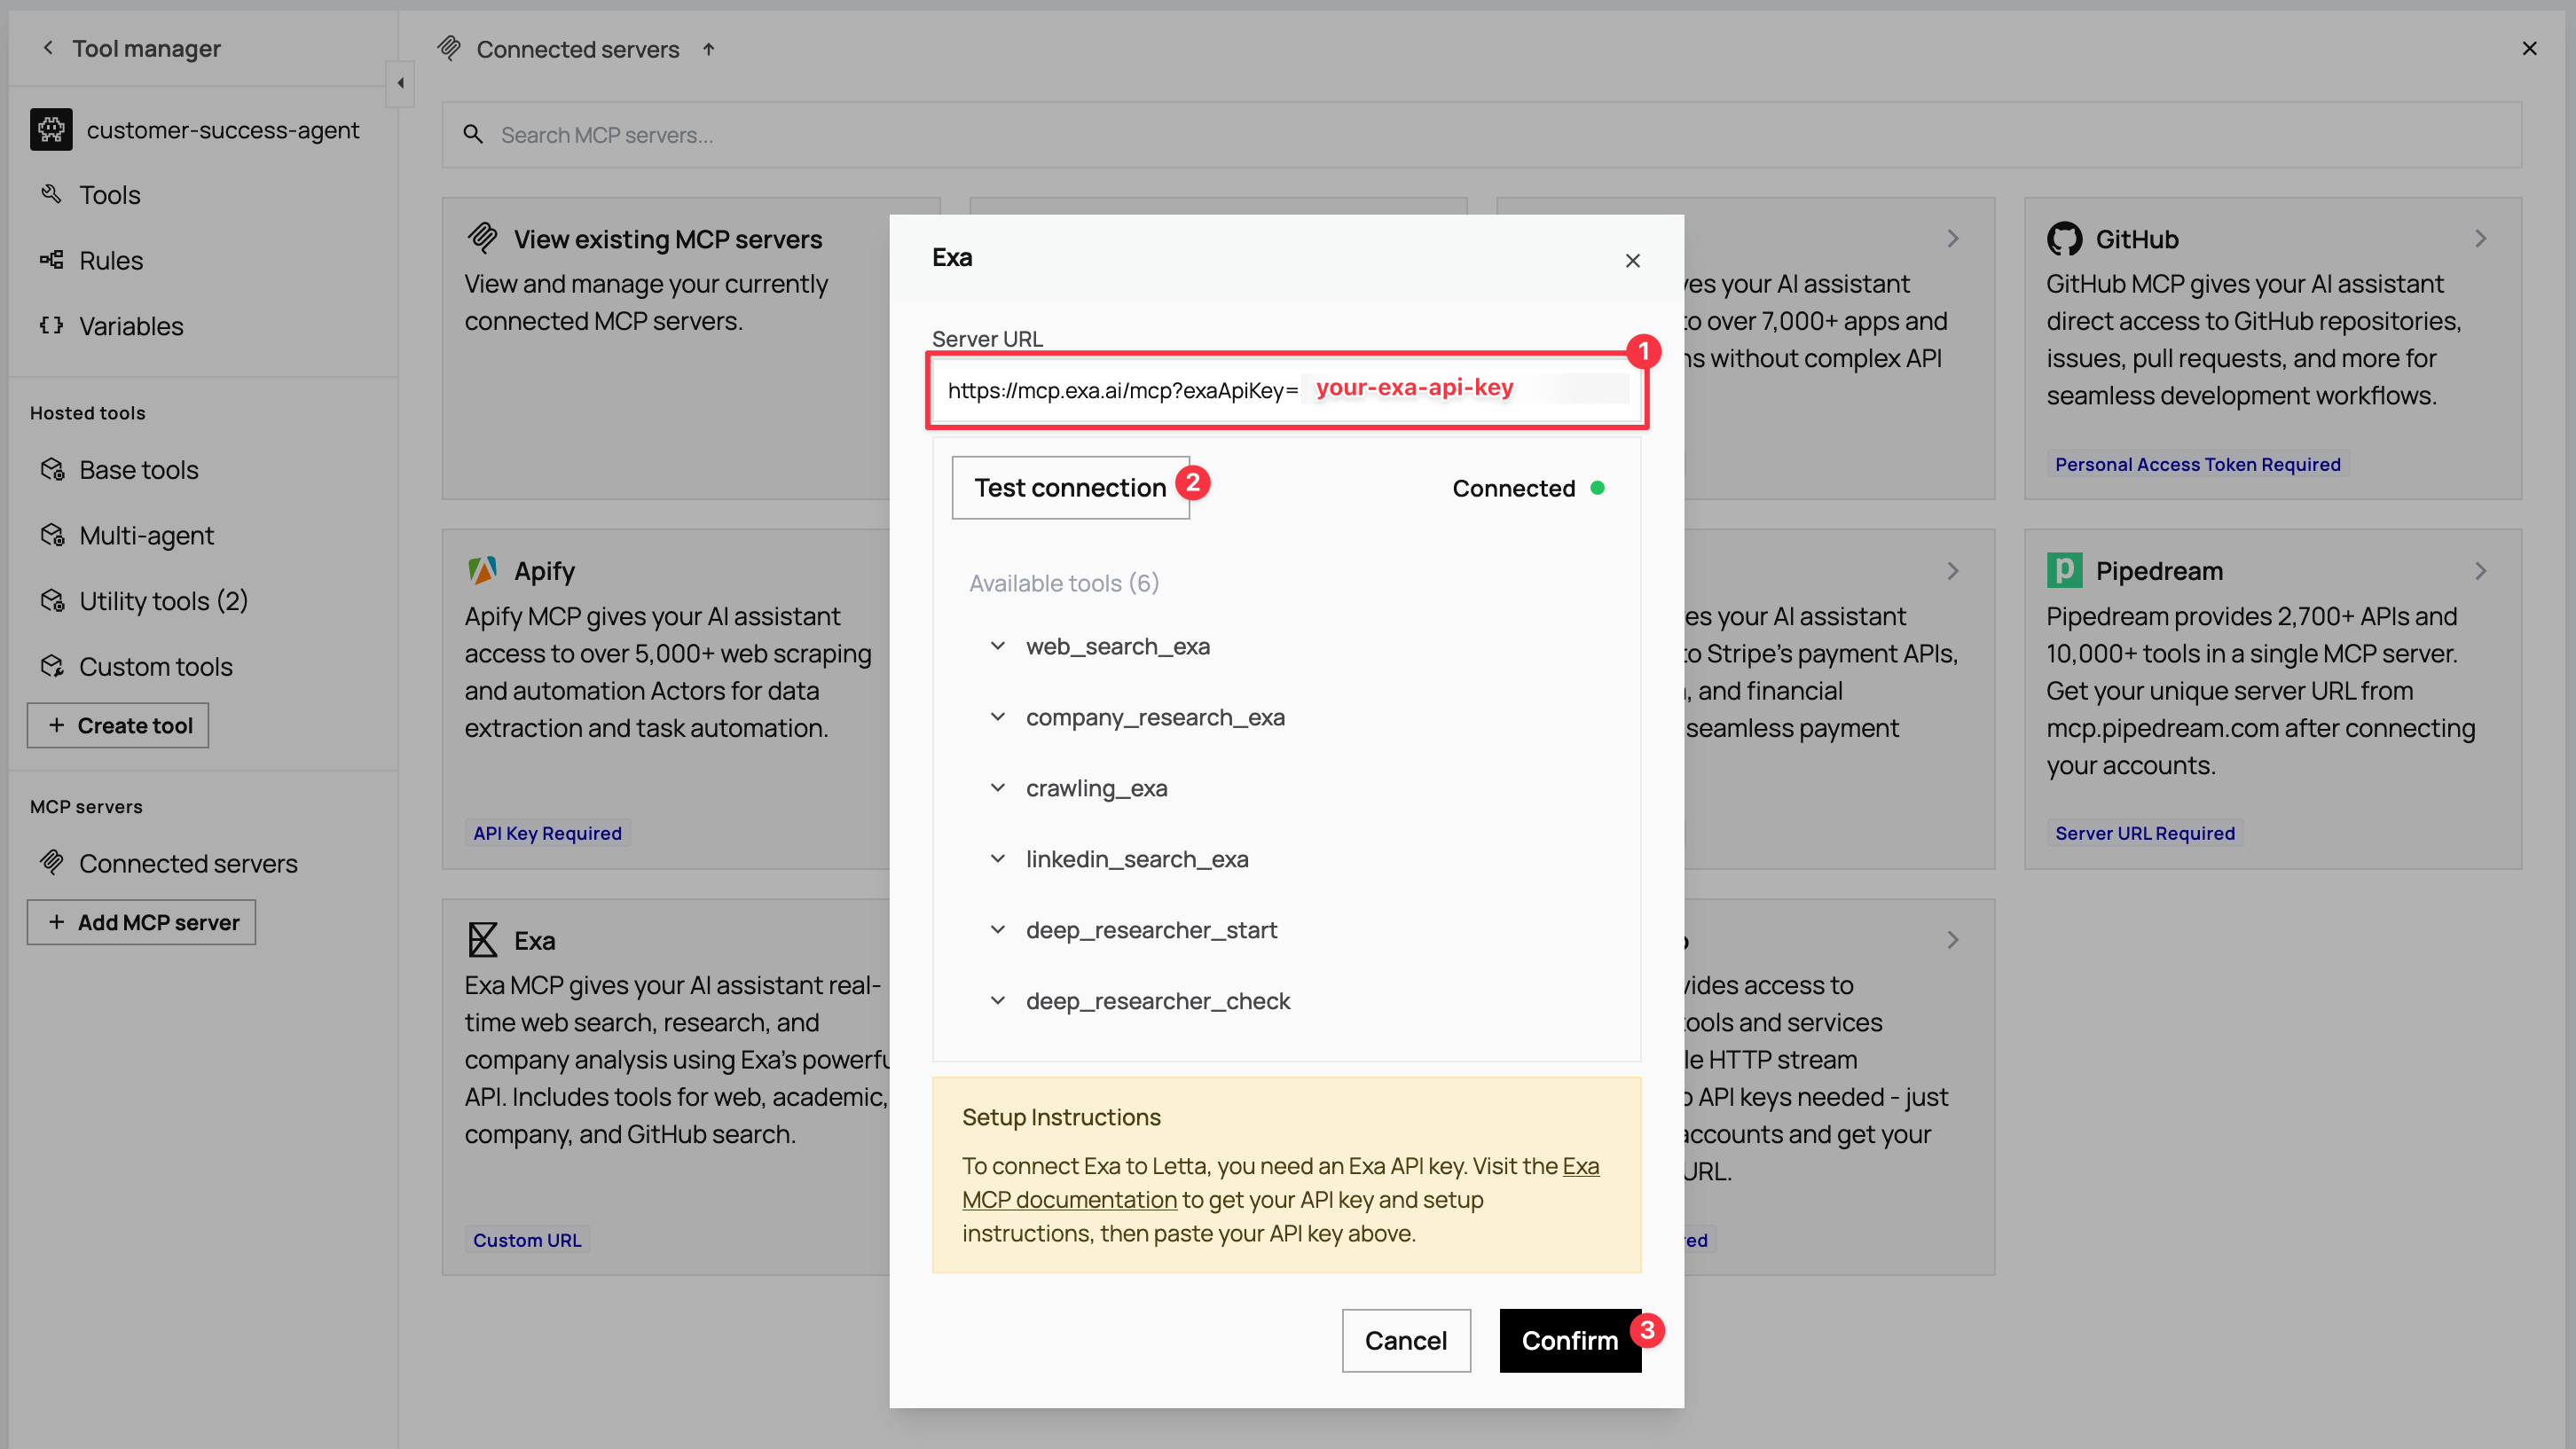
Configure the Zapier MCP server
Zapier provides Gmail integration for drafting and sending personalized emails.
-
Click + Add MCP server again and select Zapier.
-
For the API setup, go to mcp.zapier.com/mcp, create an account, then click + New MCP Server in your Zapier dashboard.

-
Choose Other from the MCP Client options and name it
Email sender. After creating the server, click + Add tool, select Gmail from the modal, and add the Gmail tools. Connect your Gmail account for sending emails.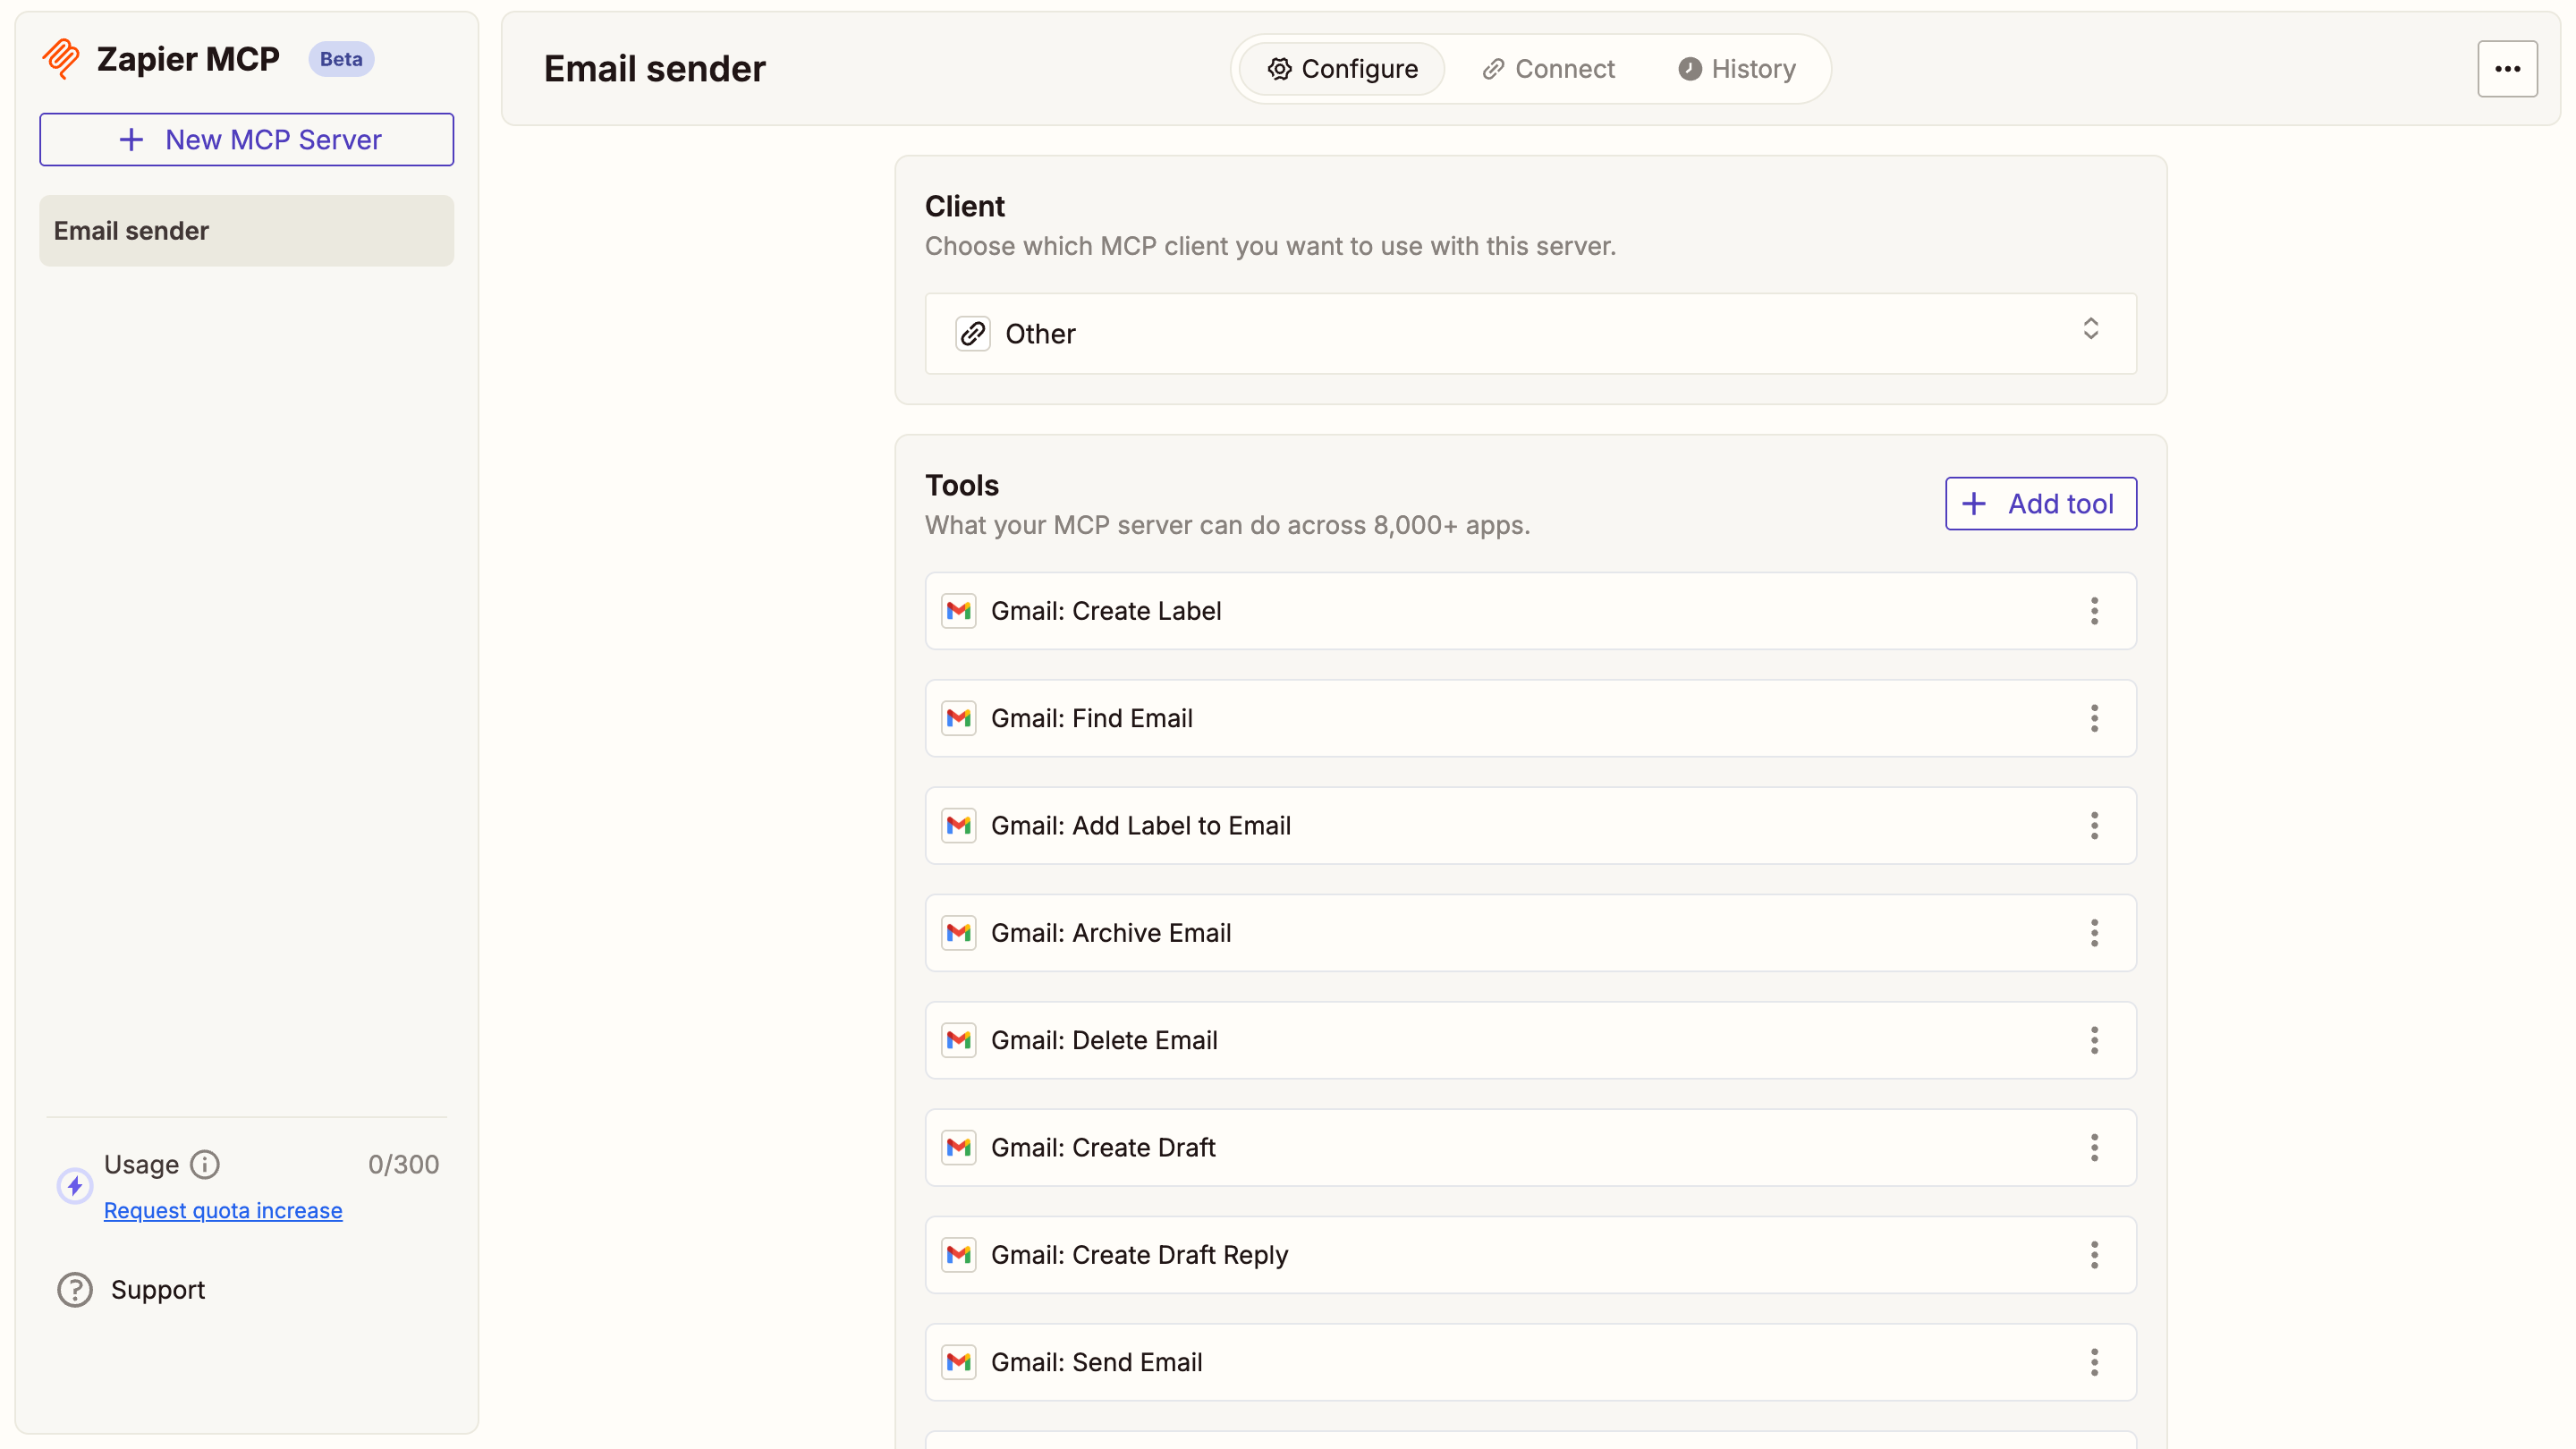
-
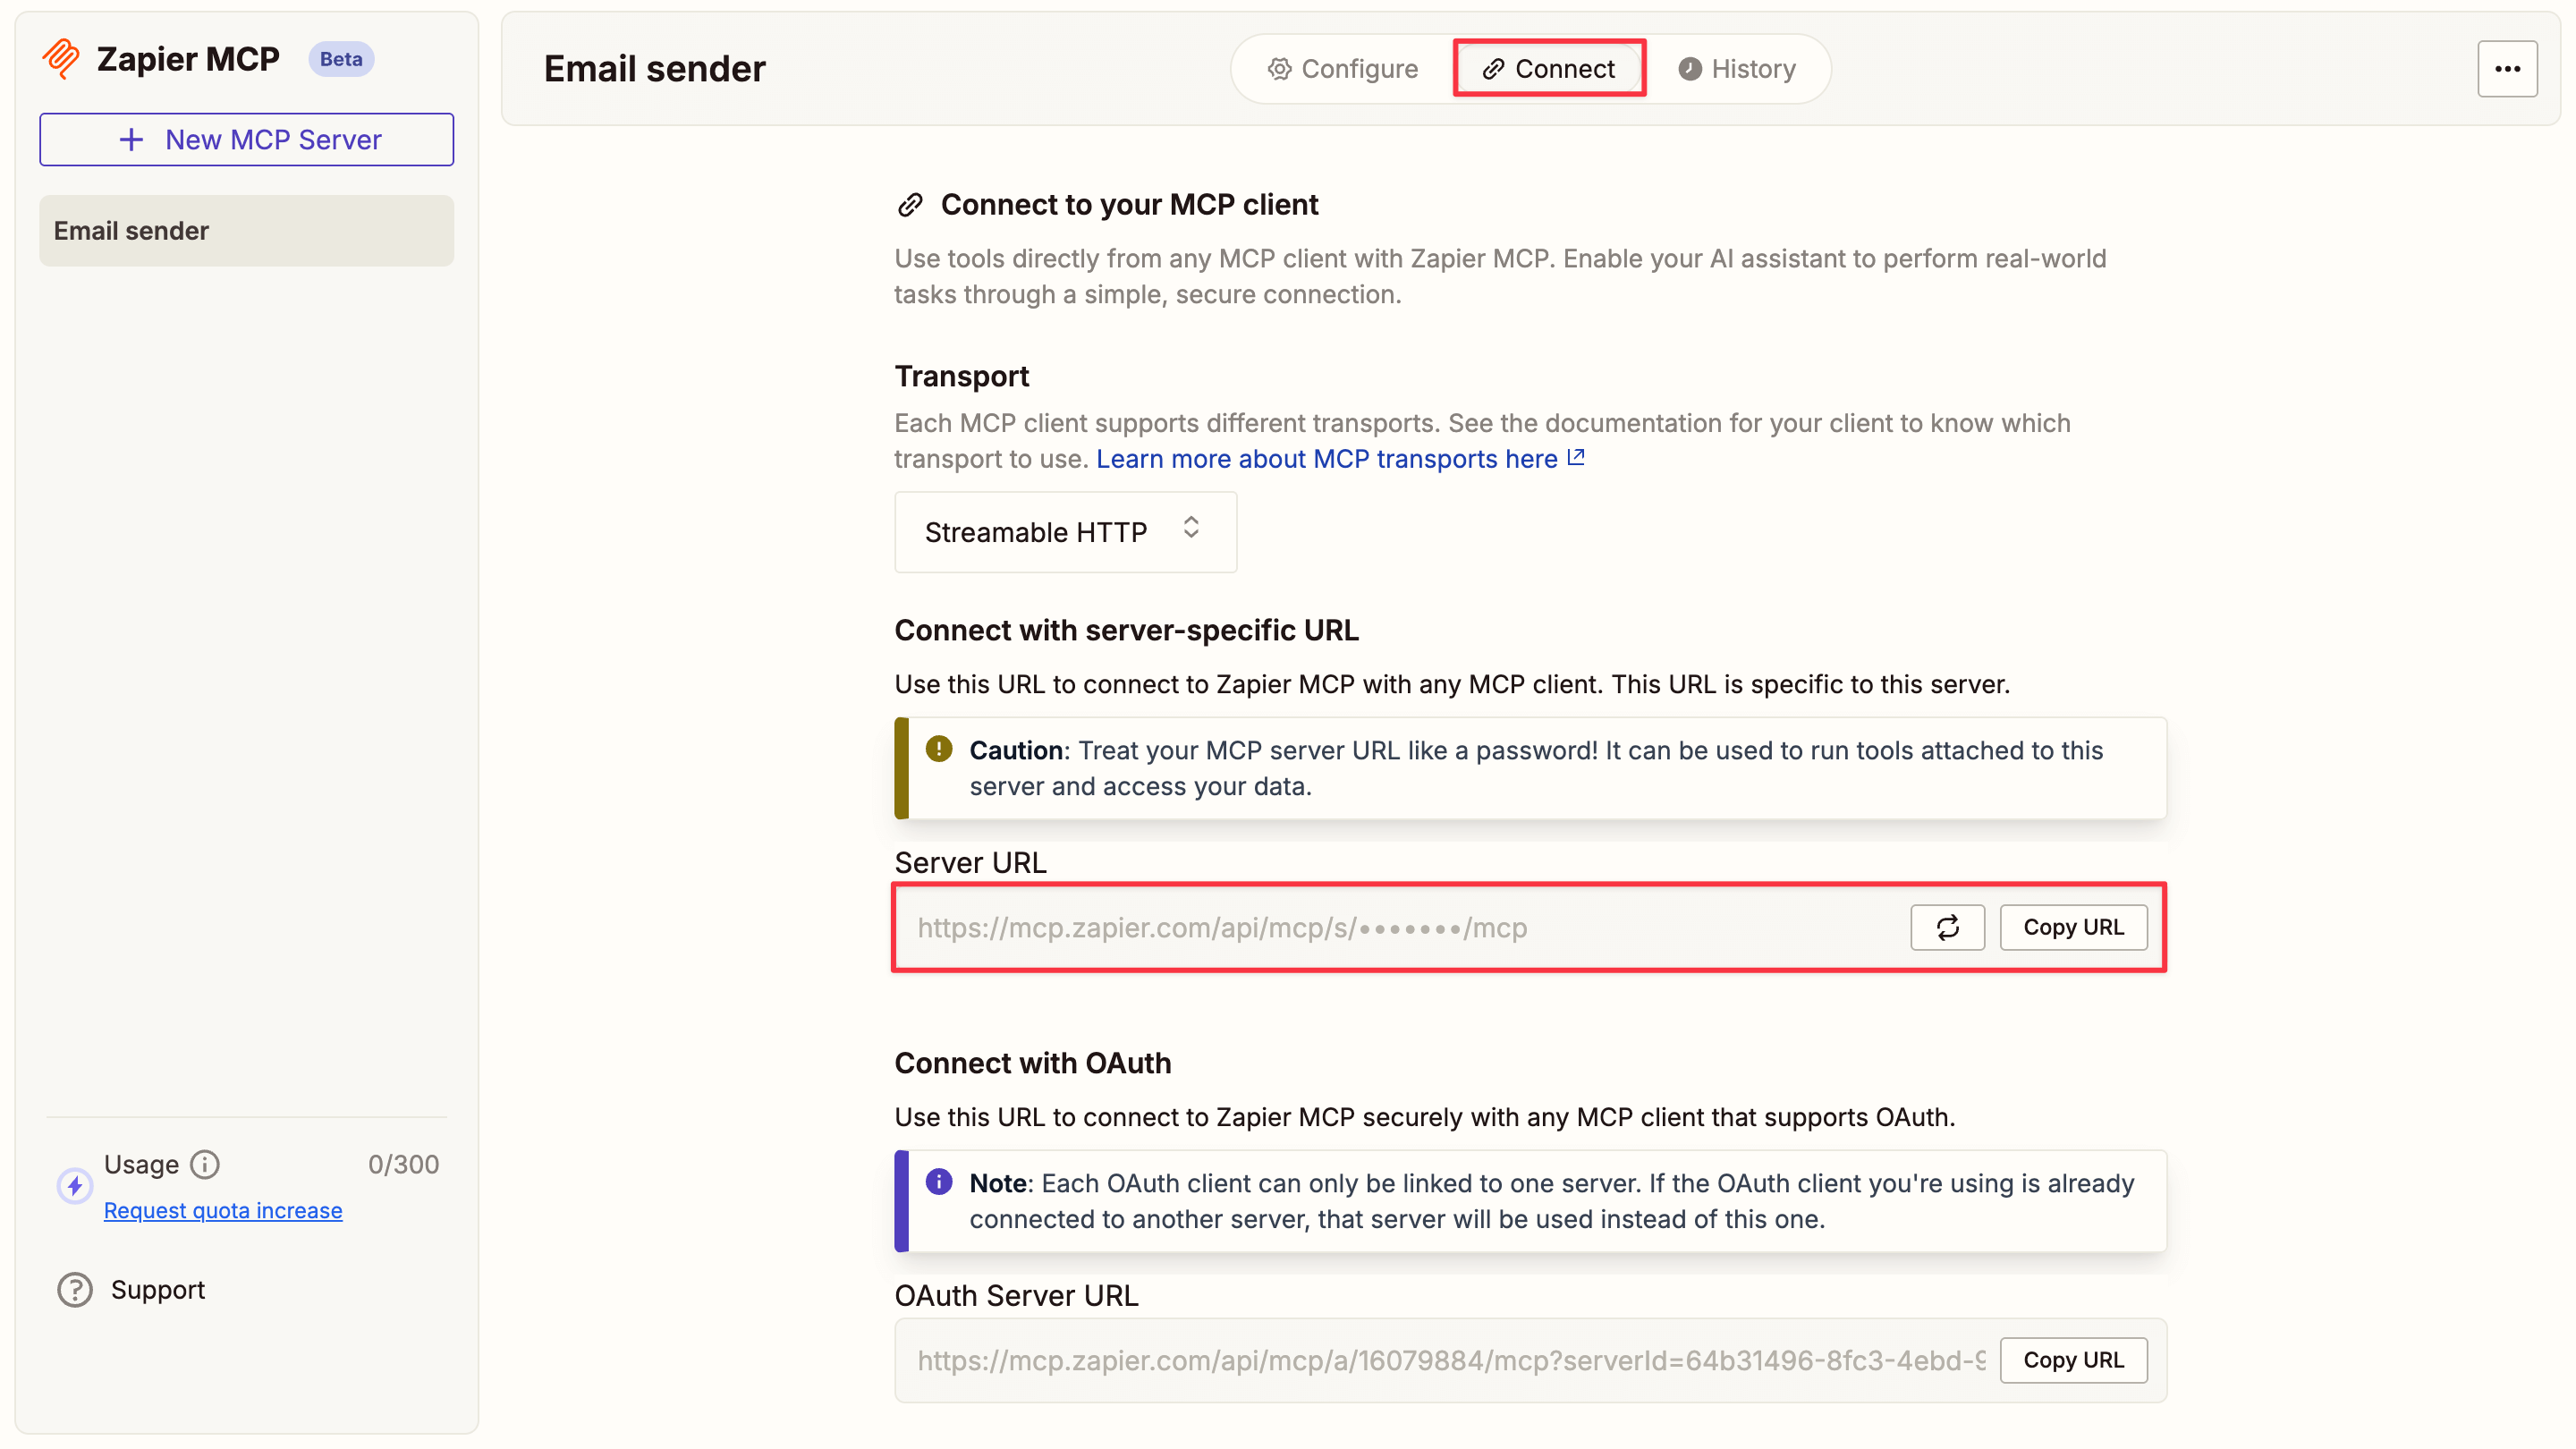
In your Zapier dashboard, click Connect in the top toolbar and copy the Server URL.
-
Return to the Letta modal, paste the server URL in the Server URL field, and test the connection. When you see the Gmail tools appear, click Confirm.

Connect tools to the template
In the Tool manager view, you can now see both MCP servers. Click each server to view the available tools. To attach them, click the link icon next to the tools your agent needs:
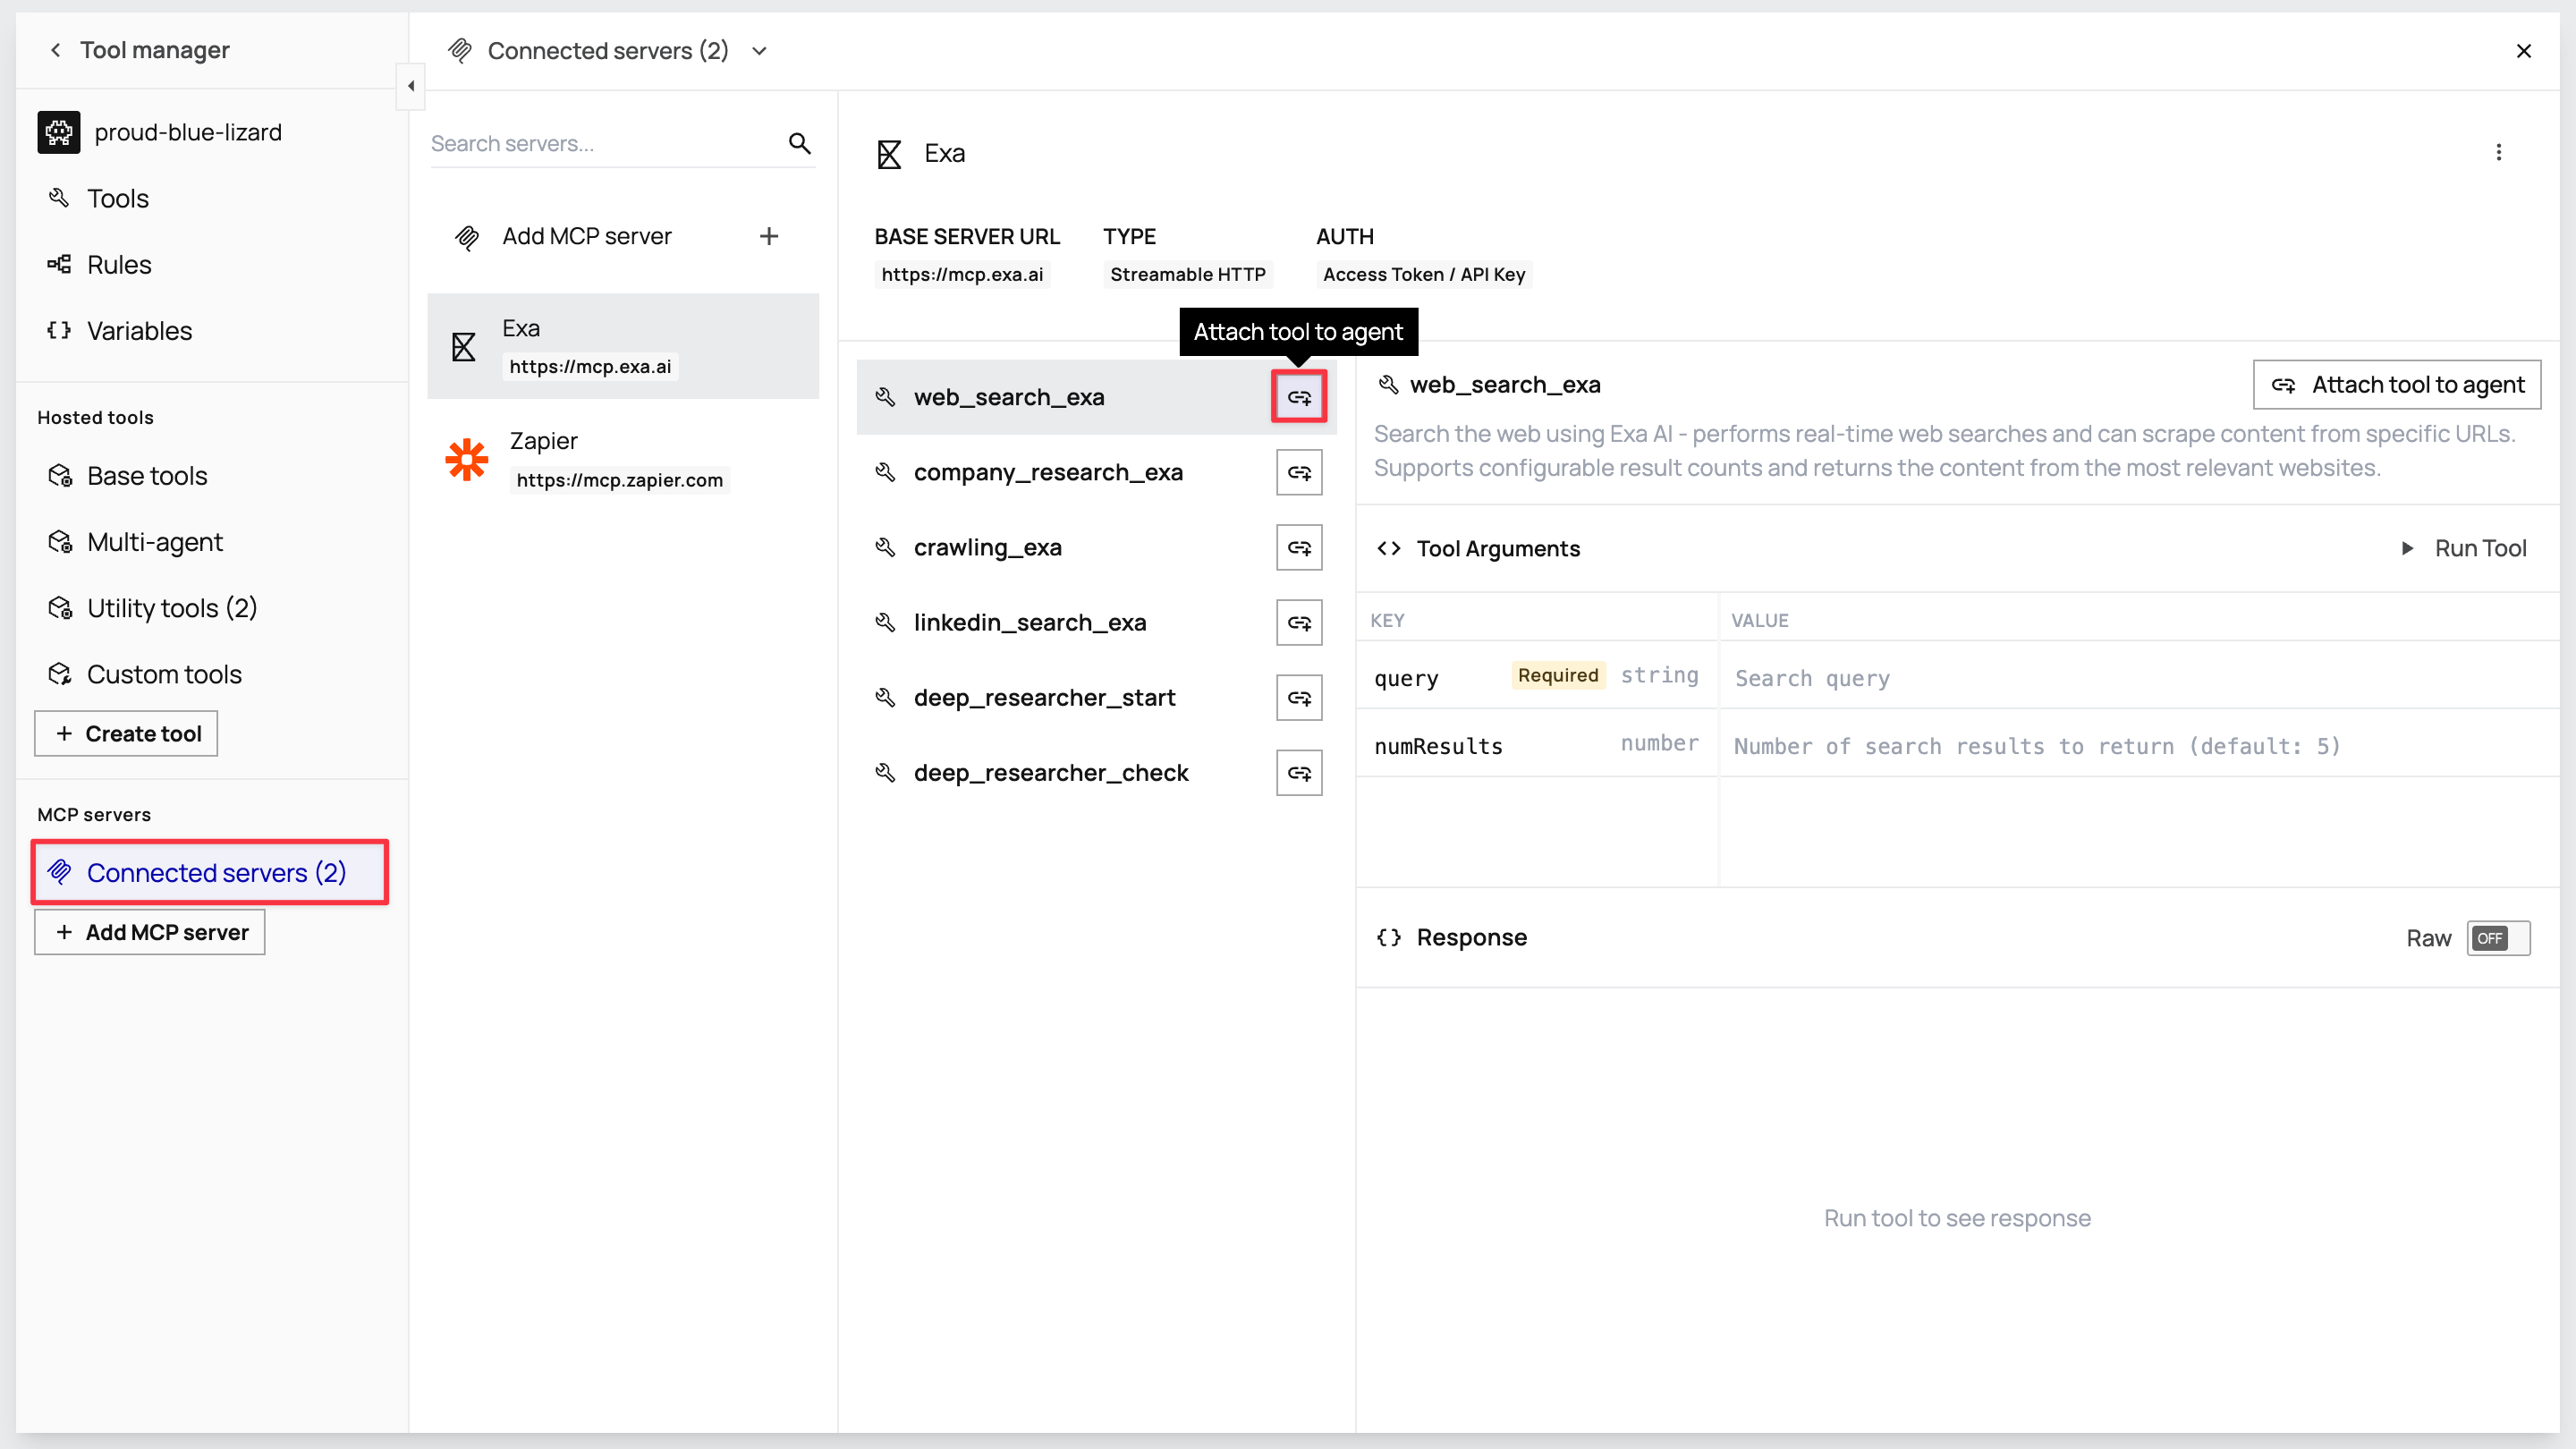
From Exa: Attach web_search_exa, company_research_exa, and linkedin_search_exa.
From Zapier: Attach gmail_create_draft and gmail_send_email.
Save your template
Section titled “Save your template”Once you’ve configured all memory blocks and tools, save your template to make it available for programmatic agent creation.
Save and version your template
Click the Save button in the ADE toolbar. This opens a version modal. Click Save new version to save your template for agent creation.
Your customer-success-agent template is now ready. You can use it to create customer-specific agents programmatically via the SDK.
Step 2: Set up the application and install the Letta SDK
Section titled “Step 2: Set up the application and install the Letta SDK”Now that we’ve configured our agent template, we’ll set up a customer sign-up application and integrate it with the Letta SDK.
Clone and explore the starter application
1. Clone the repository and install dependencies
Clone the starter repository and install its dependencies:
git clone https://github.com/letta-ai/letta-customer-specific-agents-starter.gitcd letta-customer-specific-agents-starternpm installThe starter application includes:
- A sign-up flow that collects the customer’s name, email, company, and job title
- A login system that uses email-based authentication
- A chat interface with a placeholder chatbot that echoes messages
- User storage with JSON-based persistence in
users.json
2. Start and test the application
Start the application to verify everything works:
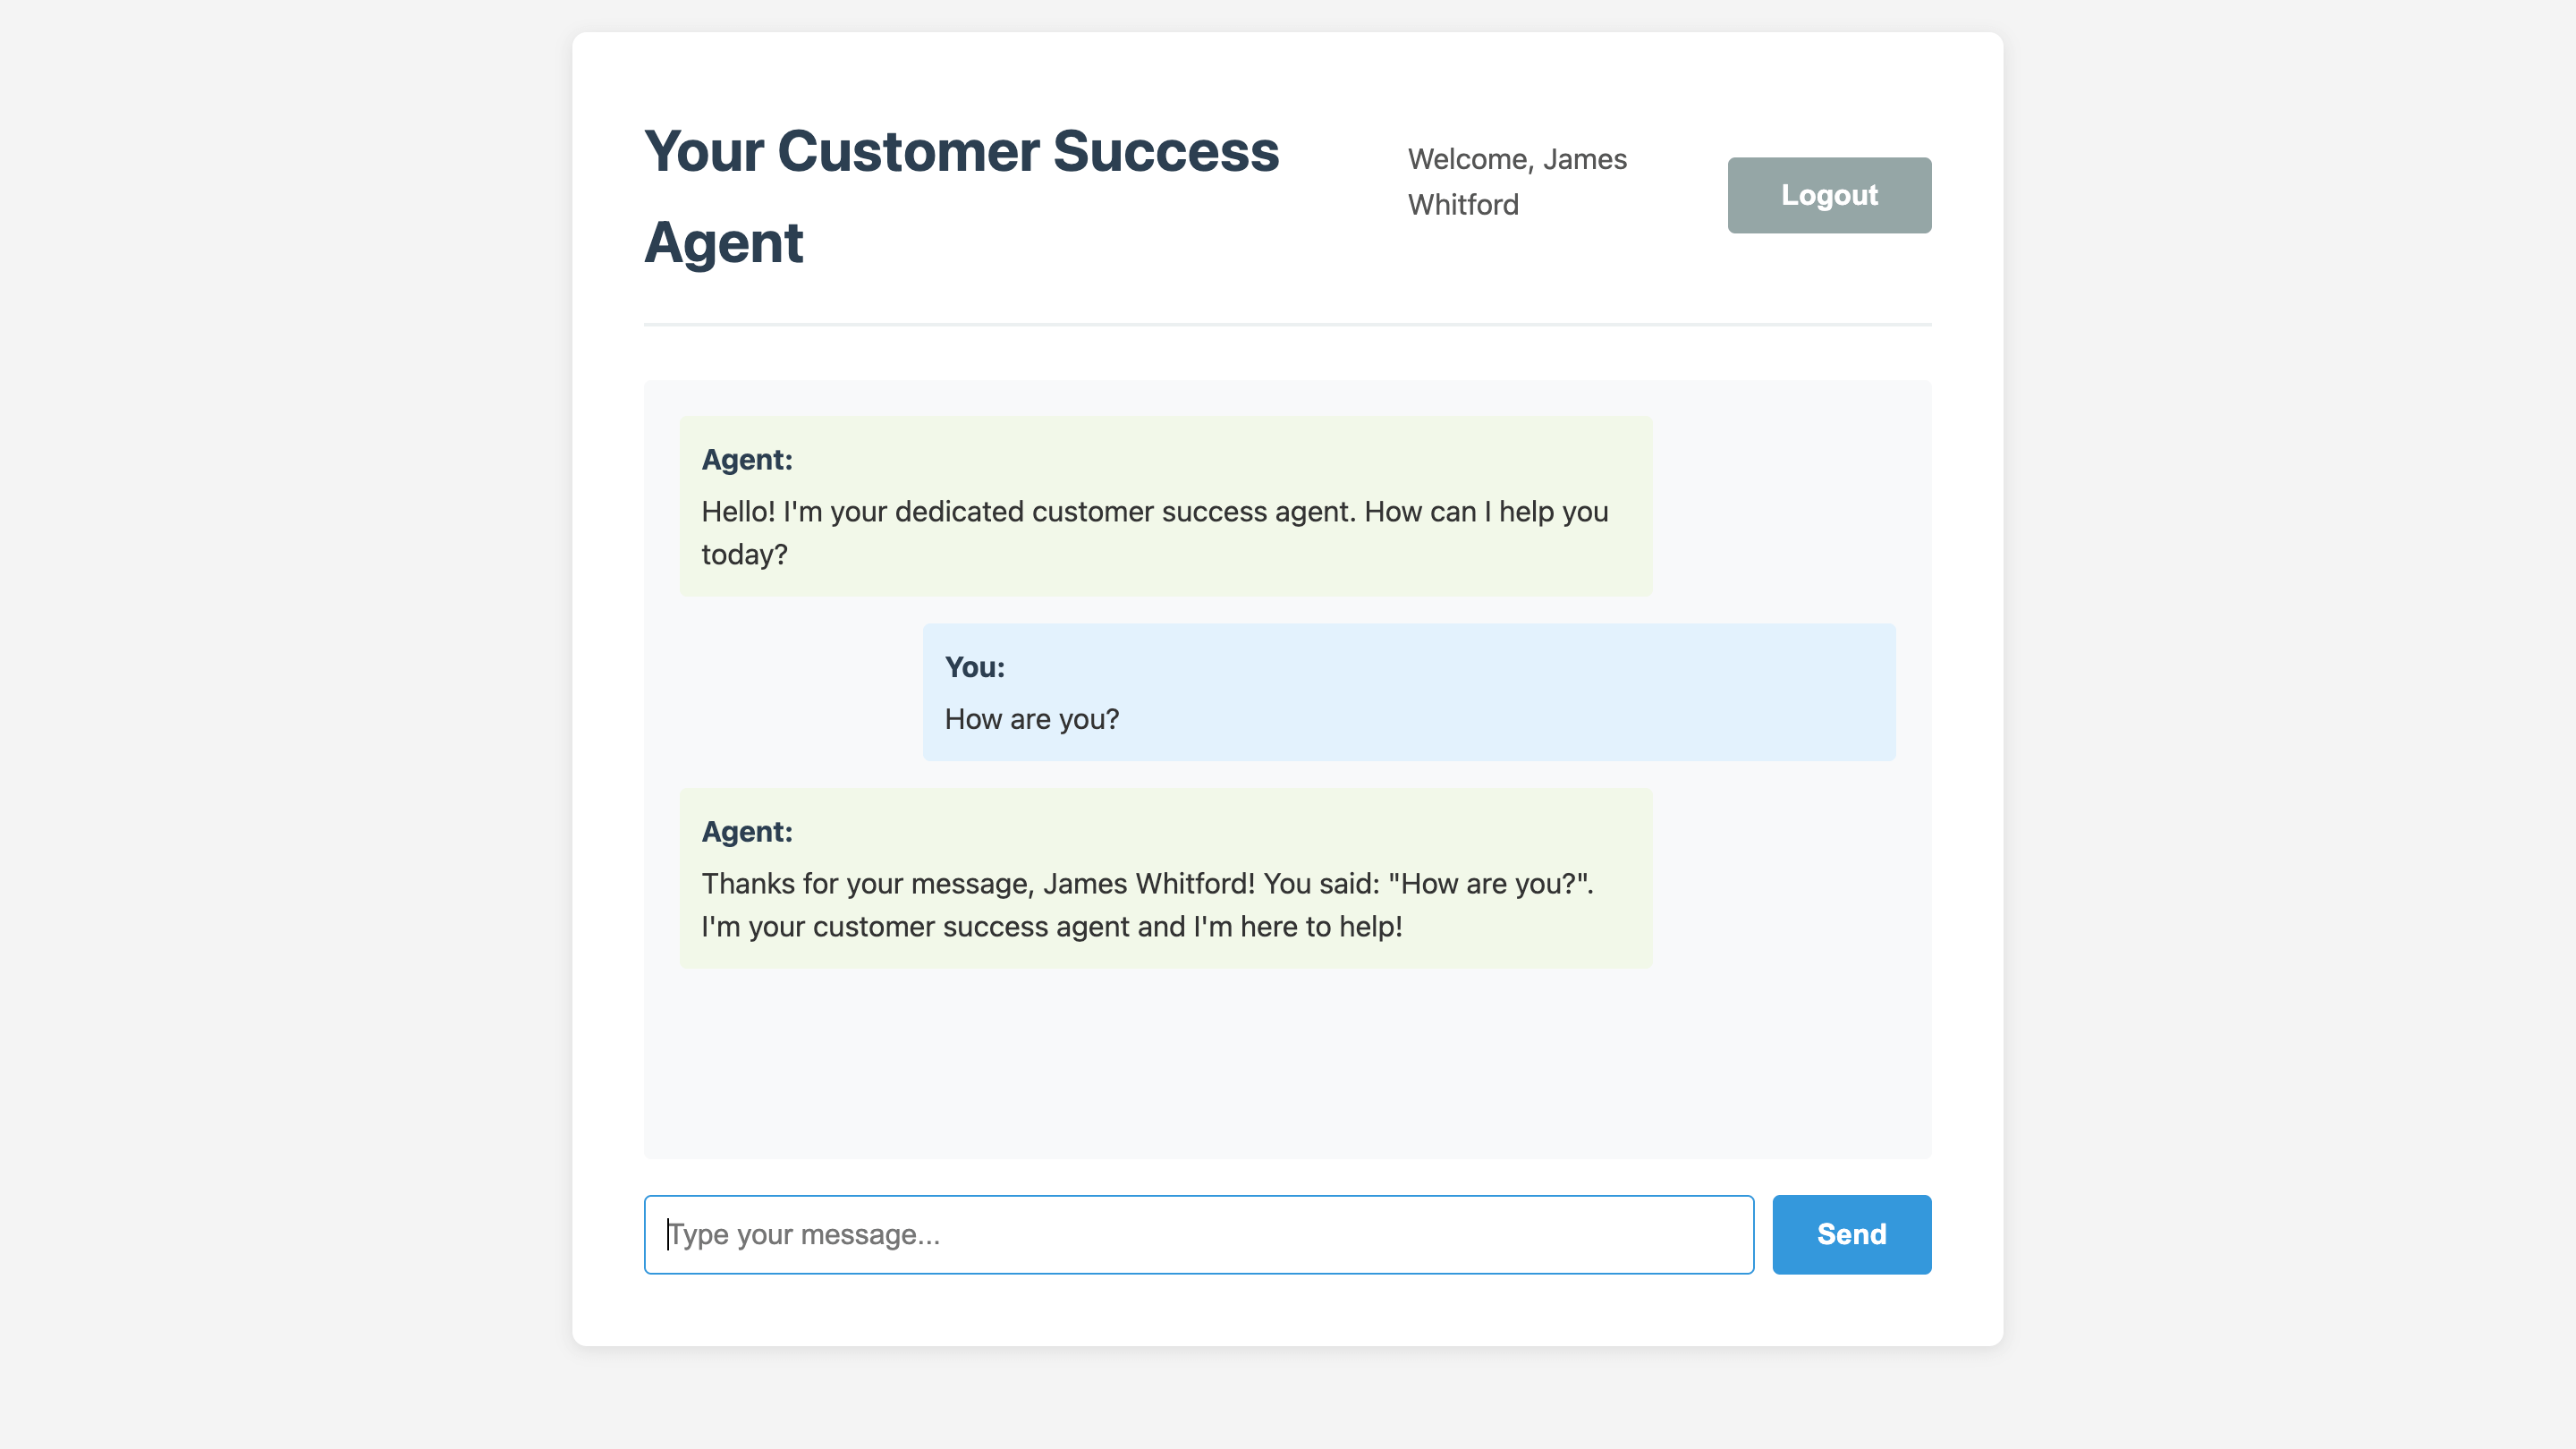
npm startOpen http://localhost:3000 in your browser. Click Sign Up and create a test account. After signing up, you’re redirected to the chat interface. Try sending a message – the chatbot will echo it back. This echoing is a placeholder behavior that we’ll replace with the Letta agent integration.
3. Understand the application structure
The application structure looks like this:
customer-success-crm-starter/├── server.js # Express server with API routes├── public/│ ├── index.html # Homepage with login form│ ├── signup.html # Sign-up form│ ├── chat.html # Chat interface│ └── style.css # Styling├── users.json # User data storage (auto-generated)└── package.json # DependenciesThe server.js file contains four API endpoints:
POST /api/signupcreates new user accountsPOST /api/loginauthenticates users by emailGET /api/user/:userIdretrieves user informationPOST /api/chathandles chat messages (currently by echoing them)
With the starter application running, we’re ready to install the Letta SDK and integrate it to automatically create agents for each new user.
Install the Letta SDK and Dotenv for environment variable management:
npm install @letta-ai/letta-client dotenvThis installs:
@letta-ai/letta-client: The official Letta SDK for Node.jsdotenv: Dotenv for loading environment variables from a.envfile
Create a .env file in the project root:
touch .envOpen .env and add your Letta API configuration:
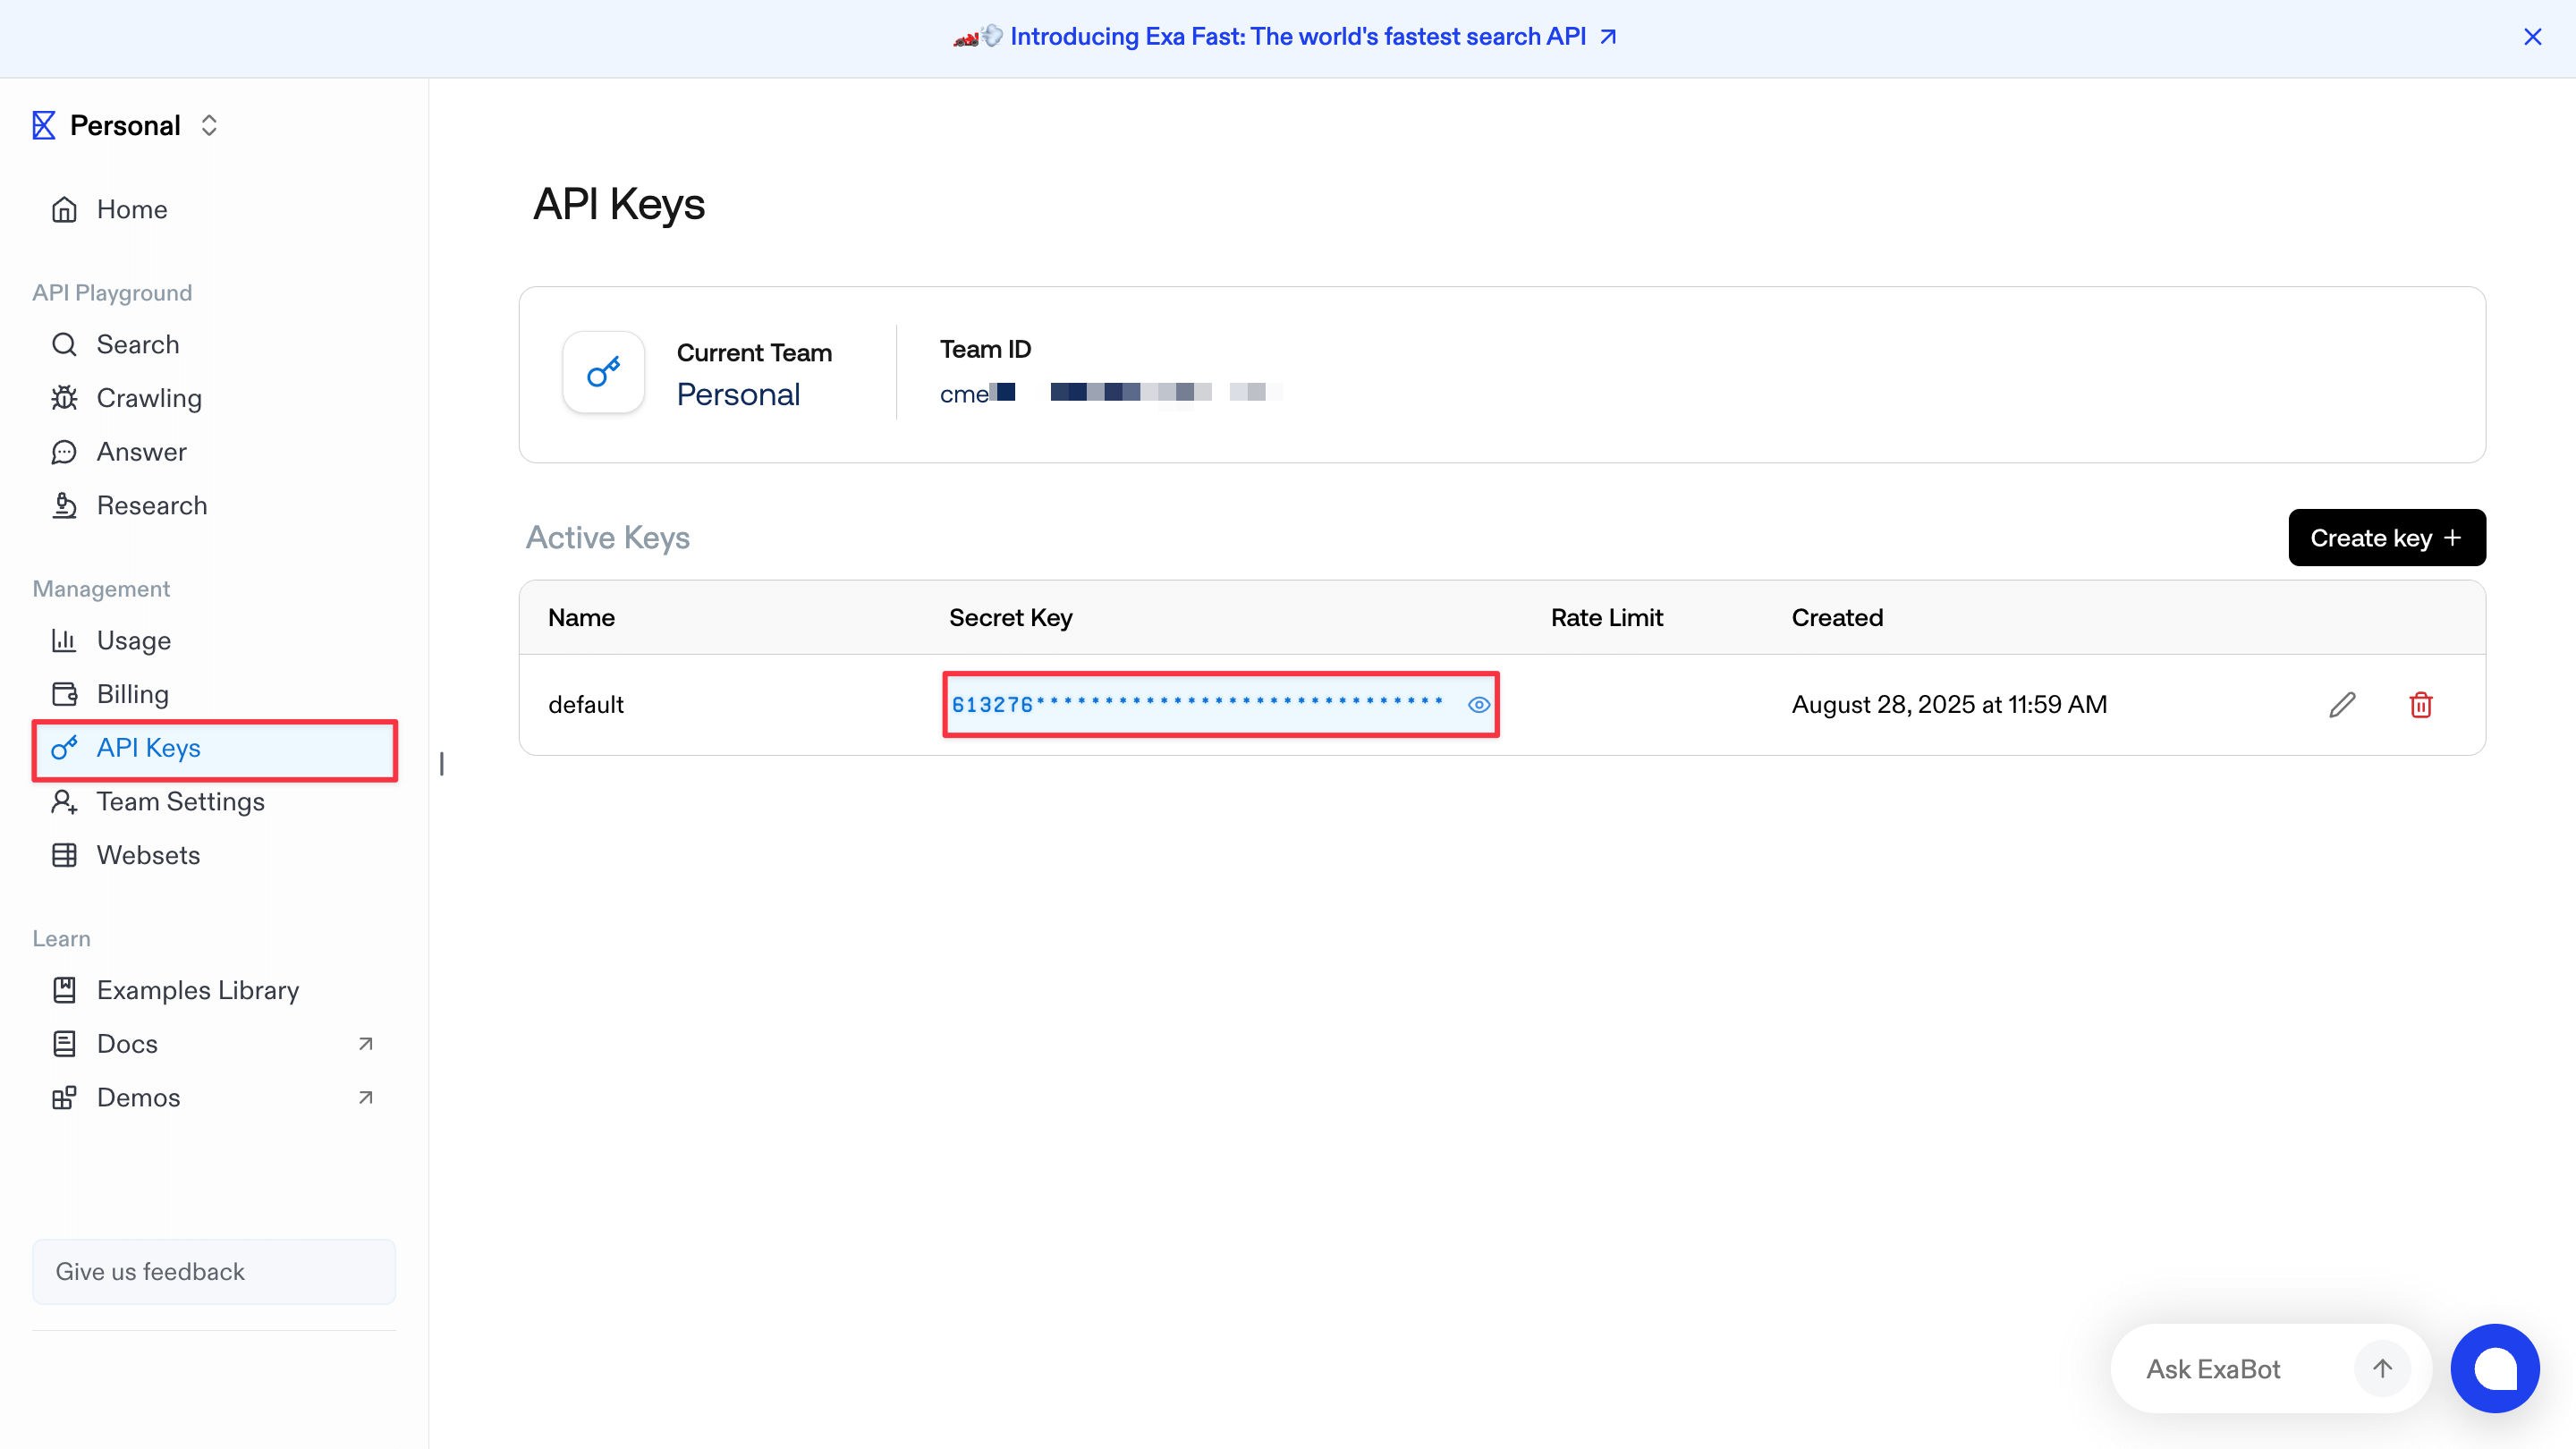
LETTA_API_KEY=your_letta_api_key_hereLETTA_TEMPLATE_VERSION=your_project/customer-success-agent:latestTo get your Letta API key, navigate to app.letta.com/api-keys in your browser. Click + Create API key, name it (for example, CRM Integration), and copy the key value.
For the LETTA_TEMPLATE_VERSION, you need the template identifier from your Letta dashboard. Navigate to Templates in the Letta dashboard and click on your customer-success-agent template. The template version follows the format {project_slug}/{template_name}:{version}.
For example, if your project slug is default-project, the value would be:
LETTA_TEMPLATE_VERSION=default-project/customer-success-agent:latestNow initialize the Letta SDK in server.js. First, add the Dotenv import at the very top of the file (before the existing imports):
require('dotenv').config();Then, add the Letta client import after the path import:
const { Letta } = require('@letta-ai/letta-client');Finally, add the Letta client initialization after the USERS_FILE constant declaration:
// Initialize Letta clientconst client = new Letta({ apiKey: process.env.LETTA_API_KEY,});The Letta instance connects to the Letta API using your API key. We’ll use this client throughout the application to create identities, create agents, and send messages.
Step 3: Create identities on sign-up
Section titled “Step 3: Create identities on sign-up”When a customer signs up, we need to create a Letta identity for them. An identity represents a unique user in the Letta system and serves as the foundation for creating dedicated agents. The identity–agent relationship enables proper multi-user isolation — each customer gets their own identity, and each identity can have one or more agents associated with it.
We’ll modify the sign-up endpoint to create agents in the background, while allowing users to proceed immediately. This prevents sign-up delays while agent creation completes asynchronously.
In the POST /api/signup endpoint, find the newUser object (around line 60) and add three new fields to track agent creation:
const newUser = { id: Date.now().toString(), name, email, company, role, agentId: null, // Add this identityId: null, // Add this agentStatus: 'creating', // Add this createdAt: new Date().toISOString()};Add the following code after the res.json() call (before the closing } catch block) to trigger background agent creation:
// Create agent asynchronously in background (don't await)createAgentForUser(newUser.id, name, email, company, role).catch(error => { console.error(`Failed to create agent for user ${newUser.id}:`, error);});This approach creates the user account immediately, returns a success response, and then triggers background agent creation without blocking the sign-up flow.
Now add the background function that handles identity and agent creation. Add the following function after the sign-up endpoint (before the login endpoint):
// Background function to create agentasync function createAgentForUser(userId, name, email, company, role) {    try {        console.log(`[Background] Creating identity for ${name}...`);        const identity = await client.identities.create({            identifier_key: `customer_${Date.now()}`,            name: name,            identity_type: "user"        });        console.log(`[Background] Identity created with ID: ${identity.id}`);
        // Agent creation will go here in Step 4
        // Update user with identity and agent info        const users = await readUsers();        const userIndex = users.findIndex(u => u.id === userId);        if (userIndex !== -1) {            users[userIndex].identityId = identity.id;            users[userIndex].agentStatus = 'ready';            await writeUsers(users);        }    } catch (error) {        console.error(`[Background] Error creating agent for user ${userId}:`, error);
        // Update user status to error        const users = await readUsers();        const userIndex = users.findIndex(u => u.id === userId);        if (userIndex !== -1) {            users[userIndex].agentStatus = 'error';            await writeUsers(users);        }    }}
The identifier_key uses a timestamp to ensure uniqueness. In a production application, you might use UUIDs or identifiers from your existing CRM system.
The background function creates the identity and updates the user record with the identity ID. In the next step, we’ll add the agent creation logic.
Step 4: Create agents from the template
Section titled “Step 4: Create agents from the template”With the identity created, we can now create a dedicated agent from our customer-success-agent template. The template-based approach creates a fully-configured agent with all memory blocks, tools, and settings in a single API call.
Update the createAgentForUser function to add agent creation after identity creation. Replace the // Agent creation will go here in Step 4 comment with the following code:
console.log(`[Background] Creating Letta agent from template for ${name}...`);let agent;const templateVersion = process.env.LETTA_TEMPLATE_VERSION;
if (templateVersion) {    console.log(`[Background] Using template: ${templateVersion}`);
    const response = await client.templates.agents.create(templateVersion, {        identityIds: [identity.id],        memoryVariables: {            customer_name: name,            customer_email: email,            company_name: company,            job_title: role        }    });
    // API returns agent IDs, retrieve the full agent object    agent = await client.agents.retrieve(response.agentIds[0]);} else {    console.log(`[Background] No template configured, creating agent manually...`);    agent = await client.agents.create({        memory_blocks: [            {                label: "customer",                value: `Customer Profile:Name: ${name}Email: ${email}Company: ${company}Title: ${role}
Professional Background:[To be researched and updated by the agent]
Business Challenges:[To be identified through conversations]
Communication Preferences:[To be learned over time]`            },            {                label: "persona",                value: "I am a dedicated customer success agent. My role is to help customers get the most value from our product, understand their needs, and provide personalized support. I should be professional, helpful, and proactive in identifying opportunities to assist."            }        ],        model: "openai/gpt-4o-mini",        embedding: "openai/text-embedding-3-small",        identityIds: [identity.id]    });}
console.log(`[Background] Agent created with ID: ${agent.id}`);
The code checks whether LETTA_TEMPLATE_VERSION is configured. If it is, the agent is created from your template with memory variables populated from the sign-up form. The template version string (like default-project/customer-success-agent:latest) is passed directly to the SDK. The API returns agent IDs, so we retrieve the full agent object with a separate call.
The memoryVariables object maps sign-up form data to the template variables we defined in Step 1. These values populate the {{variable_name}} placeholders in the agent’s customer memory block. Fields like professional_background and business_challenges remain empty – the agent will research and populate these using its tools.
If no template is configured, the code falls back to manual agent creation with basic memory blocks. This fallback won’t include the research tools or additional memory blocks from your template, but it allows testing without template configuration.
Now update the section that saves the agent information to the user record. Find the comment // Update user with identity and agent info and replace that entire block with the following code:
// Update user with identity and agent infoconst users = await readUsers();const userIndex = users.findIndex(u => u.id === userId);if (userIndex !== -1) { users[userIndex].agentId = agent.id; users[userIndex].identityId = identity.id; users[userIndex].agentStatus = 'ready'; await writeUsers(users);}Now that we’ve created the agent and linked it to the customer’s identity, we’ll send an initial prompt to activate it and have it begin researching the customer.
After the user update code, add this code to send the initial research prompt:
// Send initial prompt to agent for research and welcome emailconsole.log(`[Background] Sending initial research prompt to agent...`);try {    await client.agents.messages.create(agent.id, {        messages: [{            role: "system",            content: `You are a customer success agent assigned exclusively to ${name} (${email}) at ${company}. They are a ${role}. From this point forward, all messages you receive will be from ${name} unless otherwise specified.
Your first task: Research ${name}'s background on LinkedIn and their company through search, update your customer memory block with key findings, draft a personalized welcome email based on your research that connects ACME's automation solutions to their manufacturing challenges, and send the email immediately.`        }]    });    console.log(`[Background] Initial agent prompt sent successfully`);} catch (promptError) {    console.error(`[Background] Warning: Could not send initial prompt:`, promptError.message);}
This initial prompt triggers autonomous agent behavior. The agent will:
- Use the
linkedin_search_exatool to research the customer’s professional background - Use the
company_research_exatool to investigate their company and industry - Update its
customermemory block with its findings - Use
gmail_create_draftto compose a personalized welcome email incorporating its research insights - Use
gmail_send_emailto send the email immediately
The agent completes this entire workflow without human intervention. The customer receives a personalized welcome email within minutes of signing up, demonstrating how agents can provide value before any direct conversation begins. After sending the email, the agent remains available for ongoing interactions through the chat interface.
Step 5: Integrate the chat endpoint with Letta agents
Section titled “Step 5: Integrate the chat endpoint with Letta agents”The final integration step replaces the placeholder echo chatbot with real Letta agent communication. Each user’s messages will be sent to their dedicated agent, and the agent’s responses will be displayed in the chat interface.
Find the POST /api/chat endpoint in server.js and replace the entire endpoint with the following code:
app.post('/api/chat', async (req, res) => {    try {        const { userId, message } = req.body;
        if (!userId || !message) {            return res.status(400).json({ error: 'User ID and message are required' });        }
        const users = await readUsers();        const user = users.find(u => u.id === userId);
        if (!user) {            return res.status(404).json({ error: 'User not found' });        }
        if (!user.agentId) {            return res.status(400).json({ error: 'No agent associated with this user' });        }
        // Send message to the user's dedicated Letta agent        console.log(`Sending message to agent ${user.agentId} from identity ${user.identityId}...`);
        const agentResponse = await client.agents.messages.create(user.agentId, {            messages: [                {                    role: 'user',                    content: message,                    senderId: user.identityId  // Link message to the user's identity                }            ]        });
        // Extract the assistant's response from the messages        let responseText = '';        for (const msg of agentResponse.messages) {            if (msg.message_type === 'assistant_message') {                responseText = msg.content;                break;            }        }
        res.json({            success: true,            response: responseText || 'I received your message but need a moment to formulate a response.'        });    } catch (error) {        console.error('Chat error:', error);        res.status(500).json({            error: 'Server error',            details: error.message        });    }});
The endpoint now sends each message to the user’s dedicated agent via client.agents.messages.create(). The senderId parameter links the message to the user’s identity, which enables proper user attribution in Letta’s system and allows the agent to track which customer is sending each message.
Agent responses can contain multiple messages – function call results, internal reasoning, and the final assistant message. We loop through the response messages to find the one with message_type: 'assistant_message', which contains the text that should be displayed to the user.
The endpoint includes validation to check that the user exists and has an associated agent. If agent creation is still in progress (the background function in Step 3), the error message indicates that no agent is available yet.
Step 6: Test the application
Section titled “Step 6: Test the application”With all integrations complete, restart the server to test the full workflow:
npm startOpen http://localhost:3000 in your browser and click Sign Up. Fill in the form with your own details – use your real name, email, company, and job title. The agent will research this information and send you an email, so using real data provides the most realistic testing experience.
After clicking Sign Up, you’ll be redirected to the chat interface immediately. The sign-up completes instantly while agent creation and autonomous research happen in the background. Watch your terminal output – you should see logs showing the identity creation, agent creation, and initial prompt delivery:
[Background] Creating identity for John Doe...[Background] Identity created with ID: abc-123...[Background] Creating Letta agent from template for John Doe...[Background] Using template: default-project/customer-success-agent:latest[Background] Agent created with ID: agent-456...[Background] Initial agent prompt sent successfullyWhen you see Initial agent prompt sent successfully, you know your agent is researching your background and drafting a welcome email. Check your email inbox – within a few minutes, you should receive a personalized welcome message from your agent that references your professional background and company context.
The welcome email demonstrates the agent’s autonomous research capabilities. It will mention specific details about your role, company, or industry that it discovered through LinkedIn and web search.
After receiving the email, return to the chat interface and send a message like:
Hi, what do you know about me?The agent will respond with information from its memory, including details it gathered during its research. The agent maintains context across the conversation and remembers everything from its initial research.
To verify persistence, log out and log back in using your email. The agent should remember your previous conversation and maintain its memory across sessions.
What’s next?
Section titled “What’s next?”You’ve created a working customer success system with programmatic agent creation. Consider the following ways to scale this into a production CRM or integrate it with your existing customer relationship tools:
Integrating with existing CRM systems
Connect your application to CRM platforms like HubSpot, Salesforce, or Pipedrive using webhooks. When a new contact is created in your CRM, automatically trigger agent creation:
app.post('/webhook/crm-contact-created', async (req, res) => {    const { name, email, company, title } = req.body;
    // Create identity and agent automatically    createAgentForUser(null, name, email, company, title);
    res.json({ success: true });});
This approach augments your CRM with AI-powered relationship management – each customer gets a dedicated agent that researches their background, maintains conversation history, and provides personalized support. The agent can update the CRM with insights from conversations, qualifying leads and tracking engagement automatically.
Forward customer emails to agents using Zapier integration
Set up automatic email forwarding so your agents can handle ongoing customer communications beyond the initial welcome. When customers reply to emails or send new messages, Zapier can route them to their dedicated agents, allowing the agents to update their memory with new information, draft contextual responses based on conversation history, and maintain personalized interactions across multiple touchpoints. This transforms your agents from one-time onboarding tools into continuous relationship managers.
Deploying to production
For production deployments, replace the JSON file storage with a database (PostgreSQL, MySQL, or MongoDB) to handle concurrent access and larger user bases. Implement a queue system (like BullMQ or AWS SQS) for agent creation to handle spikes in sign-ups and provide retry logic for failed agent creation attempts.
Add monitoring and logging using services like Datadog or CloudWatch to track agent creation success rates, response times, and API errors. Store API keys and template versions in environment variables using a secrets manager like AWS Secrets Manager or HashiCorp Vault.
Consider implementing template versioning to upgrade all customer agents when you improve your agent template. The Letta SDK supports programmatic template updates that can migrate existing agents to new template versions.
Other possibilities to explore:
- Agents that schedule meetings and automatically manage follow-ups
- Integration with support ticket systems for context-aware assistance
- Analytics dashboards that track relationship progression and agent effectiveness
- Multi-channel support (such as Slack, Discord, and SMS) for customer communications
The combination of programmatic agent creation, persistent memory, and research tools provides a foundation for building sophisticated customer relationship systems that scale. This approach positions Letta as a lightweight alternative to traditional CRMs or as an intelligent layer on top of existing customer data platforms.