Deploy Letta Server on Railway
Deploy Letta to Railway platform with one-click deployment and managed infrastructure.
Deploying the Letta Railway template
Section titled “Deploying the Letta Railway template”We’ve prepared a Letta Railway template that has the necessary environment variables set and mounts a persistent volume for database storage. You can access the template by clicking the “Deploy on Railway” button below:
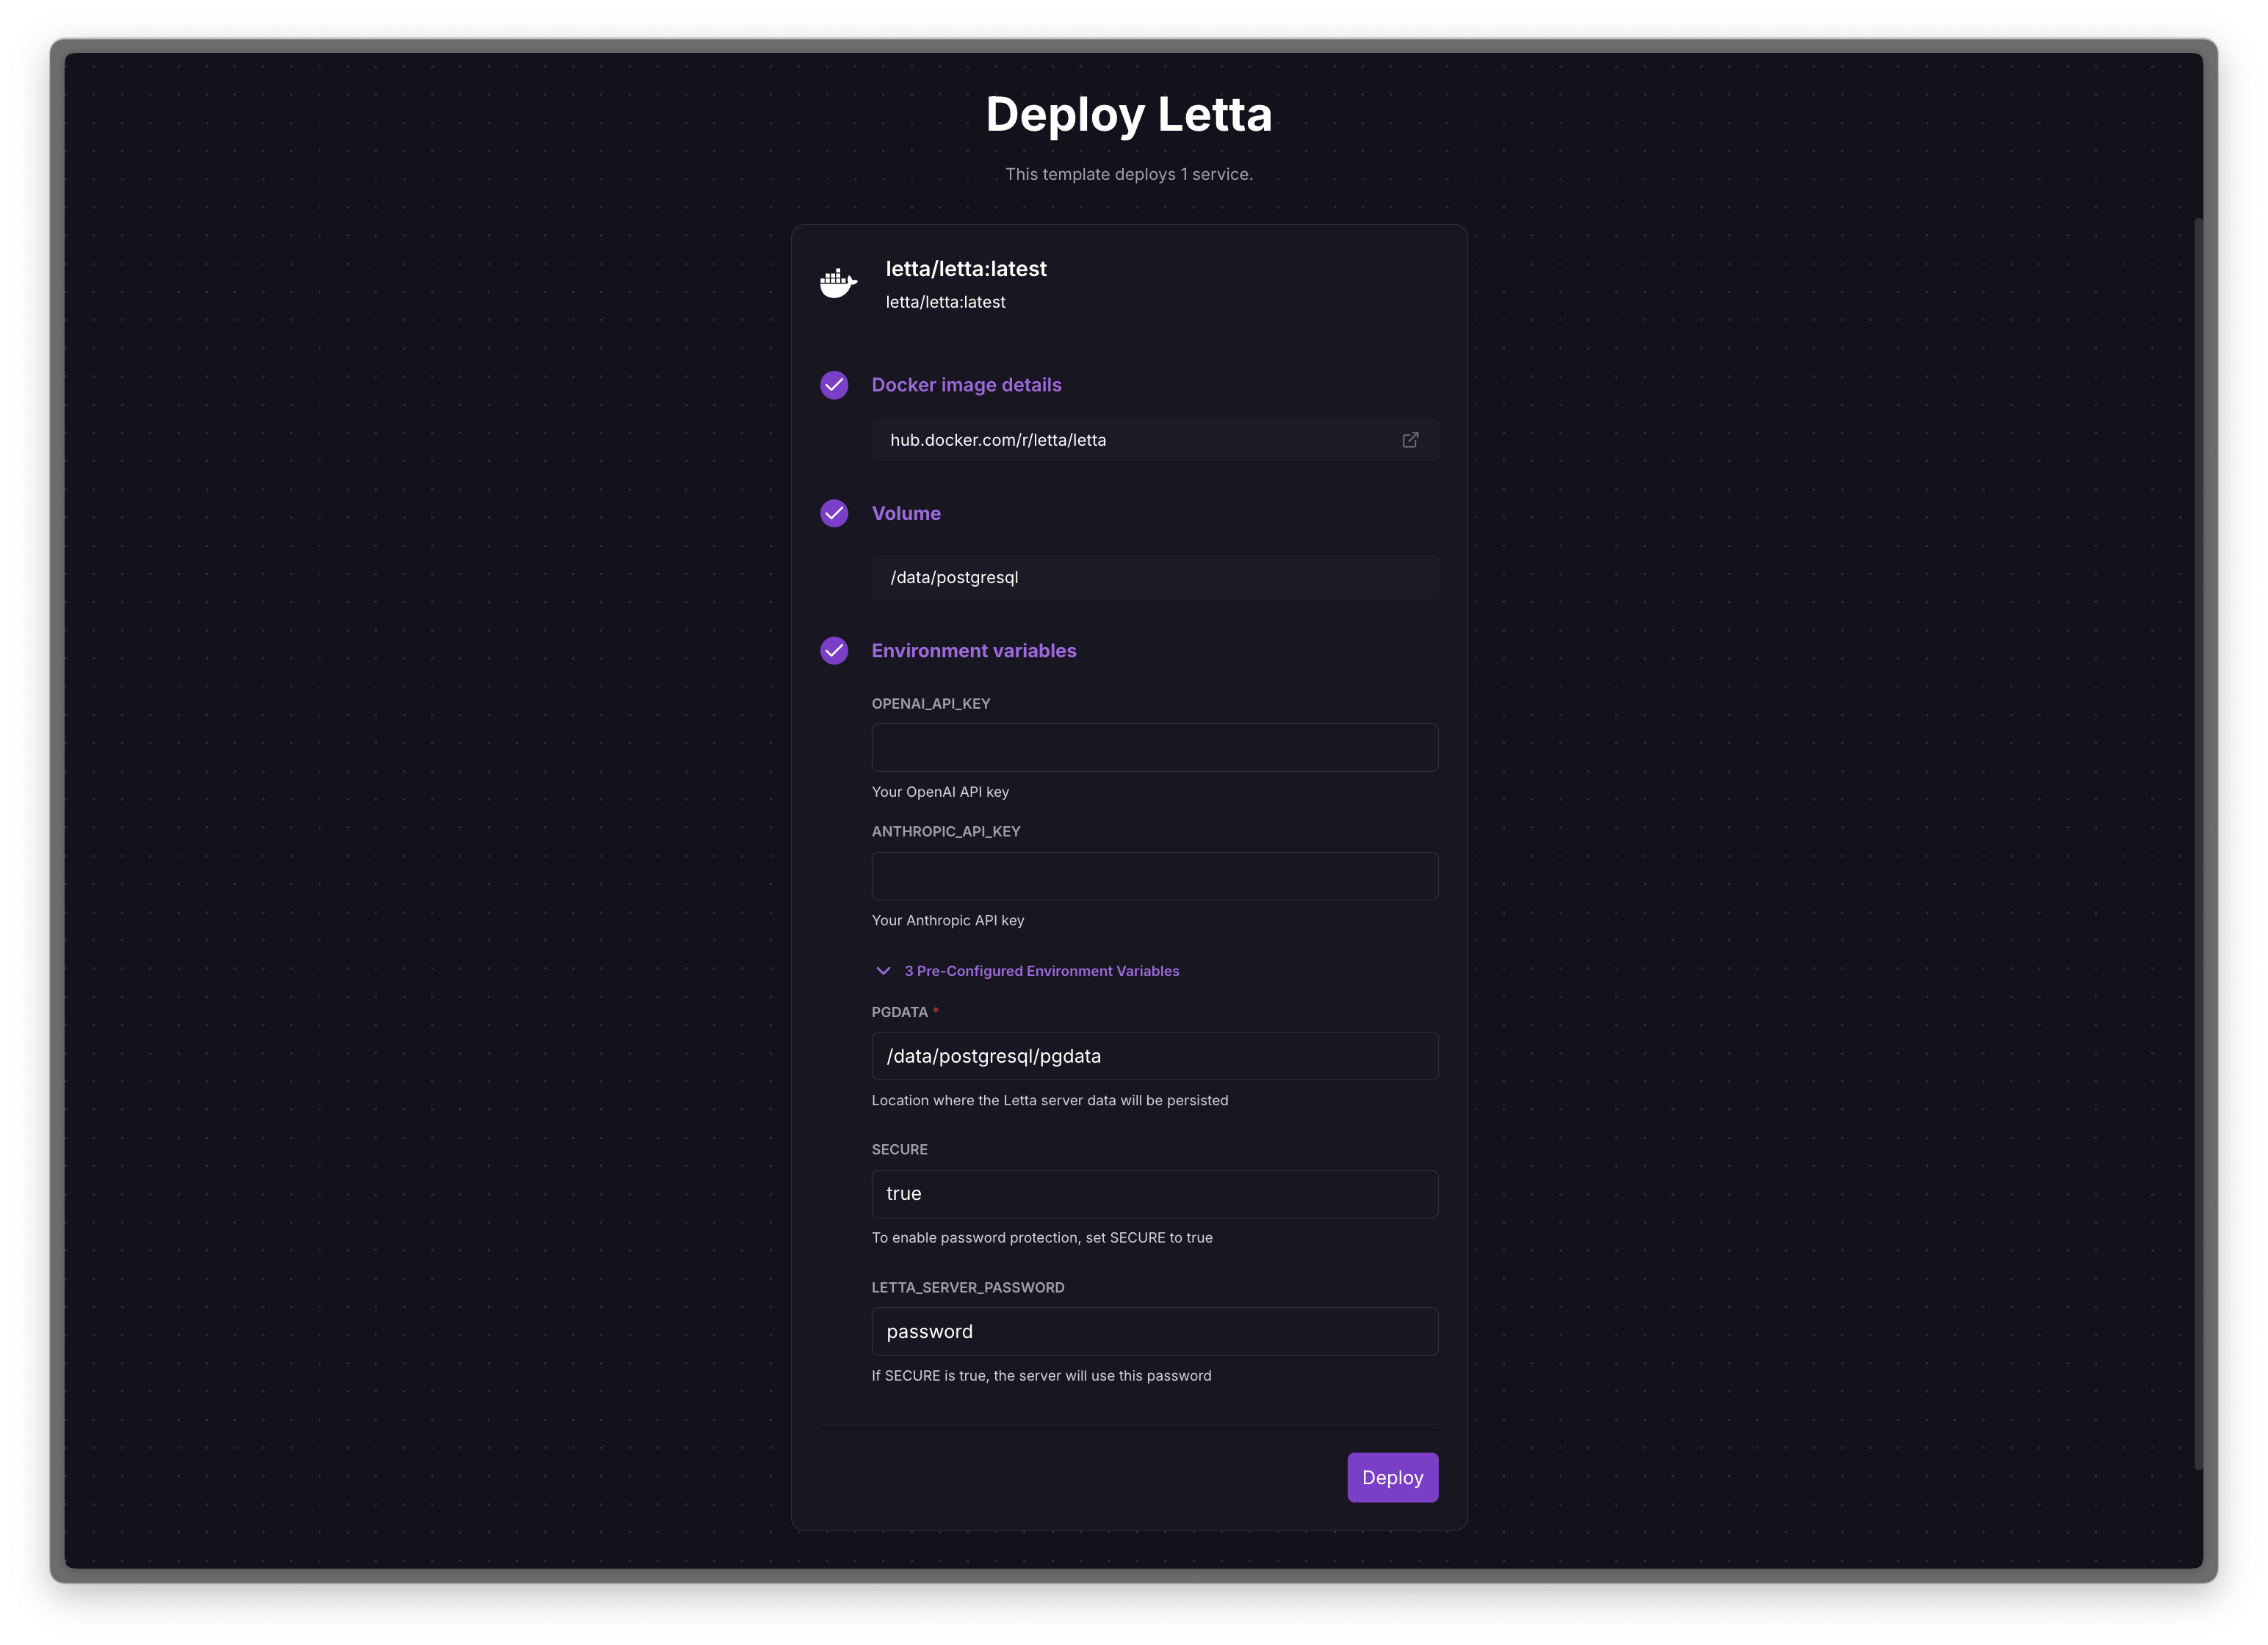
The deployment screen will give you the opportunity to specify some basic environment variables such as your OpenAI API key. You can also specify these after deployment in the variables section in the Railway viewer.
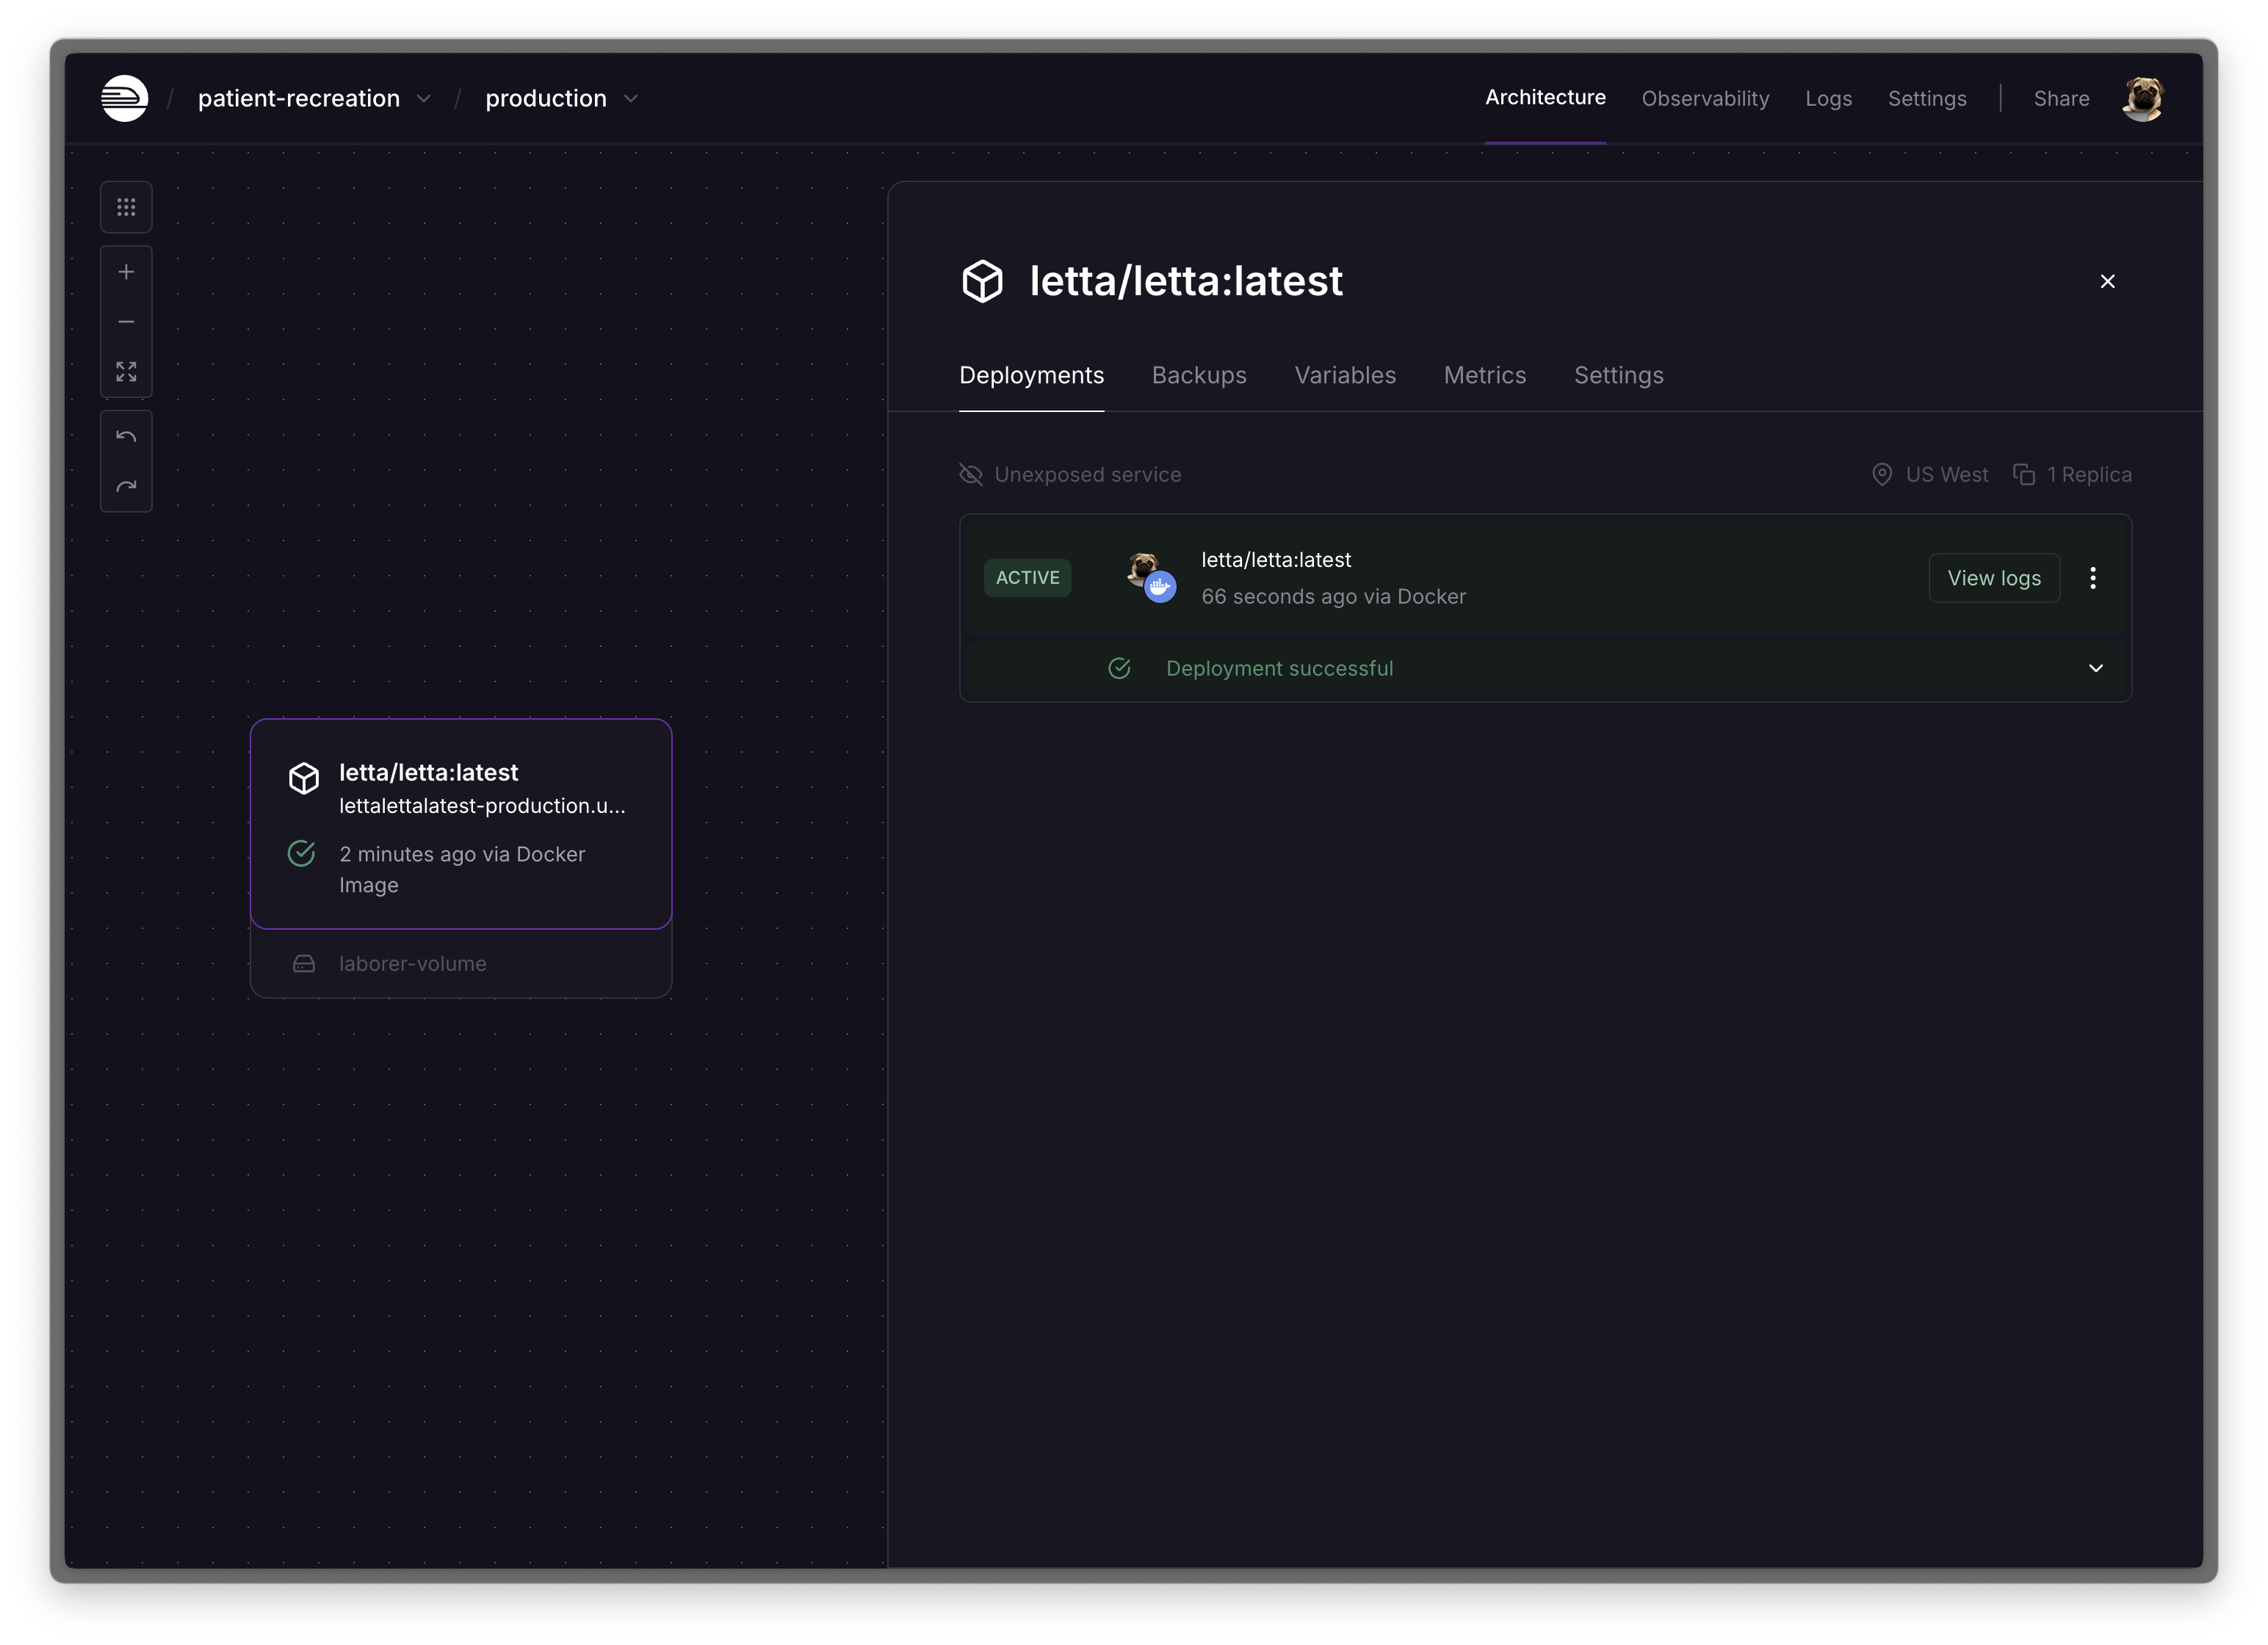
If the deployment is successful, it will be shown as ‘Active’, and you can click ‘View logs’.
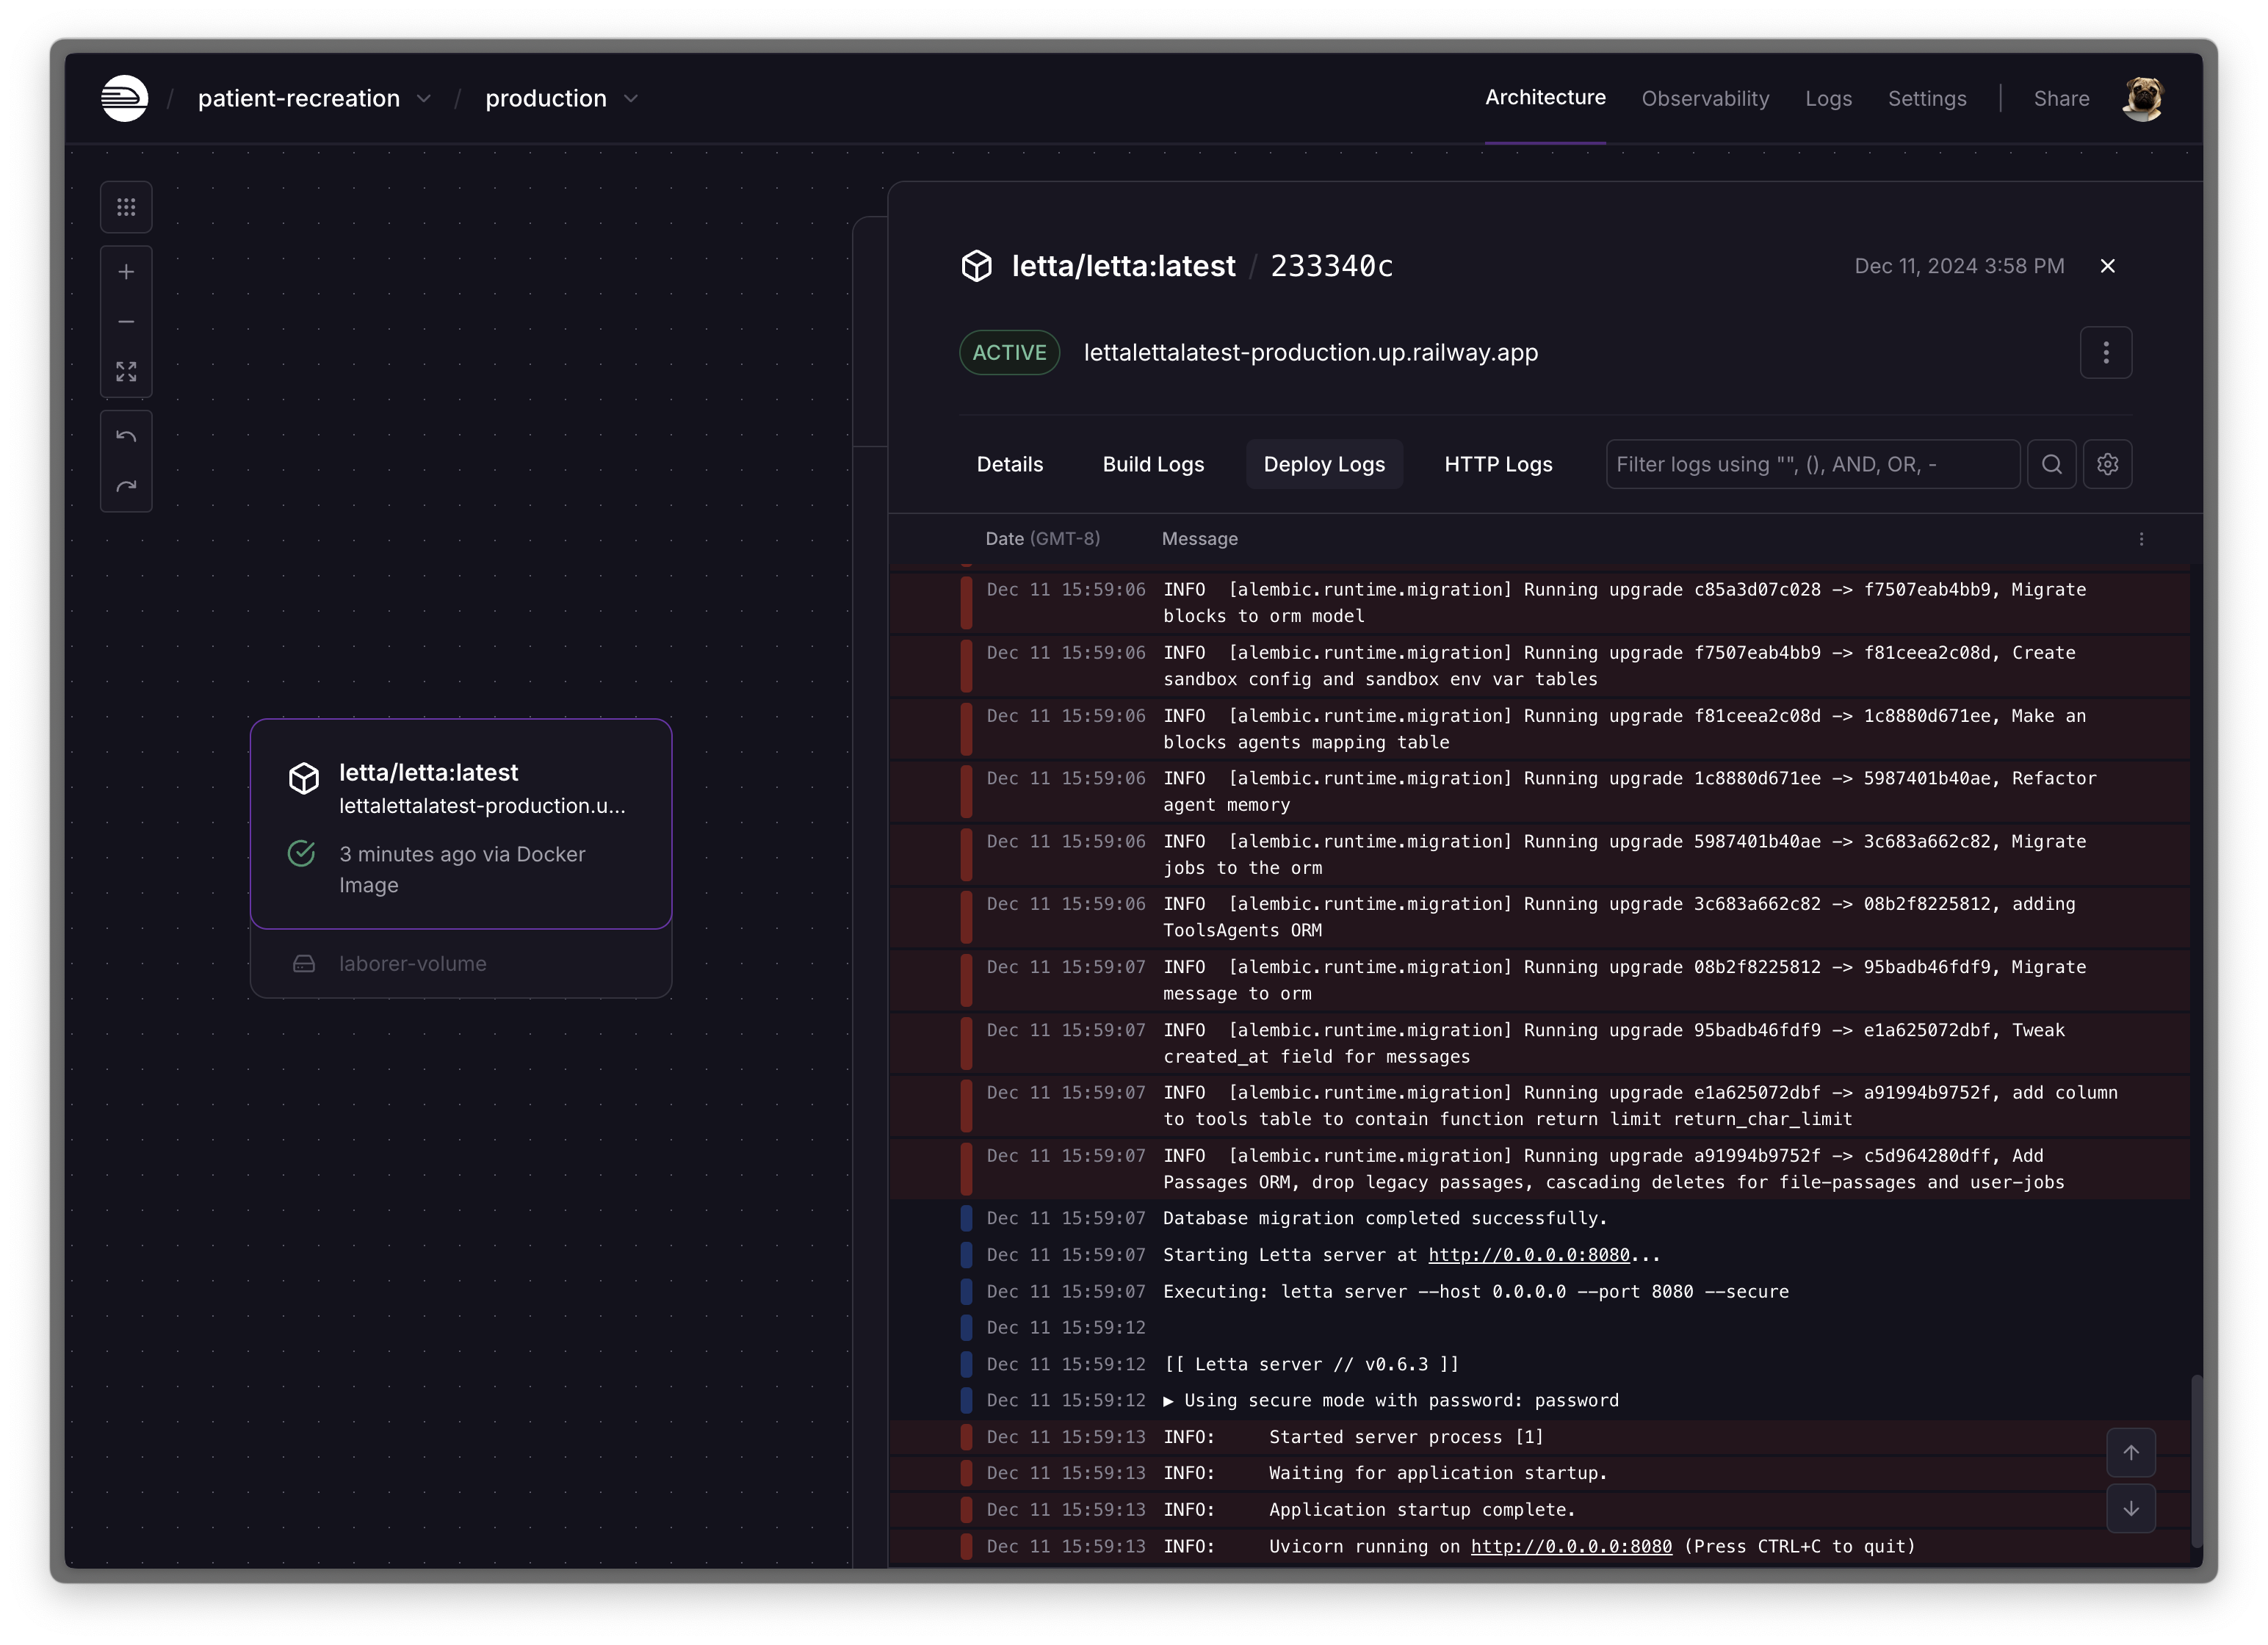
Clicking ‘View logs’ will reveal the static IP address of the deployment (ending in ‘railway.app’).
Accessing the deployment via the ADE
Section titled “Accessing the deployment via the ADE”Now that the Railway deployment is active, all we need to do to access it via the ADE is add it to as a new remote Letta server.
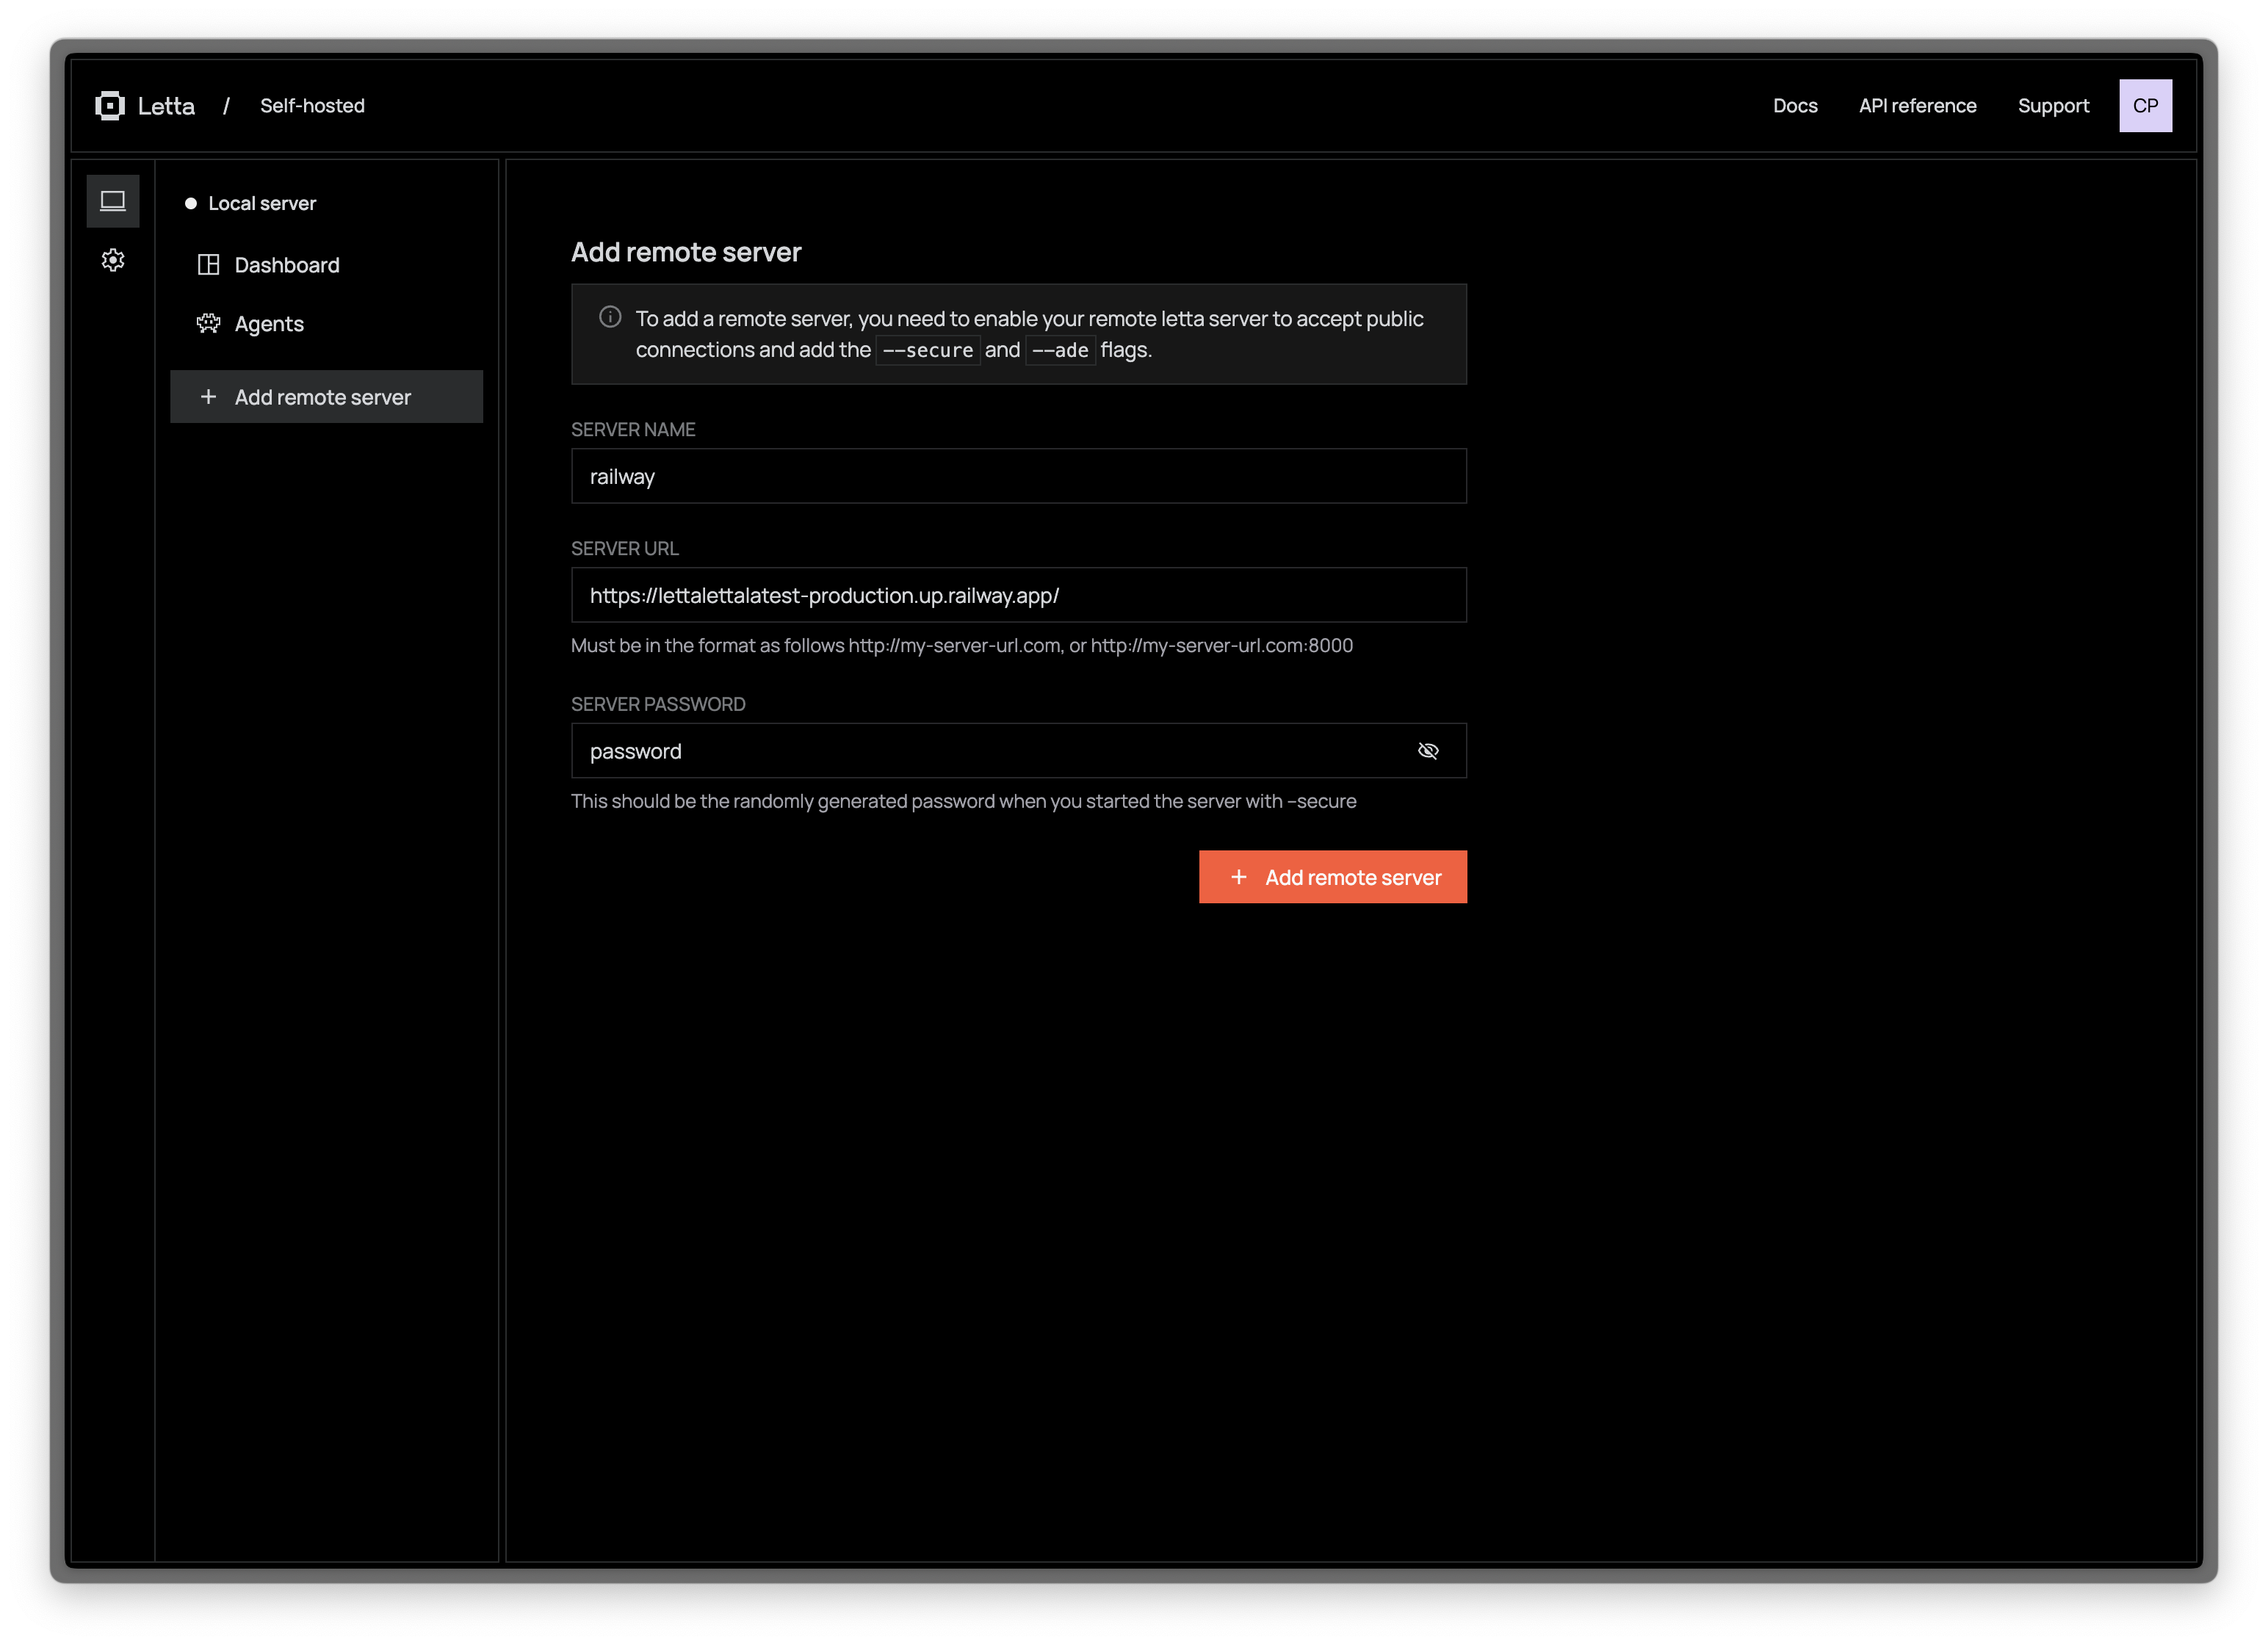
The default password set in the template is password, which can be changed at the deployment stage or afterwards in the ‘variables’ page on the Railway deployment.
Click “Add remote server”, then enter the details from Railway (use the static IP address shown in the logs, and use the password set via the environment variables):
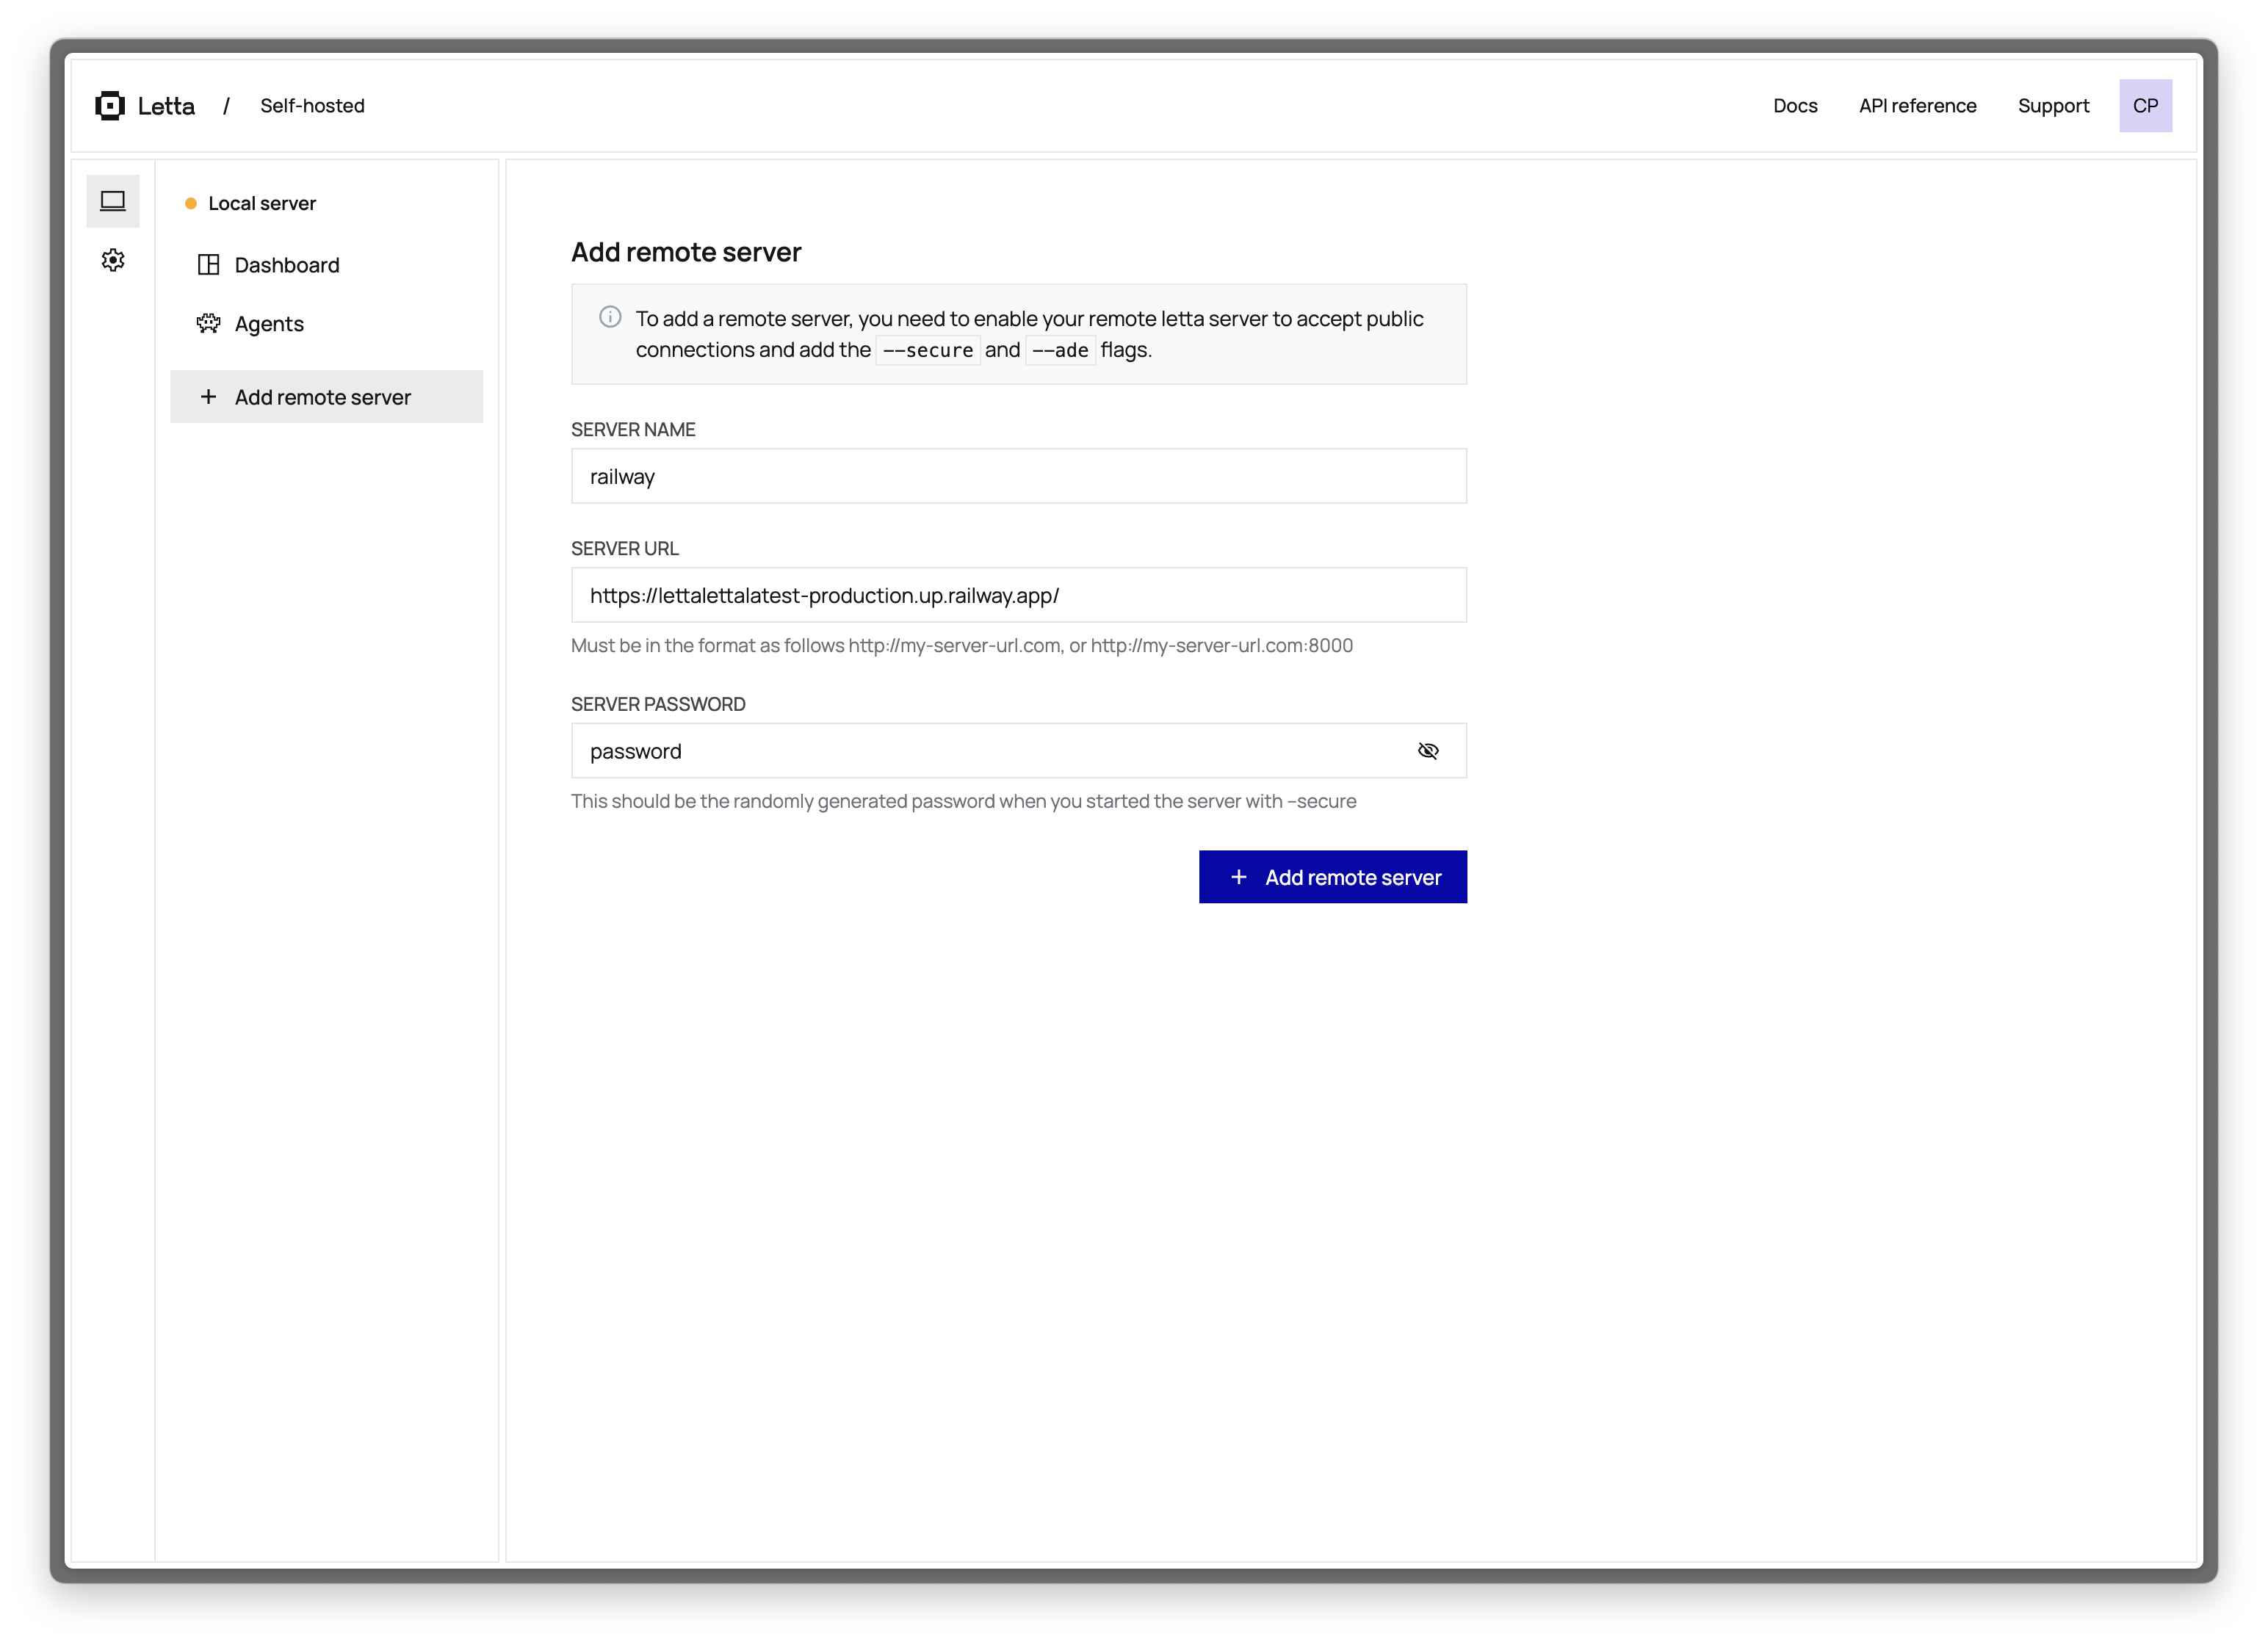
Accessing the deployment via the Letta API
Section titled “Accessing the deployment via the Letta API”Accessing the deployment via the Letta API is simple, we just need to swap the base URL of the endpoint with the IP address from the Railway deployment.
For example if the Railway IP address is https://MYSERVER.up.railway.app and the password is banana, to create an agent on the deployment, we can use the following shell command:
curl --request POST \ --url https://MYSERVER.up.railway.app/v1/agents/ \ --header 'X-BARE-PASSWORD: password banana' \ --header 'Content-Type: application/json' \ --data '{ "model": "openai/gpt-4o-mini", "embedding": "openai/text-embedding-3-small", "memory_blocks": [ { "label": "human", "value": "The human'\''s name is Bob the Builder" }, { "label": "persona", "value": "My name is Sam, the all-knowing sentient AI." } ]}'This will create an agent with two memory blocks, configured to use gpt-4o-mini as the LLM model, and text-embedding-3-small as the embedding model.
If the Letta server is not password protected, we can omit the X-BARE-PASSWORD header.
Adding additional environment variables
Section titled “Adding additional environment variables”To help you get started, when you deploy the template you have the option to fill in the example environment variables OPENAI_API_KEY (to connect your Letta agents to GPT models) and ANTHROPIC_API_KEY (to connect your Letta agents to Claude models).
There are many more providers you can enable on the Letta server via additional environment variables (for example vLLM, Ollama, etc). For more information on available providers, see our documentation.
To connect Letta to an additional API provider, you can go to your Railway deployment (after you’ve deployed the template), click Variables to see the current environment variables, then click + New Variable to add a new variable. Once you’ve saved a new variable, you will need to restart the server for the changes to take effect.