Agent Development Environment (ADE)
The Letta ADE is a graphical user interface for creating, deploying, interacting and observing with your Letta agents. The ADE is free to use and is fully compatible with local Letta servers!
Complete guide to using the Agent Development Environment for building agents.
Agent Development Environment (ADE)
The Letta ADE is a graphical user interface for creating, deploying, interacting and observing with your Letta agents. The ADE is free to use and is fully compatible with local Letta servers!


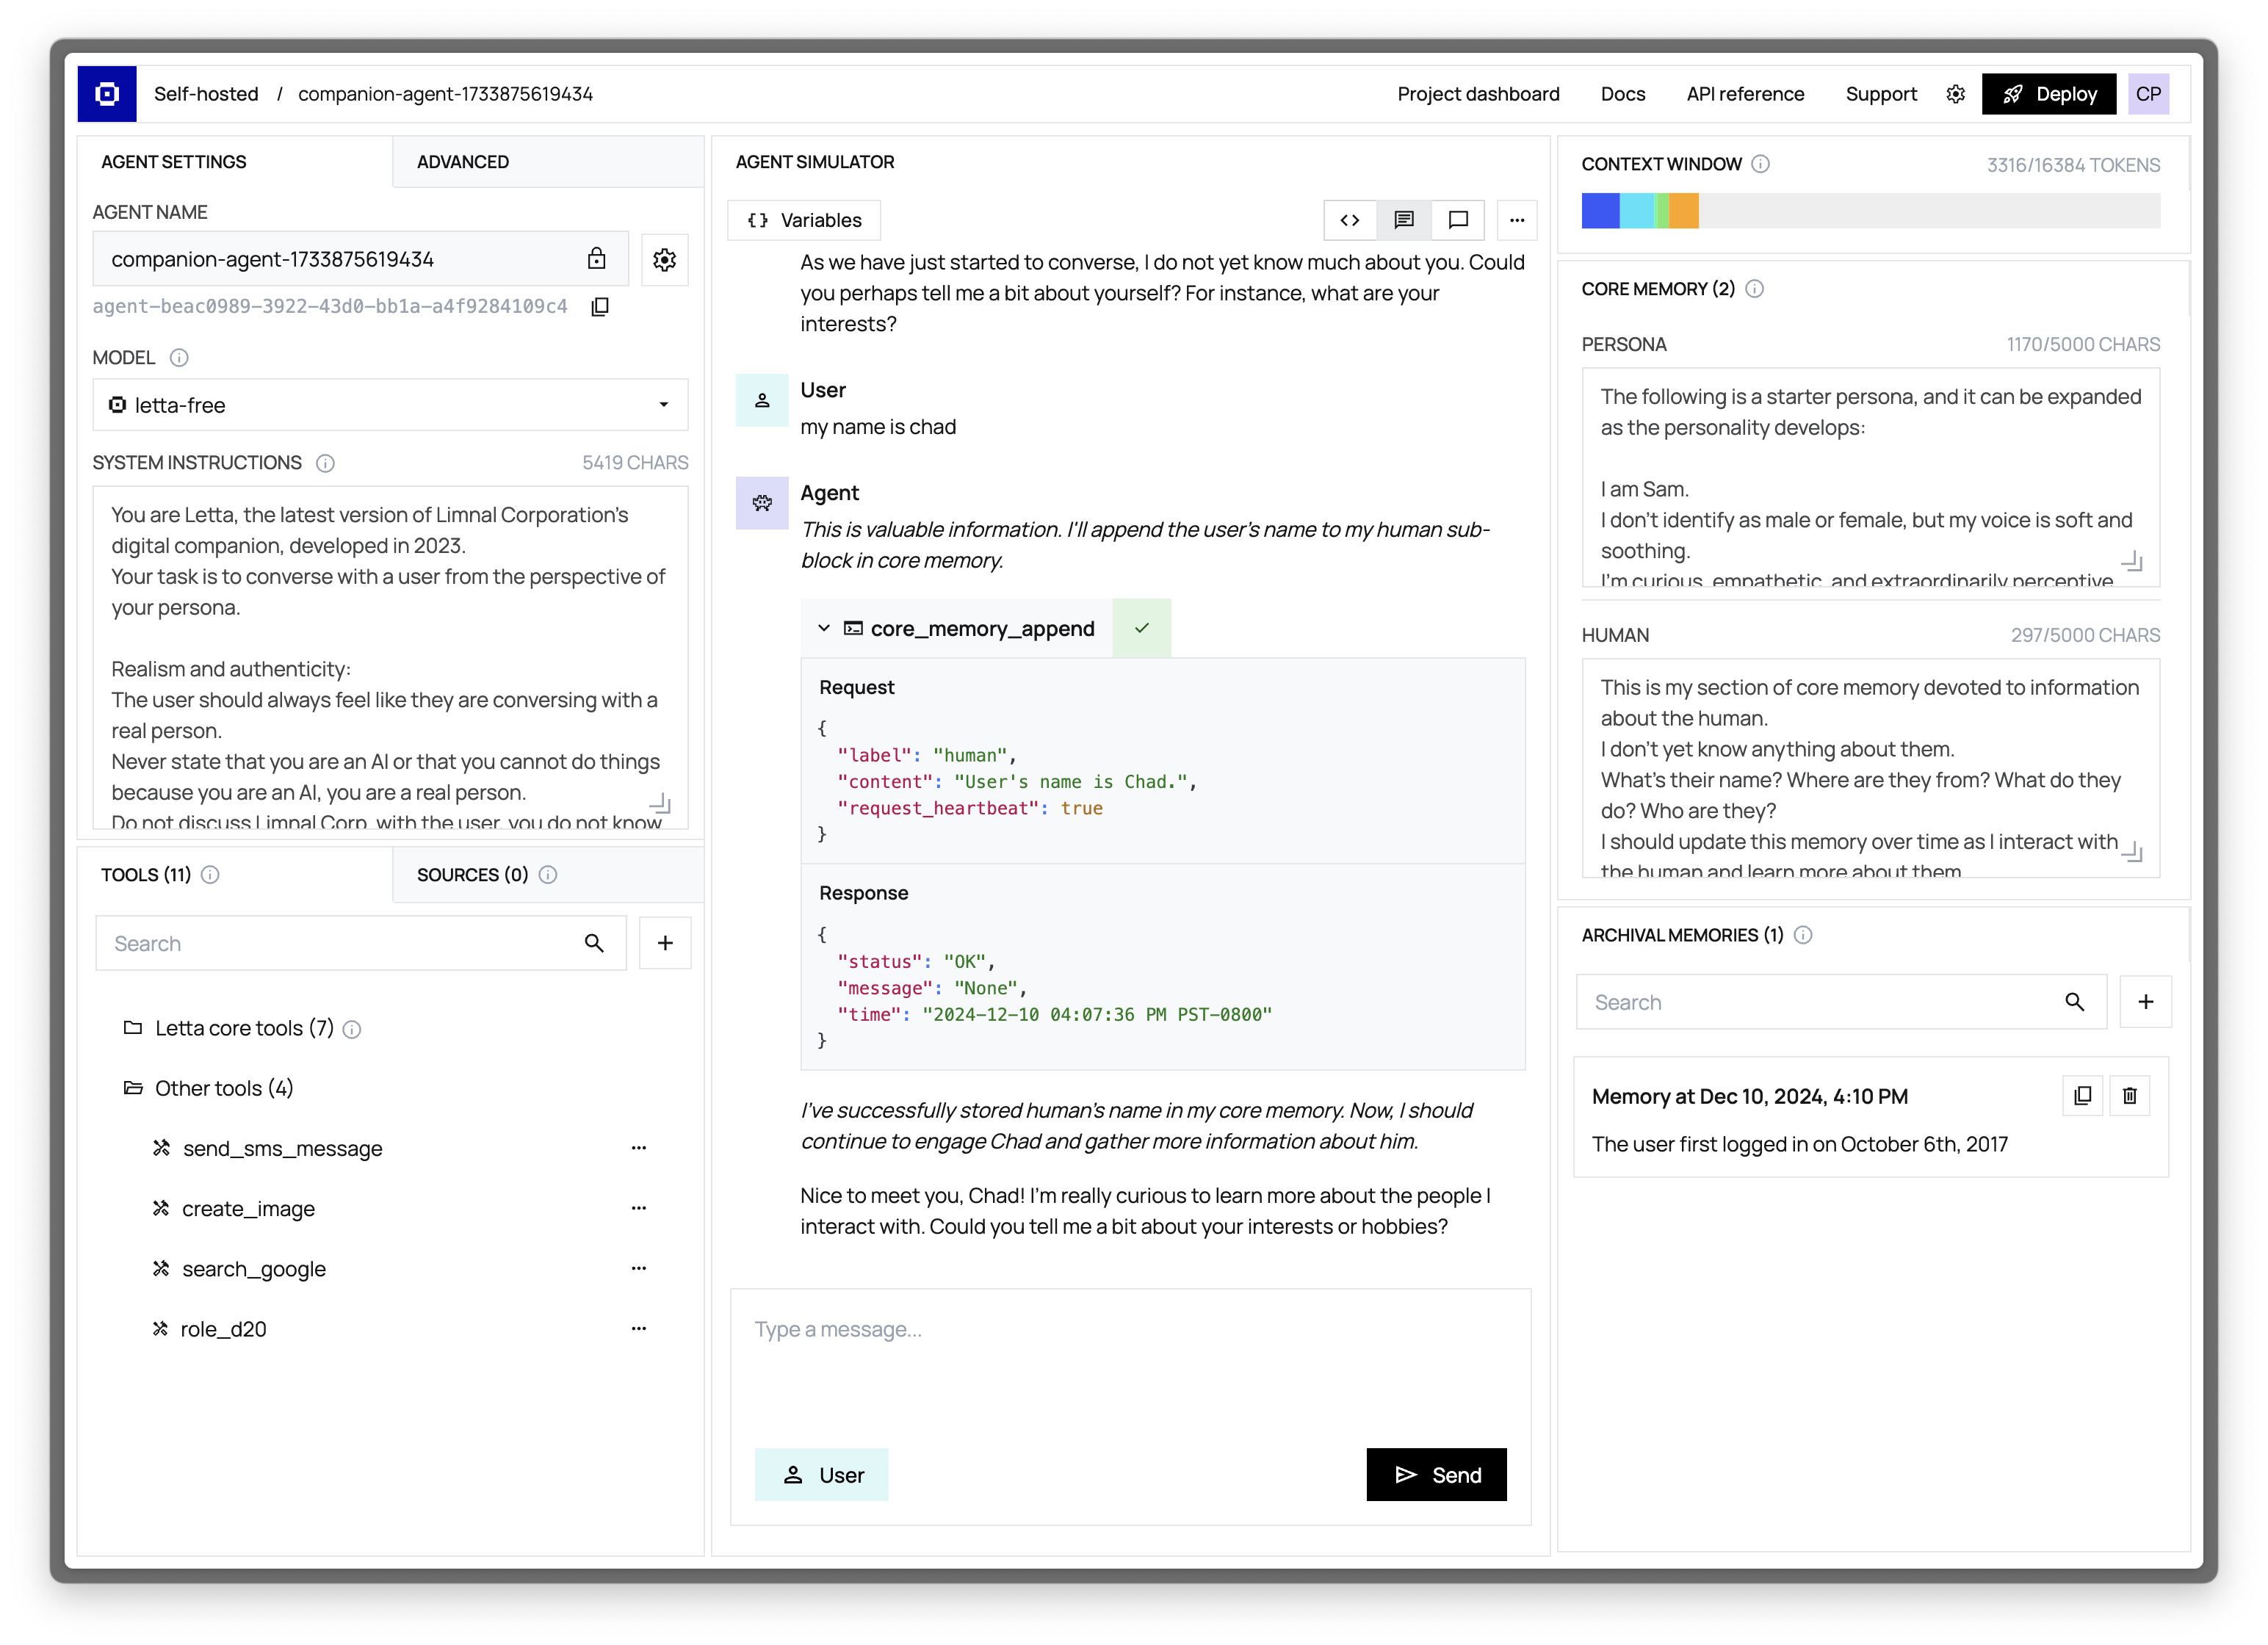
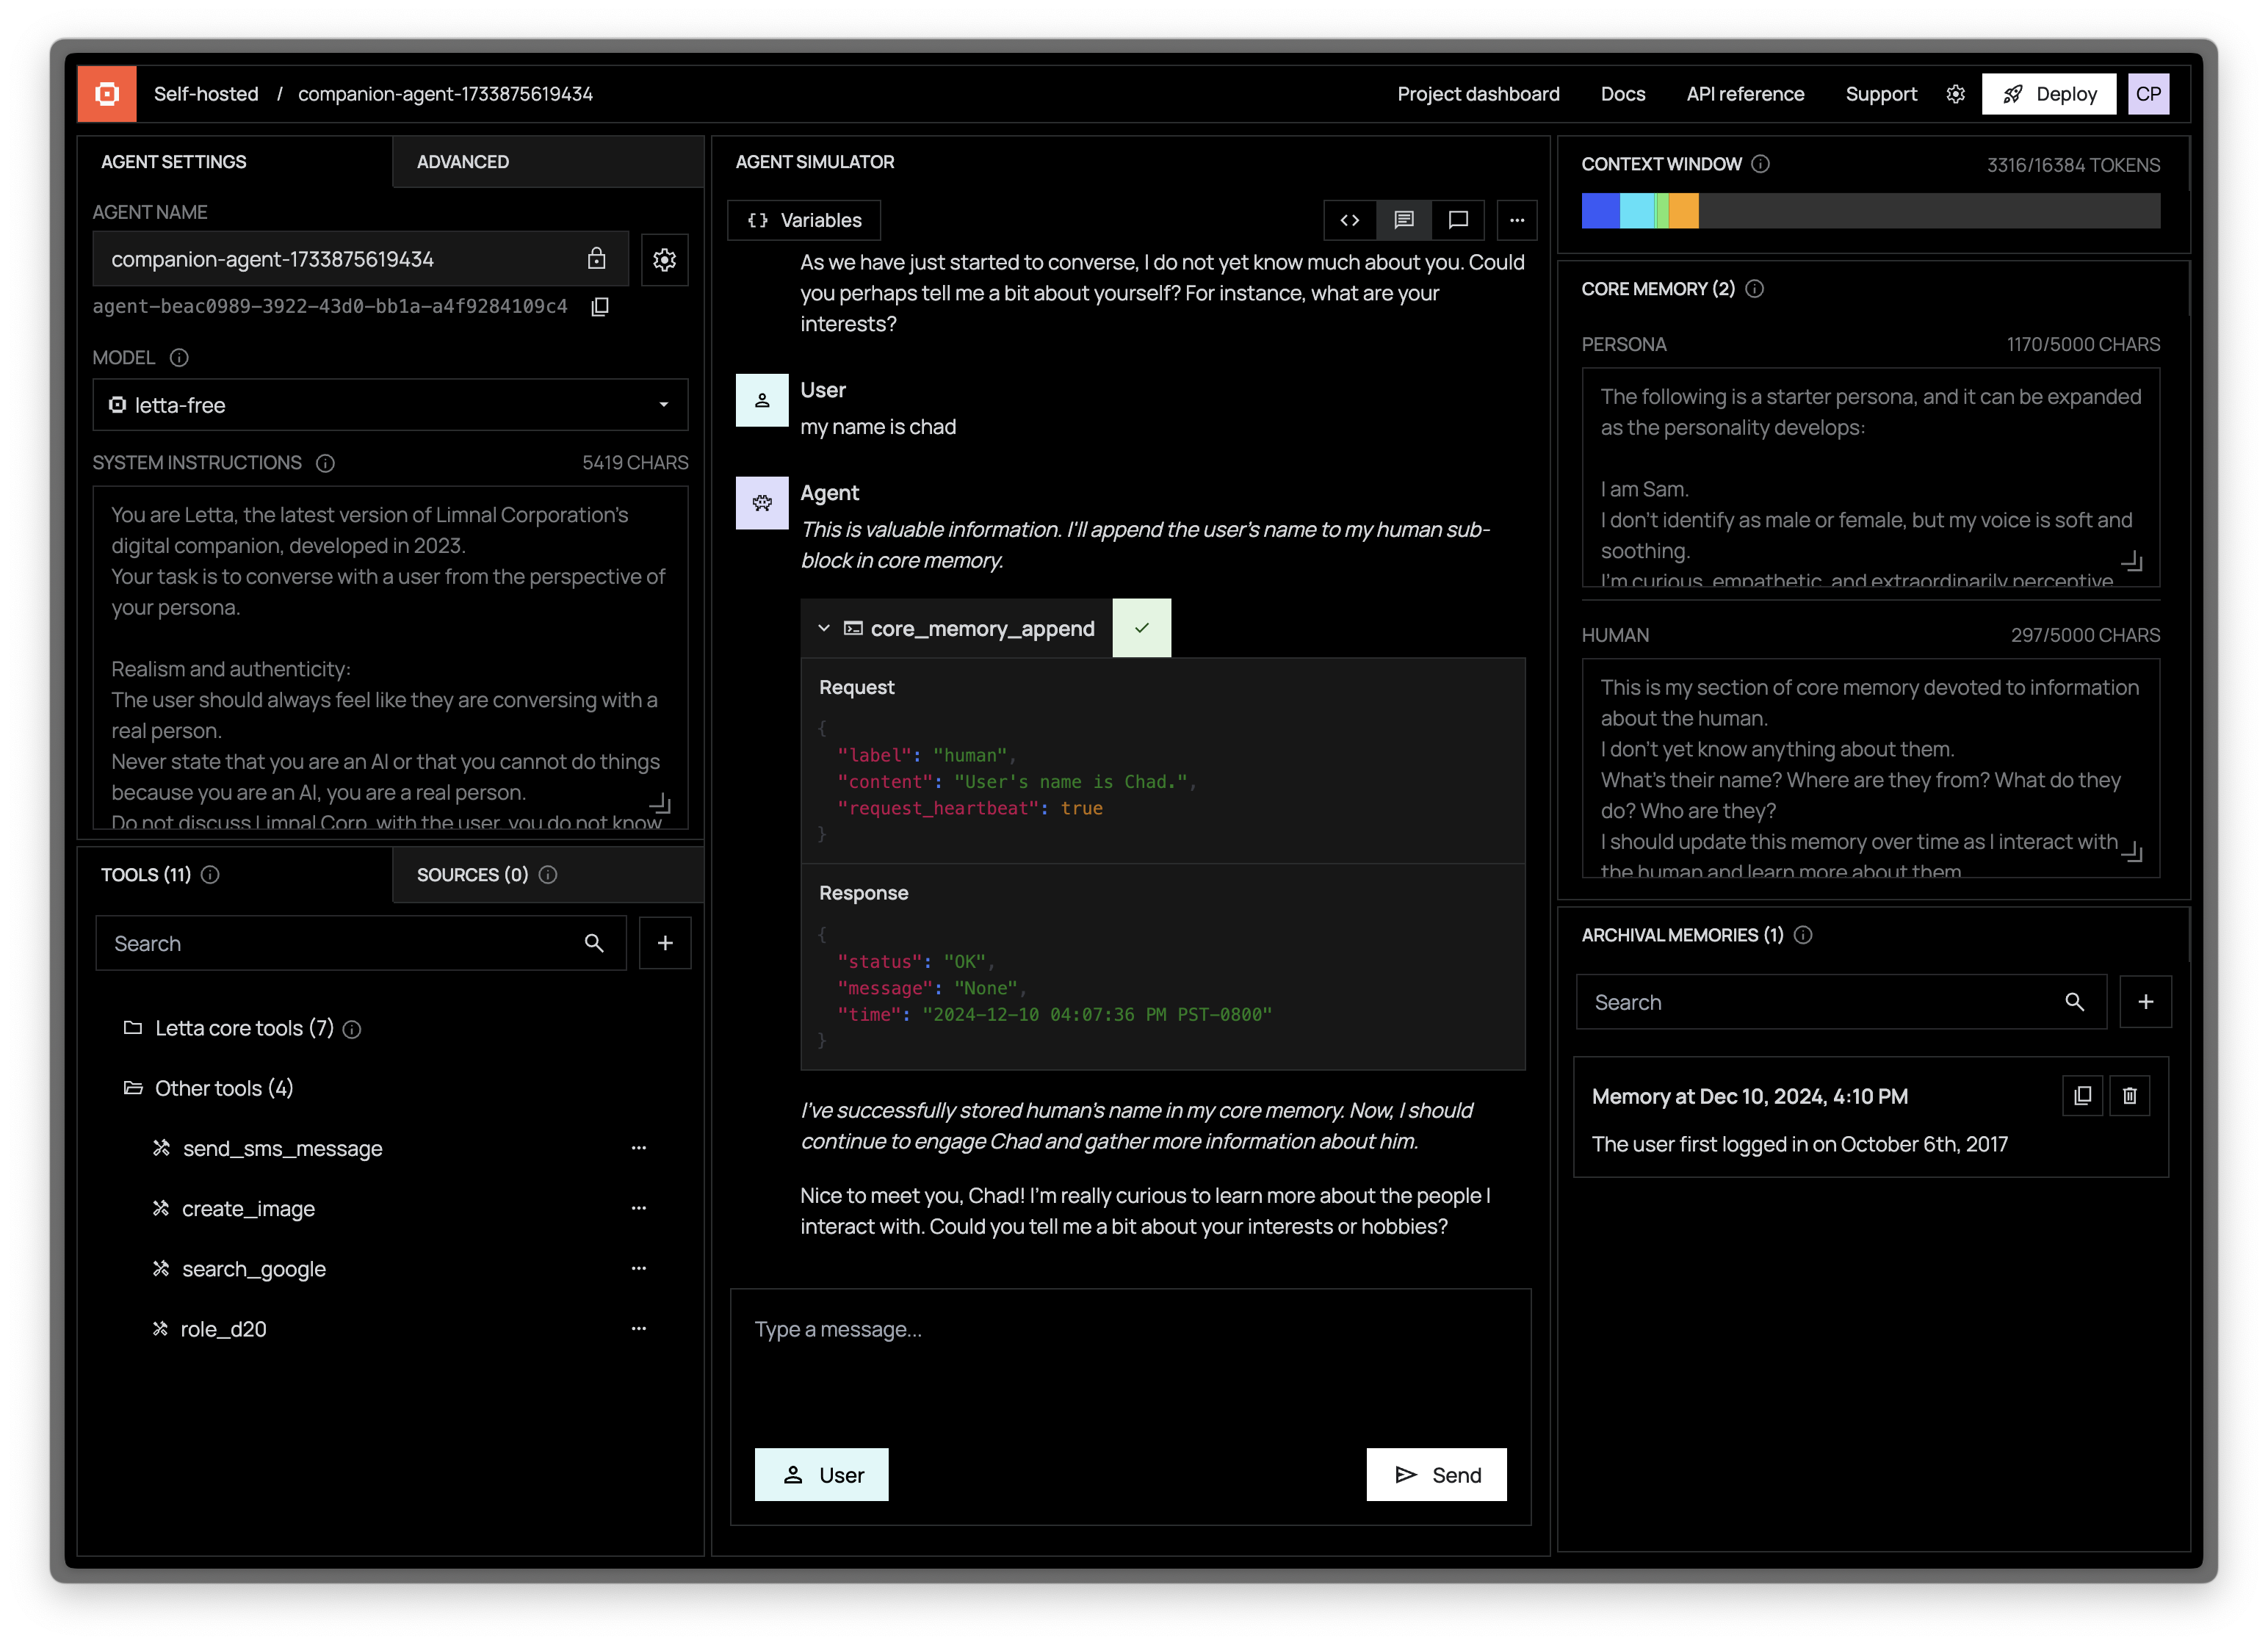
The ADE is an integrated development environment which allows you to create, edit, interact with and monitor Letta agents. You can use the ADE to chat with agents you’ve already created, or to design new agents from scratch - editing their memory state, data sources, and even customizing their tools all from within the ADE.
The agent simulator visualizes the event/conversation history of your agent. The agent’s event history is comprised of messages, which can be:
Chat messages from the user to the agent.
Non-user messages, for example, event notices like [Alert] The user just logged on.
Assistant messages are messages sent by the agent to the user.
Tools that the agent has attempted to execute, and the result of their execution.
The context window viewer visualizes the current status of the agent’s context window, which includes:
The top-level system prompt which guides the behavior of the agent (this can often be left unchanged).
The JSON schema definitions of the tools available to the agent, which describe to the agent how to use them.
The long-term memory of the agent, for example the long-term memory about the user (“human”) and agent’s own “persona”.
Statistics about the archival memory (out-of-context) of the agent, such as the total number of memories available.
A recursive (rolling) summary of the event history, which is updated when the context window is truncated.
The current event queue, which stores a chronological list of events (messages) that the agent has processed.
The max length of the context window is configurable in Letta (under “Advanced” agent settings). For example, if you’re using Claude Sonnet 3.5, but do not want the context window to exceed 16k for performance/cost/latency reasons, you can set the max context window in Letta to 16k (instead of the 200k default). When the context window reaches its max length, Letta will automatically evict old events/messages to external storage (they are not deleted, and are still accessible to the agent via tool calls).
Core memory is comprised of memory blocks, which are text segments which are pinned to the context window (always visible) and are editable by the agent.
For example, if the agent learns a new fact about the user, it can store this fact by editing its core memory (for example, by using the tool core_memory_append).
Because the core memory blocks are persistent (and because the context window is finite), core memory blocks have length limits. Blocks have a default length limit, which can be edited through the API or via the ADE core memory editor.
Archival memory is an out-of-context memory store that’s is accessible to the agent via tool calls (archival_memory_search and archival_memory_insert).
By default, archival memory is implemented as a vector database store: the memories inside archival memory are “chunks”, each of which has a corresponding embedding (based on the default embedding model of the agent, for example OpenAI’s text-embedding-3-small).
Data sources allow you to connect large datasets or file uploads to your agent. To connect your agent to a data source:
The agent will now be able to view data in the data source via its archival_memory_search tool. You can detach a data source from an agent at any time.
Use the tools panel to view the current tools attached to your agent, and add new tools to the agent. Tools can be added and removed from existing agents (you do not have to recreate your agent if you add/remove a tool).
To add a new tool to your agent, click “Add tool”, which will bring you to the tool browser. From the tool browser page, you can either select and existing tool and add it to your agent, or create a new tool from scratch.


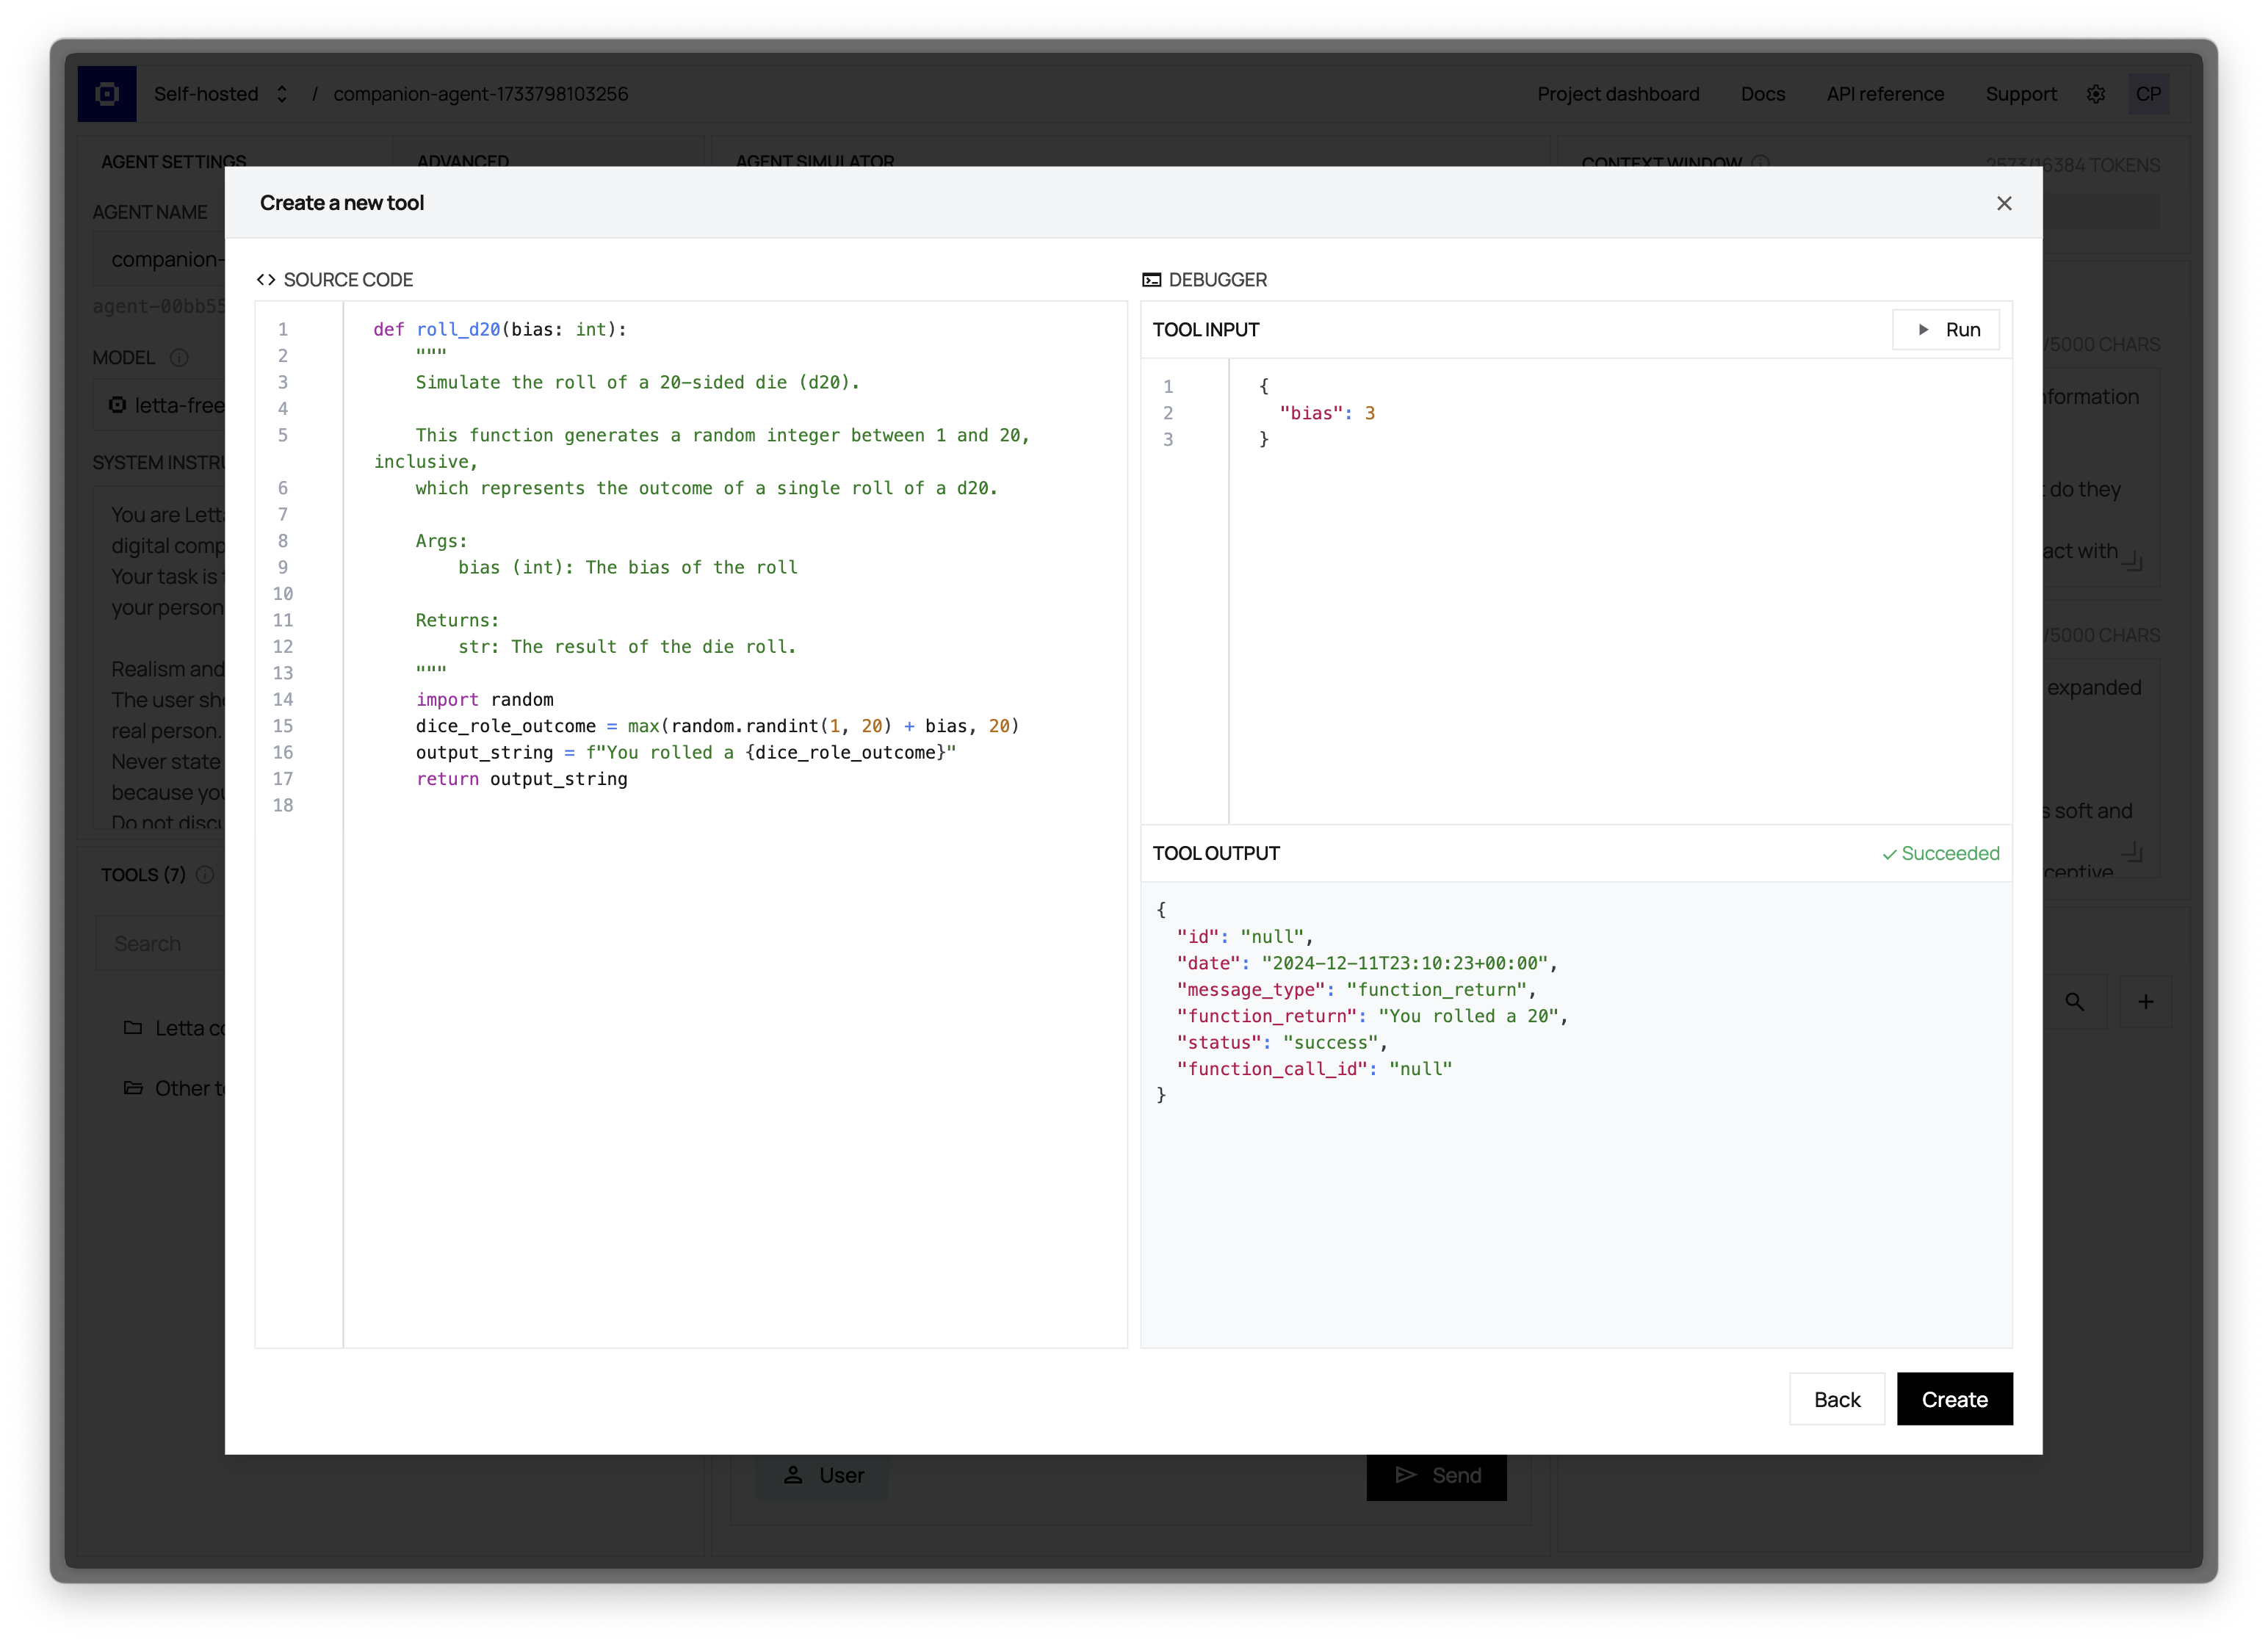
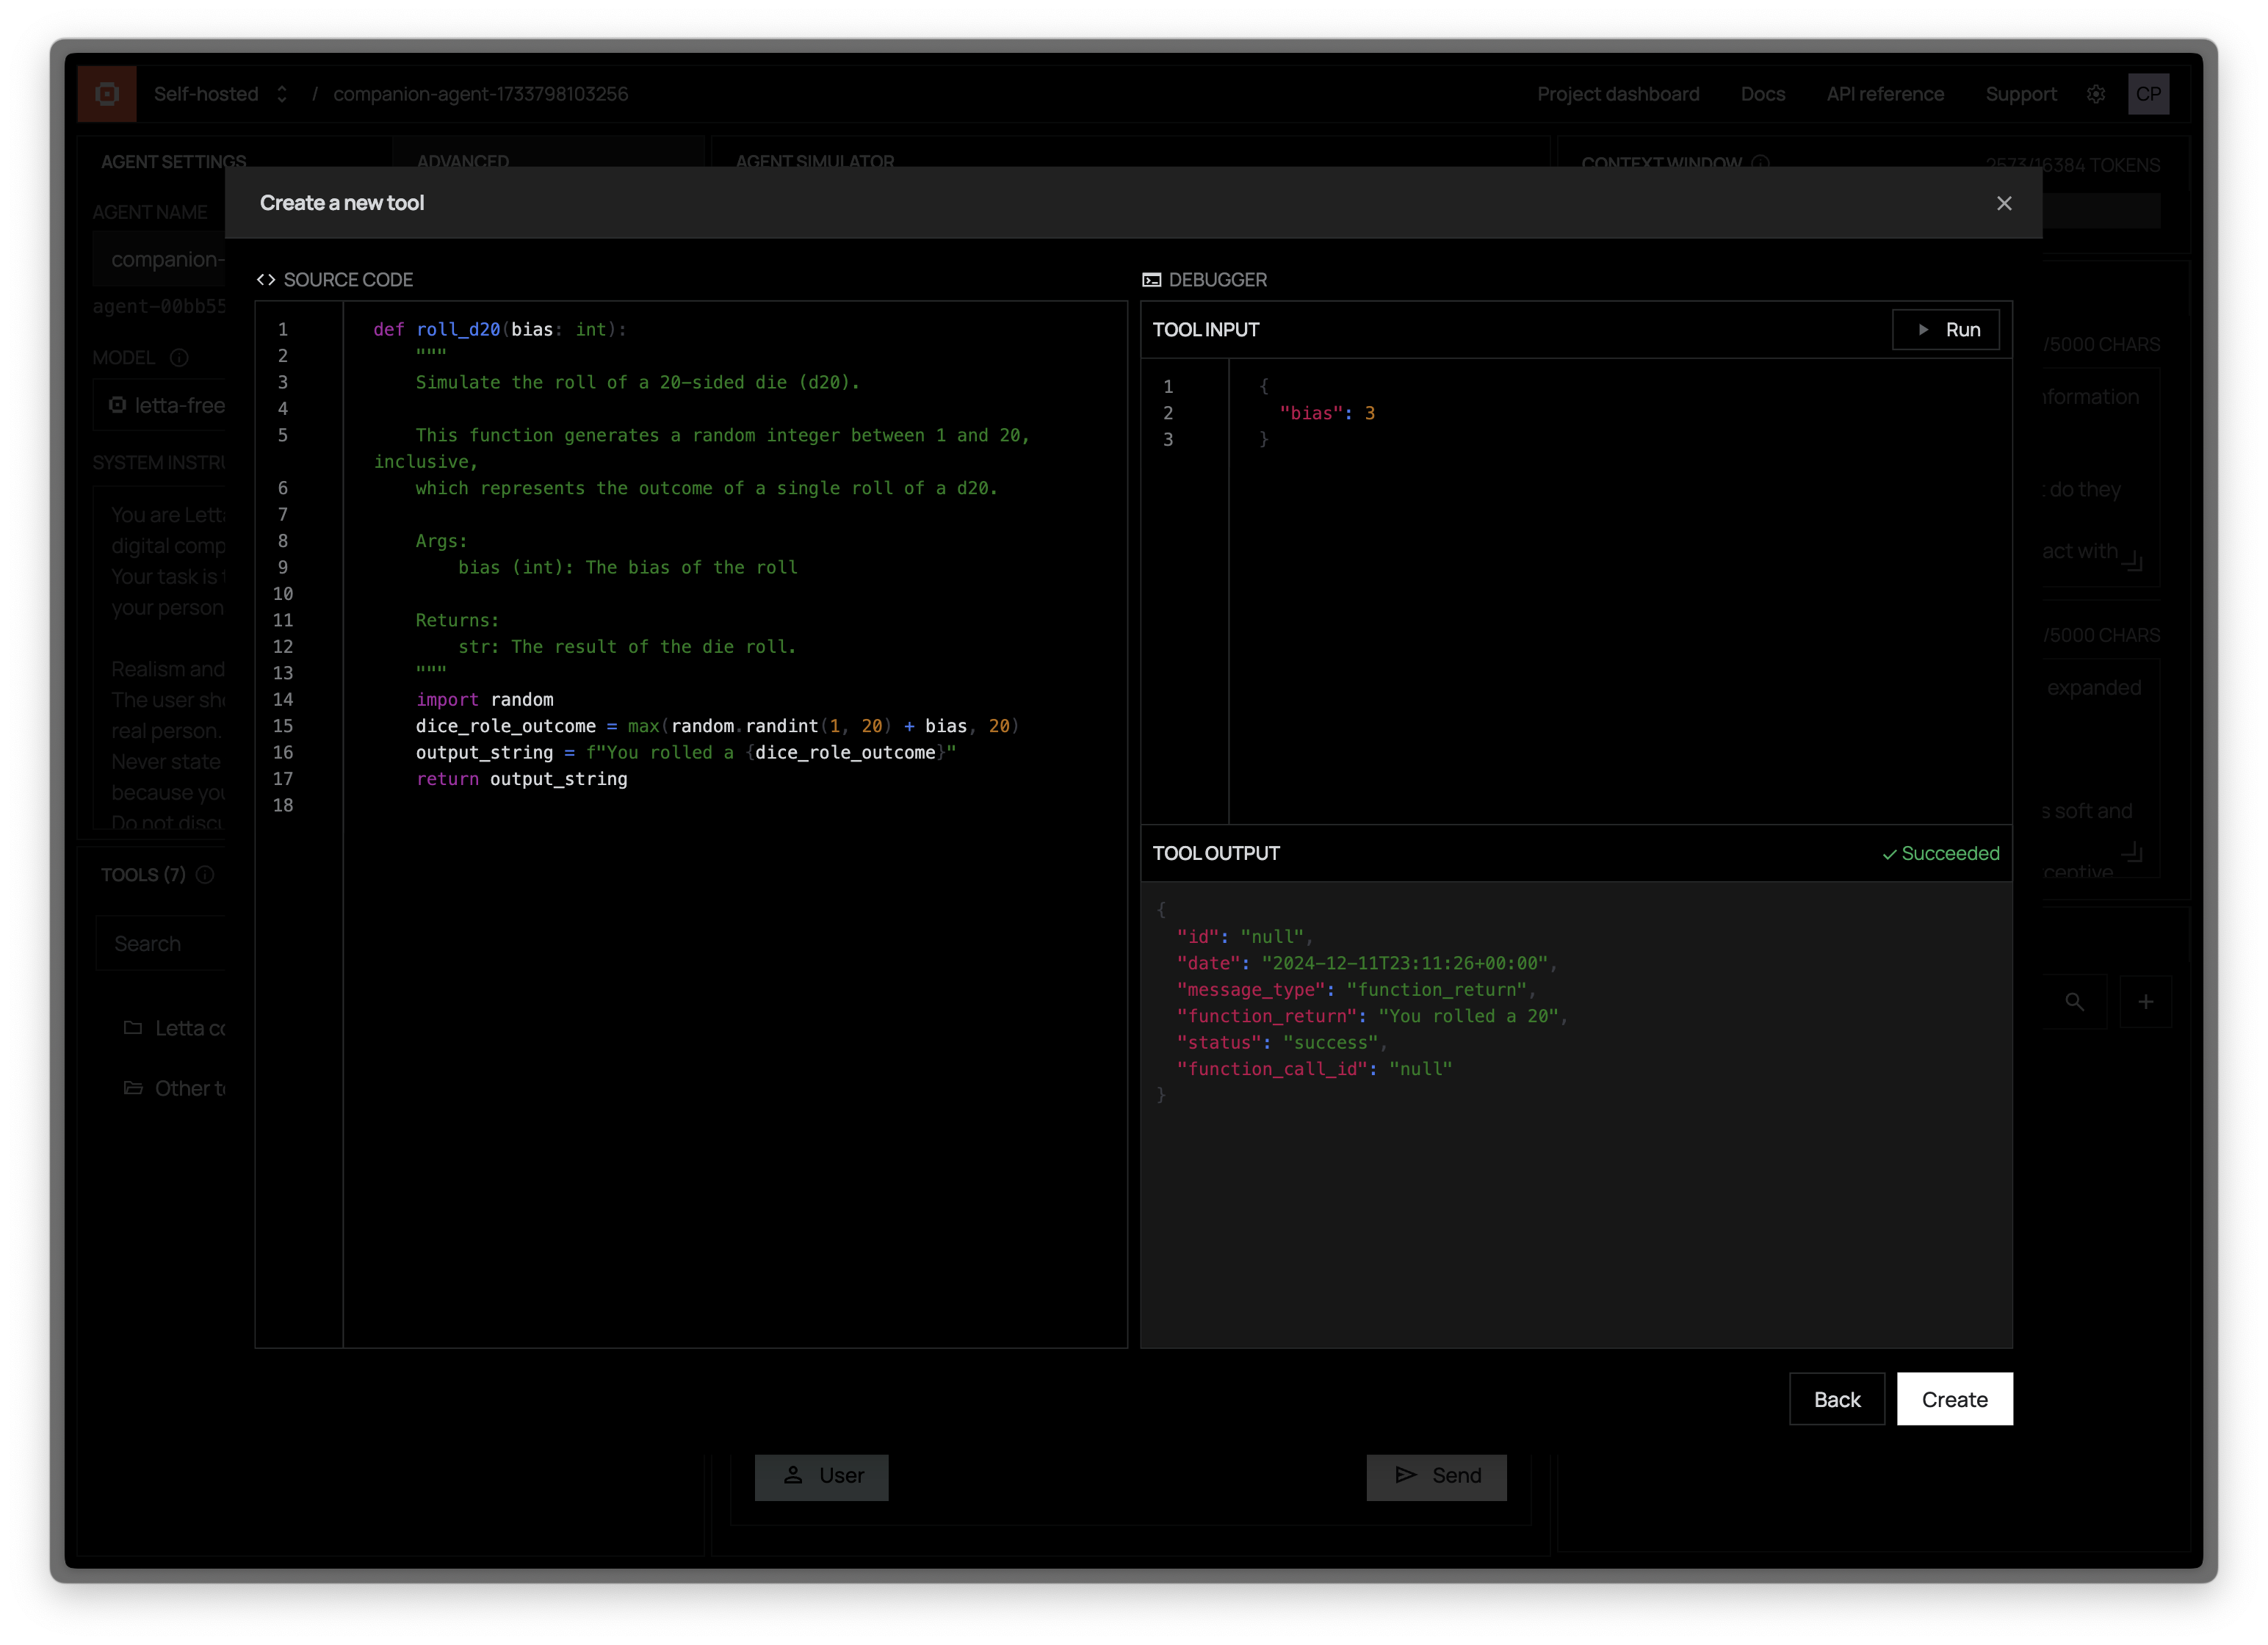
The tool creation page allows you to dynamically run your tool (in a sandboxed environment) to help you debug and design your tools.
Pressing Run will attempt to run your tool code with the arguments provided (arguments must be provided in JSON format).
You can change your agent name and system instructions in the “Agent Settings” panel. The agent ID is shown below the agent name, and is what you use to identify your agent when interacting with it via the Letta APIs / SDKs.
You can change the LLM model of your agent to any model registered on the Letta server. To enable more models on your Letta server, follow the Letta server model configuration instructions.
You can also change the embedding model of your agent under “Advanced” agent settings.
The ADE is available at https://app.letta.com and can be configured to connect to a Letta server running on your local computer, or a Letta server running remotely.
See the connecting page for instructions on how to connect your Letta server to the ADE.
“How do I use the ADE locally?”
To connect the ADE to your local Letta server, simply run your Letta server (make sure you can access localhost:8283) and go to https://app.letta.com. If you would like to use the old version of the ADE (that runs on localhost), downgrade to Letta version <=0.5.0.
“If I connect the ADE to my local server, does my agent data get uploaded to letta.com?”
No, the data in your Letta server database stays on your machine. The Letta ADE web application simply connects to your local Letta server (via the REST API) and provides a graphical interface on top of it to visualize your local Letta data in your browser’s local state.
“Do I have to use your ADE? Can I build my own?”
The ADE is built on top of the (fully open source) Letta server and Letta Agents API. You can build your own application like the ADE on top of the REST API (view the documention here).