Agentic RAG
Learn how to empower your agent with custom search tools for autonomous retrieval.
In the simple RAG approach, your application manages the retrieval process. You query your vector database, retrieve the relevant documents, and include them directly in the message you send to your Letta agent.
By the end of this tutorial, you’ll have a research assistant that uses your vector database to answer questions about scientific papers.
To follow along, you need free accounts for:
You also need a code editor and either Python (version 3.8 or later) or Node.js (version 18 or later).
You’ll need API keys for Letta and your chosen vector database.
Create a Letta account
If you don’t have one, sign up for a free account at letta.com.
Navigate to API keys
Once logged in, click API keys in the sidebar.
Create and copy your key
Click + Create API key, give it a descriptive name, and click Confirm. Copy the key and save it somewhere safe.

Create a ChromaDB Cloud account
Sign up for a free account on the ChromaDB Cloud website.
Create a new database
From your dashboard, create a new database.

Get your API key and host
Click the Configure Chroma SDK card and generate an API key by clicking the Create API key and copy code button in your preferred language tab.
For this example, you need the API Key, Tenant, Database, and Host URL.

Create a MongoDB Atlas account
Sign up for a free account at mongodb.com/cloud/atlas/register.
Create a free cluster
Click Build a Cluster and select the free tier. Choose your preferred cloud provider and region, and click Create deployment.

Set up database access
Next, set up connection security:
mongodb+srv://<username>:<password>@cluster0.xxxxx.mongodb.net/?retryWrites=true&w=majority&appName=Cluster0
Configure network access (IP whitelist)
By default, MongoDB Atlas blocks all outside connections. You must grant access to the services that need to connect.
0.0.0.0/0.
Create a Qdrant Cloud account
Sign up for a free account at cloud.qdrant.io.
Create a new cluster
From your dashboard, click Clusters and then + Create. Select the free tier and choose your preferred region.

Get your API key and URL
Once your cluster has been created, click on it to view the details.
Copy the following values:

Create a Hugging Face account
Sign up for a free account at huggingface.co.
Create an access token
Click the profile icon in the top right. Navigate to Settings > Access Tokens (or go directly to huggingface.co/settings/tokens).
Generate a new token
Click New token, give it a name (such as Letta RAG Demo), select the Read role, and click Create token. Copy the token and save it securely.

Once you have these credentials, create a .env file in your project directory. Add the credentials for your chosen database:
LETTA_API_KEY="..."CHROMA_API_KEY="..."CHROMA_TENANT="..."CHROMA_DATABASE="..."LETTA_API_KEY="..."MONGODB_URI="mongodb+srv://username:[email protected]/?retryWrites=true&w=majority&appName=Cluster0"MONGODB_DB_NAME="rag_demo"HF_API_KEY="..."LETTA_API_KEY="..."QDRANT_URL="https://xxxxx.cloud.qdrant.io"QDRANT_API_KEY="..."HF_API_KEY="..."First, you need to populate your chosen vector database with the content of the research papers. We’ll use two papers for this demo:
Before we begin, let’s create a Python virtual environment to keep our dependencies isolated:
python -m venv venvsource venv/bin/activate # On Windows, use: venv\Scripts\activateBefore we begin, let’s create a new Node.js project:
npm init -yThis will create a package.json file for you.
Next, create a tsconfig.json file for TypeScript configuration:
{ "compilerOptions": { "target": "ES2020", "module": "ESNext", "moduleResolution": "node", "esModuleInterop": true, "skipLibCheck": true, "strict": true }}Update your package.json to use ES modules by adding this line:
"type": "module"Download the research papers using curl with the -L flag to follow redirects:
curl -L -o 1706.03762.pdf https://arxiv.org/pdf/1706.03762.pdfcurl -L -o 1810.04805.pdf https://arxiv.org/pdf/1810.04805.pdfVerify that the PDFs downloaded correctly:
file 1706.03762.pdf 1810.04805.pdfYou should see output indicating these are PDF documents, not HTML files.
Install the necessary packages for your chosen database:
    # add dependencies to a requirements.txt file
letta-client chromadb pypdf python-dotenv npm install @letta-ai/letta-client chromadb @chroma-core/default-embed dotenv pdf-ts npm install --save-dev typescript @types/node ts-node tsxFor Python, install the packages with the following command:
pip install -r requirements.txtletta-clientpymongopypdfpython-dotenvrequestscertifidnspythonnpm install @letta-ai/letta-client mongodb dotenv pdf-ts node-fetchnpm install --save-dev typescript @types/node ts-node tsxFor Python, install the packages with the following command:
pip install -r requirements.txt letta-client qdrant-client pypdf python-dotenv requests npm install @letta-ai/letta-client @qdrant/js-client-rest dotenv node-fetch pdf-ts npm install --save-dev typescript @types/node ts-node tsxFor Python, install the packages with the following command:
pip install -r requirements.txtNow create a setup.py or setup.ts file to load the PDFs, split them into chunks, and ingest them into your database:
import osimport chromadbimport pypdffrom dotenv import load_dotenv
load_dotenv()
def main():    # Connect to ChromaDB Cloud    client = chromadb.CloudClient(        tenant=os.getenv("CHROMA_TENANT"),        database=os.getenv("CHROMA_DATABASE"),        api_key=os.getenv("CHROMA_API_KEY")    )
    # Create or get the collection    collection = client.get_or_create_collection("rag_collection")
    # Ingest PDFs    pdf_files = ["1706.03762.pdf", "1810.04805.pdf"]    for pdf_file in pdf_files:        print(f"Ingesting {pdf_file}...")        reader = pypdf.PdfReader(pdf_file)        for i, page in enumerate(reader.pages):            text = page.extract_text()            if text:                collection.add(                    ids=[f"{pdf_file}-{i}"],                    documents=[text]                )
    print("\nIngestion complete!")    print(f"Total documents in collection: {collection.count()}")
if __name__ == "__main__":    main()
import { CloudClient } from 'chromadb';import { DefaultEmbeddingFunction } from '@chroma-core/default-embed';import * as dotenv from 'dotenv';import * as path from 'path';import * as fs from 'fs';import { pdfToPages } from 'pdf-ts';import { fileURLToPath } from 'url';
const __filename = fileURLToPath(import.meta.url);const __dirname = path.dirname(__filename);
dotenv.config();
async function main() { // Connect to ChromaDB Cloud const client = new CloudClient({ apiKey: process.env.CHROMA_API_KEY || '', tenant: process.env.CHROMA_TENANT || '', database: process.env.CHROMA_DATABASE || '' });
// Create embedding function const embedder = new DefaultEmbeddingFunction();
// Create or get the collection const collection = await client.getOrCreateCollection({ name: 'rag_collection', embeddingFunction: embedder });
// Ingest PDFs const pdfFiles = ['1706.03762.pdf', '1810.04805.pdf'];
for (const pdfFile of pdfFiles) { console.log(`Ingesting ${pdfFile}...`); const pdfPath = path.join(__dirname, pdfFile); const dataBuffer = fs.readFileSync(pdfPath);
const pages = await pdfToPages(dataBuffer);
for (let i = 0; i < pages.length; i++) { const text = pages[i].text.trim(); if (text) { await collection.add({ ids: [`${pdfFile}-${i}`], documents: [text] }); } } }
console.log('\nIngestion complete!'); const count = await collection.count(); console.log(`Total documents in collection: ${count}`);}
main().catch(console.error);import osimport pymongoimport pypdfimport requestsimport certififrom dotenv import load_dotenv
load_dotenv()
def get_embedding(text, api_key): """Get embedding from Hugging Face Inference API""" API_URL = "https://router.huggingface.co/hf-inference/models/BAAI/bge-small-en-v1.5" headers = {"Authorization": f"Bearer {api_key}"}
response = requests.post(API_URL, headers=headers, json={"inputs": [text], "options": {"wait_for_model": True}})
if response.status_code == 200: return response.json()[0] else: raise Exception(f"HF API error: {response.status_code} - {response.text}")
def main(): hf_api_key = os.getenv("HF_API_KEY") mongodb_uri = os.getenv("MONGODB_URI") db_name = os.getenv("MONGODB_DB_NAME")
if not all([hf_api_key, mongodb_uri, db_name]): print("Error: Ensure HF_API_KEY, MONGODB_URI, and MONGODB_DB_NAME are in .env file") return
# Connect to MongoDB Atlas using certifi client = pymongo.MongoClient(mongodb_uri, tlsCAFile=certifi.where()) db = client[db_name] collection = db["rag_collection"]
# Ingest PDFs pdf_files = ["1706.03762.pdf", "1810.04805.pdf"] for pdf_file in pdf_files: print(f"Ingesting {pdf_file}...") reader = pypdf.PdfReader(pdf_file) for i, page in enumerate(reader.pages): text = page.extract_text() if not text: # Skip empty pages continue
# Generate embedding using Hugging Face print(f" Processing page {i+1}...") try: embedding = get_embedding(text, hf_api_key) collection.insert_one({ "_id": f"{pdf_file}-{i}", "text": text, "embedding": embedding, "source": pdf_file, "page": i }) except Exception as e: print(f" Could not process page {i+1}: {e}")
print("\nIngestion complete!") print(f"Total documents in collection: {collection.count_documents({})}")
# Create vector search index print("\nNext: Go to your MongoDB Atlas dashboard and create a search index named 'vector_index'") print('''{ "fields": [ { "type": "vector", "path": "embedding", "numDimensions": 384, "similarity": "cosine" } ]}''')
if __name__ == "__main__": main()import { MongoClient } from 'mongodb';import * as dotenv from 'dotenv';import { pdfToPages } from 'pdf-ts';import * as fs from 'fs';import fetch from 'node-fetch';
dotenv.config();
async function getEmbedding(text: string, apiKey: string): Promise<number[]> { const API_URL = "https://router.huggingface.co/hf-inference/models/BAAI/bge-small-en-v1.5"; const headers = { "Authorization": `Bearer ${apiKey}`, "Content-Type": "application/json" };
const response = await fetch(API_URL, { method: 'POST', headers: headers, body: JSON.stringify({ inputs: [text], options: { wait_for_model: true } }) });
if (response.ok) { const result: any = await response.json(); return result[0]; } else { const errorText = await response.text(); throw new Error(`HF API error: ${response.status} - ${errorText}`); }}
async function main() { const hfApiKey = process.env.HF_API_KEY || ''; const mongoUri = process.env.MONGODB_URI || ''; const dbName = process.env.MONGODB_DB_NAME || '';
if (!hfApiKey || !mongoUri || !dbName) { console.error('Error: Ensure HF_API_KEY, MONGODB_URI, and MONGODB_DB_NAME are in .env file'); return; }
// Connect to MongoDB Atlas const client = new MongoClient(mongoUri);
try { await client.connect(); console.log('Connected to MongoDB Atlas');
const db = client.db(dbName); const collection = db.collection('rag_collection');
// Ingest PDFs const pdfFiles = ['1706.03762.pdf', '1810.04805.pdf'];
for (const pdfFile of pdfFiles) { console.log(`Ingesting ${pdfFile}...`);
const dataBuffer = fs.readFileSync(pdfFile); const pages = await pdfToPages(dataBuffer);
for (let i = 0; i < pages.length; i++) { const text = pages[i].text;
if (!text || text.trim().length === 0) { continue; // Skip empty pages }
// Generate embedding using Hugging Face console.log(` Processing page ${i + 1}...`); try { const embedding = await getEmbedding(text, hfApiKey);
await collection.insertOne({ _id: `${pdfFile}-${i}`, text: text, embedding: embedding, source: pdfFile, page: i }); } catch (error) { console.log(` Could not process page ${i + 1}: ${error}`); } } }
const docCount = await collection.countDocuments({}); console.log('\nIngestion complete!'); console.log(`Total documents in collection: ${docCount}`);
console.log('\nNext: Go to your MongoDB Atlas dashboard and create a search index named "vector_index"'); console.log(JSON.stringify({ "fields": [ { "type": "vector", "path": "embedding", "numDimensions": 384, "similarity": "cosine" } ] }, null, 2));
} catch (error) { console.error('Error:', error); } finally { await client.close(); }}
main();import osimport pypdfimport requestsfrom dotenv import load_dotenvfrom qdrant_client import QdrantClientfrom qdrant_client.models import Distance, VectorParams, PointStruct
load_dotenv()
def get_embedding(text, api_key): """Get embedding from Hugging Face Inference API""" API_URL = "https://router.huggingface.co/hf-inference/models/BAAI/bge-small-en-v1.5" headers = {"Authorization": f"Bearer {api_key}"}
response = requests.post(API_URL, headers=headers, json={"inputs": text, "options": {"wait_for_model": True}})
if response.status_code == 200: return response.json() else: raise Exception(f"HF API error: {response.status_code} - {response.text}")
def main(): hf_api_key = os.getenv("HF_API_KEY")
if not hf_api_key: print("Error: HF_API_KEY not found in .env file") return
# Connect to Qdrant Cloud client = QdrantClient( url=os.getenv("QDRANT_URL"), api_key=os.getenv("QDRANT_API_KEY") )
# Create collection collection_name = "rag_collection"
# Check if collection exists, if not create it collections = client.get_collections().collections if collection_name not in [c.name for c in collections]: client.create_collection( collection_name=collection_name, vectors_config=VectorParams(size=384, distance=Distance.COSINE) )
# Ingest PDFs pdf_files = ["1706.03762.pdf", "1810.04805.pdf"] point_id = 0
for pdf_file in pdf_files: print(f"Ingesting {pdf_file}...") reader = pypdf.PdfReader(pdf_file) for i, page in enumerate(reader.pages): text = page.extract_text()
# Generate embedding using Hugging Face print(f" Processing page {i+1}...") embedding = get_embedding(text, hf_api_key)
client.upsert( collection_name=collection_name, points=[ PointStruct( id=point_id, vector=embedding, payload={"text": text, "source": pdf_file, "page": i} ) ] ) point_id += 1
print("\nIngestion complete!") collection_info = client.get_collection(collection_name) print(f"Total documents in collection: {collection_info.points_count}")
if __name__ == "__main__": main()import { QdrantClient } from '@qdrant/js-client-rest';import { pdfToPages } from 'pdf-ts';import dotenv from 'dotenv';import fetch from 'node-fetch';import * as fs from 'fs';
dotenv.config();
async function getEmbedding(text: string, apiKey: string): Promise<number[]> { const API_URL = "https://router.huggingface.co/hf-inference/models/BAAI/bge-small-en-v1.5";
const response = await fetch(API_URL, { method: 'POST', headers: { "Authorization": `Bearer ${apiKey}`, "Content-Type": "application/json" }, body: JSON.stringify({ inputs: [text], options: { wait_for_model: true } }) });
if (response.ok) { const result: any = await response.json(); return result[0]; } else { const error = await response.text(); throw new Error(`HuggingFace API error: ${response.status} - ${error}`); }}
async function main() { const hfApiKey = process.env.HF_API_KEY || '';
if (!hfApiKey) { console.error('Error: HF_API_KEY not found in .env file'); return; }
// Connect to Qdrant Cloud const client = new QdrantClient({ url: process.env.QDRANT_URL || '', apiKey: process.env.QDRANT_API_KEY || '' });
const collectionName = 'rag_collection';
// Check if collection exists, if not create it const collections = await client.getCollections(); const collectionExists = collections.collections.some(c => c.name === collectionName);
if (!collectionExists) { console.log('Creating collection...'); await client.createCollection(collectionName, { vectors: { size: 384, distance: 'Cosine' } }); }
// Ingest PDFs const pdfFiles = ['1706.03762.pdf', '1810.04805.pdf']; let pointId = 0;
for (const pdfFile of pdfFiles) { console.log(`\nIngesting ${pdfFile}...`); const dataBuffer = fs.readFileSync(pdfFile); const pages = await pdfToPages(dataBuffer);
for (let i = 0; i < pages.length; i++) { const text = pages[i].text;
console.log(` Processing page ${i + 1}...`); const embedding = await getEmbedding(text, hfApiKey);
await client.upsert(collectionName, { wait: true, points: [ { id: pointId, vector: embedding, payload: { text: text, source: pdfFile, page: i } } ] }); pointId++; } }
console.log('\nIngestion complete!'); const collectionInfo = await client.getCollection(collectionName); console.log(`Total documents in collection: ${collectionInfo.points_count}`);}
main().catch(console.error);Run the script from your terminal:
python setup.pynpx tsx setup.tsIf you’re using MongoDB Atlas, manually create a vector search index by following the steps below.
Navigate to Atlas Search
Log in to your MongoDB Atlas dashboard, and click on Search & Vector Search in the sidebar.
Create a search index
Click + Create Search Index, and choose Vector Search.
Select the database and collection
vector_index (this exact name is required by the code).rag_demo (or whatever you set as MONGODB_DB_NAME).rag_collection.Name and configure the index
{ "fields": [ { "type": "vector", "path": "embedding", "numDimensions": 384, "similarity": "cosine" } ]}Note: The 384 dimensions are for Hugging Face’s BAAI/bge-small-en-v1.5 model.
Create and wait
Click Next, then click Create Vector Search Index. The index takes a few minutes to build. Wait until it displays an Active status before proceeding.
Your vector database is now populated with research paper content and ready to query.
For the simple RAG approach, the Letta agent doesn’t need any special tools or complex instructions. Its only job is to answer a question based on the context we provide. We can create this agent programmatically using the Letta SDK.
Create a file named create_agent.py or create_agent.ts:
import osfrom letta_client import Lettafrom dotenv import load_dotenv
load_dotenv()
# Initialize the Letta clientclient = Letta(api_key=os.getenv("LETTA_API_KEY"))
# Create the agentagent = client.agents.create(    name="Simple RAG Agent",    model="openai/gpt-4o-mini",    embedding="openai/text-embedding-3-small",    description="This agent answers questions based on provided context. It has no tools or special memory.",    memory_blocks=[        {            "label": "persona",            "value": "You are a helpful research assistant. Answer the user's question based *only* on the context provided."        }    ])
print(f"Agent '{agent.name}' created with ID: {agent.id}")
import Letta from '@letta-ai/letta-client';import * as dotenv from 'dotenv';
dotenv.config();
async function main() { // Initialize the Letta client const client = new Letta({ apiKey: process.env.LETTA_API_KEY || '' });
// Create the agent const agent = await client.agents.create({ name: 'Simple RAG Agent', model: 'openai/gpt-4o-mini', embedding: 'openai/text-embedding-3-small', description: 'This agent answers questions based on provided context. It has no tools or special memory.', memory_blocks: [ { label: 'persona', value: 'You are a helpful research assistant. Answer the user\'s question based *only* on the context provided.' } ] });
console.log(`Agent '${agent.name}' created with ID: ${agent.id}`);}
main().catch(console.error);Run this script once to create the agent in your Letta project:
python create_agent.pynpx tsx create_agent.ts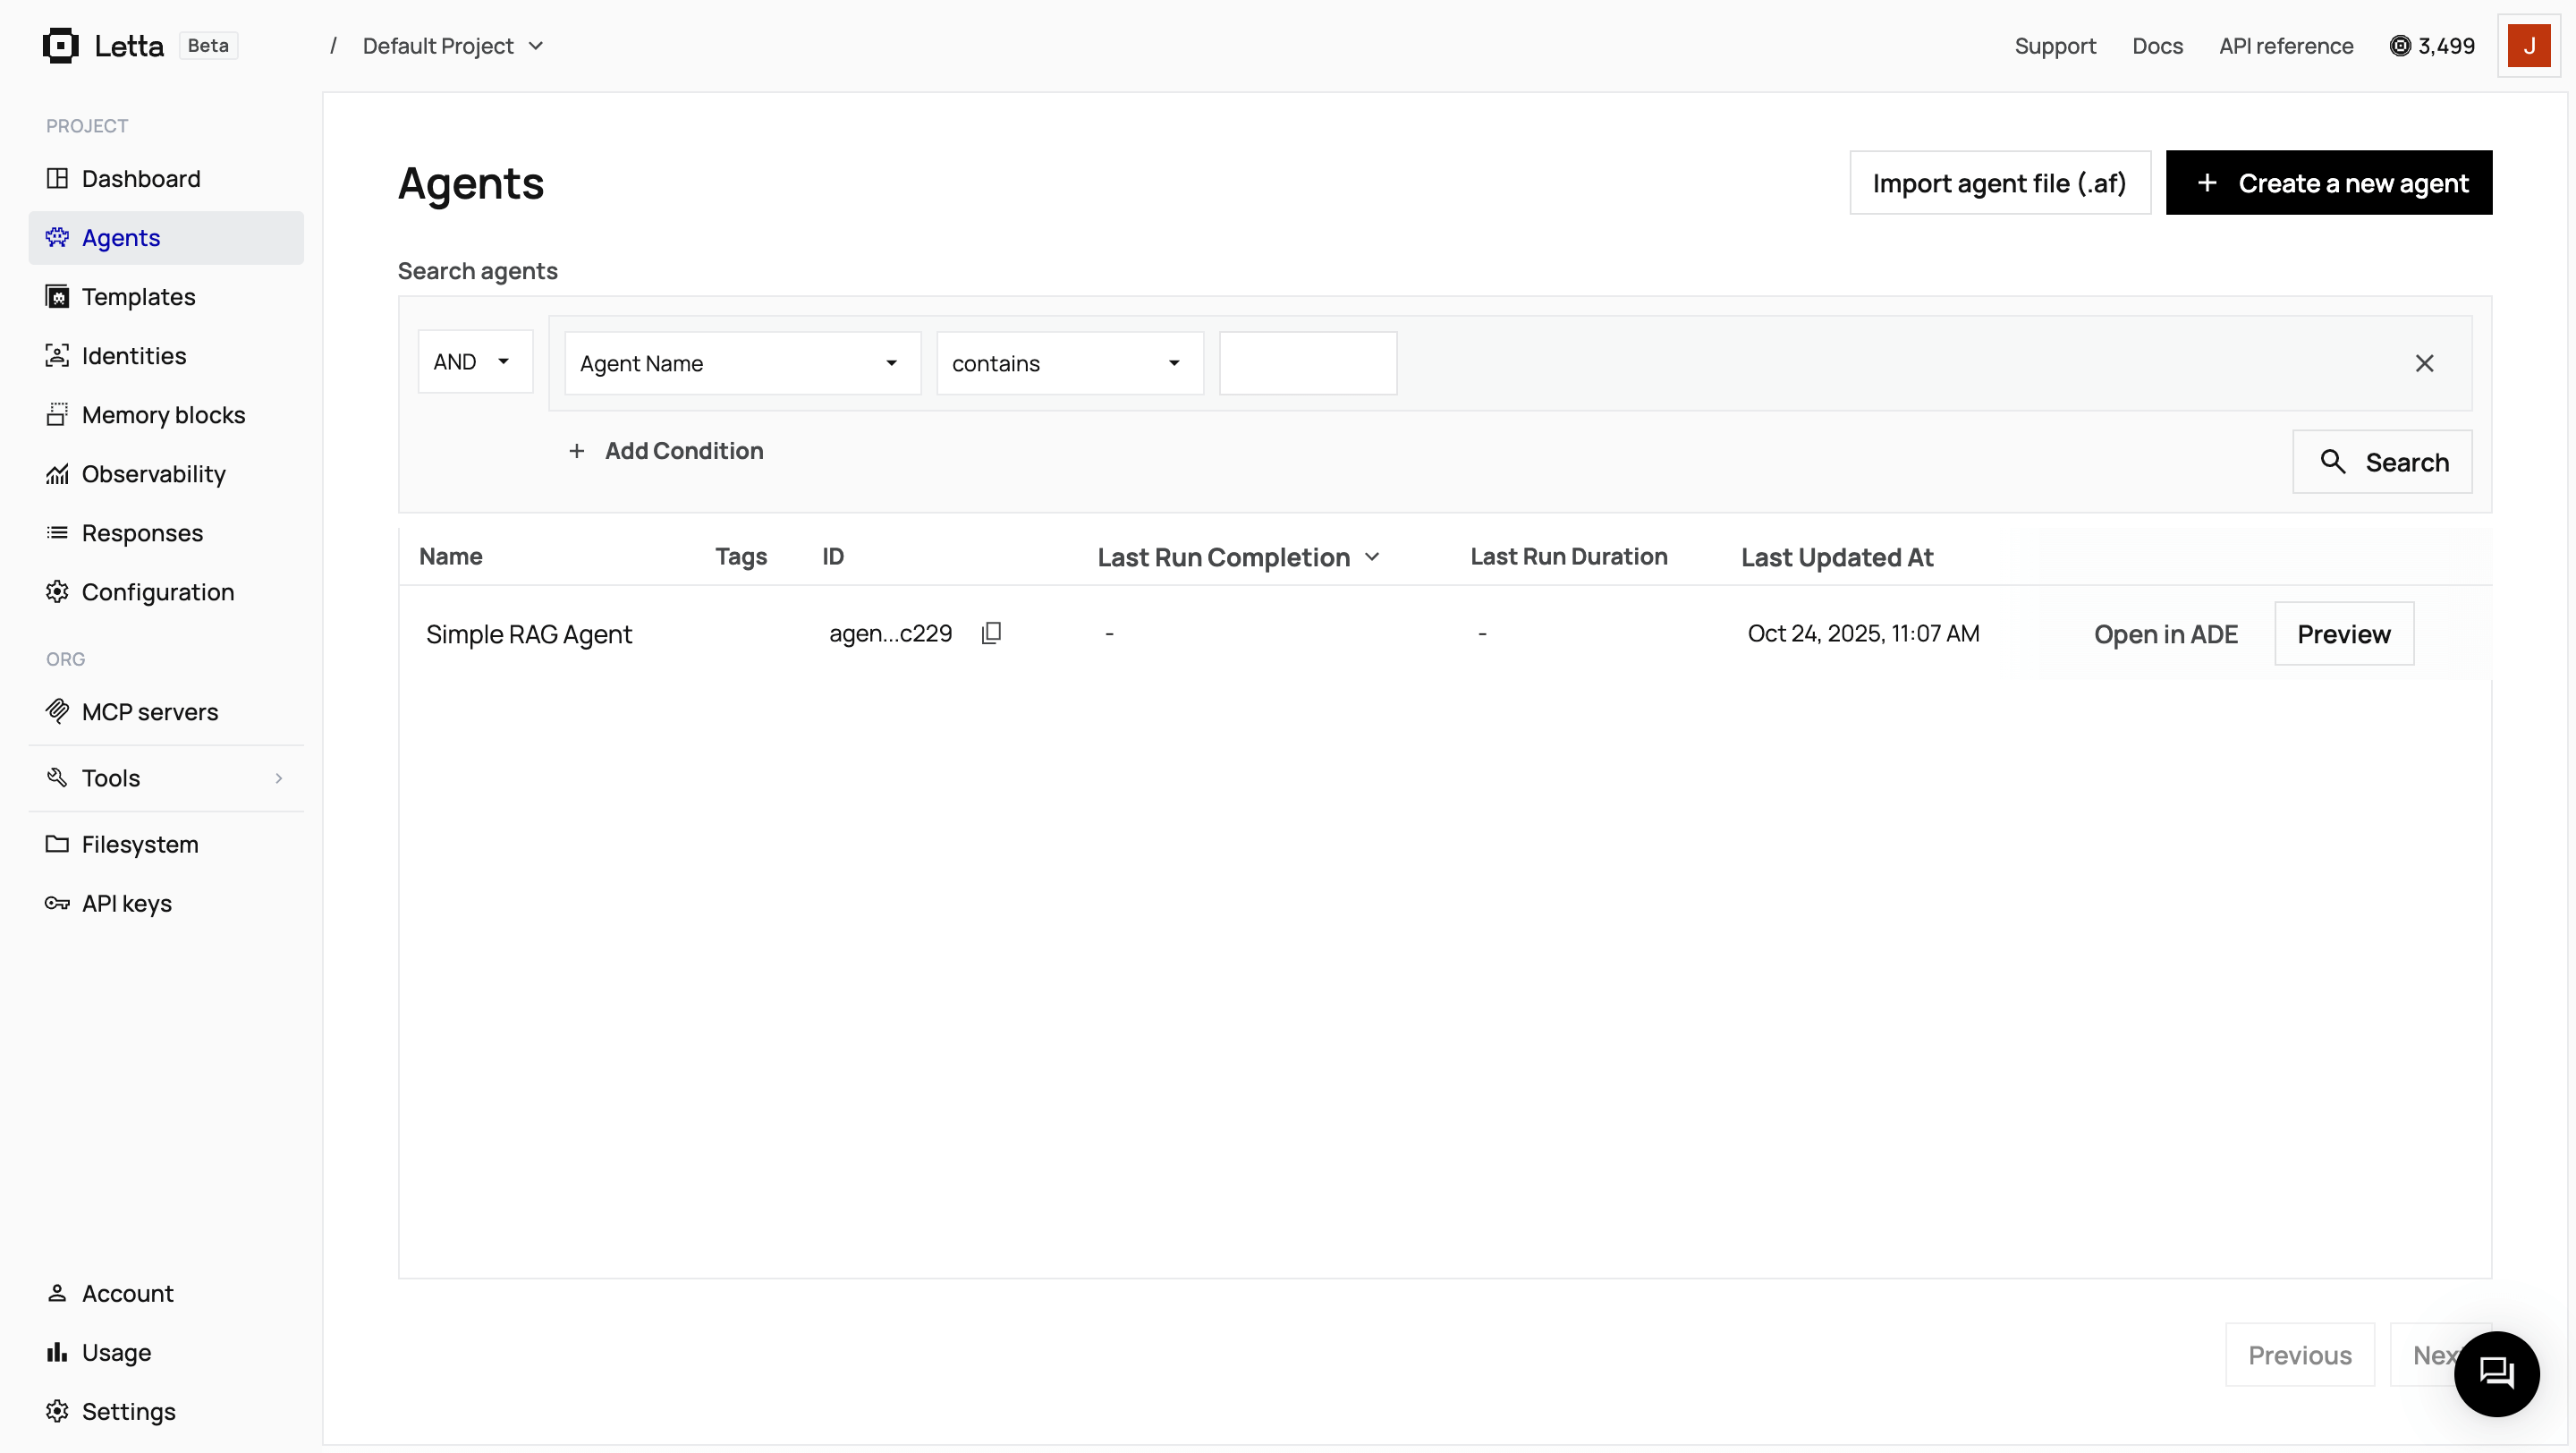
Now we’ll write the main script, simple_rag.py or simple_rag.ts, that ties everything together. This script will:
import osimport chromadbfrom letta_client import Lettafrom dotenv import load_dotenv
load_dotenv()
# Initialize clientsletta_client = Letta(api_key=os.getenv("LETTA_API_KEY"))chroma_client = chromadb.CloudClient(    tenant=os.getenv("CHROMA_TENANT"),    database=os.getenv("CHROMA_DATABASE"),    api_key=os.getenv("CHROMA_API_KEY"))
AGENT_ID = "your-agent-id"  # Replace with your agent ID
def main():    while True:        question = input("\nAsk a question about the research papers: ")        if question.lower() in ['exit', 'quit']:            break
        # 1. Query ChromaDB        collection = chroma_client.get_collection("rag_collection")        results = collection.query(query_texts=[question], n_results=3)        context = "\n".join(results["documents"][0])
        # 2. Construct the prompt        prompt = f'''Context from research paper:{context}
Question: {question}
Answer:'''
        # 3. Send to Letta Agent        response = letta_client.agents.messages.create(            agent_id=AGENT_ID,            messages=[{"role": "user", "content": prompt}]        )
        for message in response.messages:            if message.message_type == 'assistant_message':                print(f"\nAgent: {message.content}")
if __name__ == "__main__":    main()
import Letta from '@letta-ai/letta-client';import { CloudClient } from 'chromadb';import { DefaultEmbeddingFunction } from '@chroma-core/default-embed';import * as dotenv from 'dotenv';import * as readline from 'readline';
dotenv.config();
const AGENT_ID = 'your-agent-id'; // Replace with your agent ID
// Initialize clientsconst client = new Letta({ apiKey: process.env.LETTA_API_KEY || ''});
const chromaClient = new CloudClient({ apiKey: process.env.CHROMA_API_KEY || '', tenant: process.env.CHROMA_TENANT || '', database: process.env.CHROMA_DATABASE || ''});
async function main() { const embedder = new DefaultEmbeddingFunction(); const collection = await chromaClient.getCollection({ name: 'rag_collection', embeddingFunction: embedder });
const rl = readline.createInterface({ input: process.stdin, output: process.stdout });
const askQuestion = () => { rl.question('\nAsk a question about the research papers (or type "exit" to quit): ', async (question) => { if (question.toLowerCase() === 'exit' || question.toLowerCase() === 'quit') { rl.close(); return; }
// 1. Query ChromaDB const results = await collection.query({ queryTexts: [question], nResults: 3 });
const context = results.documents[0].join('\n');
// 2. Construct the prompt const prompt = `Context from research paper:${context}
Question: ${question}
Answer:`;
// 3. Send to Letta Agent const response = await client.agents.messages.create(AGENT_ID, { messages: [{ role: 'user', content: prompt }] });
for (const message of response.messages) { if (message.message_type === 'assistant_message') { console.log(`\nAgent: ${(message as any).content}`); } }
askQuestion(); }); };
askQuestion();}
main().catch(console.error);import osimport pymongoimport requestsimport certififrom letta_client import Lettafrom dotenv import load_dotenv
load_dotenv()
def get_embedding(text, api_key): """Get embedding from Hugging Face Inference API""" API_URL = "https://router.huggingface.co/hf-inference/models/BAAI/bge-small-en-v1.5" headers = {"Authorization": f"Bearer {api_key}"} response = requests.post(API_URL, headers=headers, json={"inputs": [text], "options": {"wait_for_model": True}})
if response.status_code == 200: return response.json()[0] else: raise Exception(f"HuggingFace API error: {response.status_code} - {response.text}")
# Initialize clientsletta_client = Letta(api_key=os.getenv("LETTA_API_KEY"))mongo_client = pymongo.MongoClient(os.getenv("MONGODB_URI"), tlsCAFile=certifi.where())db = mongo_client[os.getenv("MONGODB_DB_NAME")]collection = db["rag_collection"]hf_api_key = os.getenv("HF_API_KEY")
AGENT_ID = "your-agent-id" # Replace with your agent ID
def main(): while True: question = input("\nAsk a question about the research papers: ") if question.lower() in ['exit', 'quit']: break
# 1. Query MongoDB Atlas Vector Search query_embedding = get_embedding(question, hf_api_key)
results = collection.aggregate([ { "$vectorSearch": { "index": "vector_index", "path": "embedding", "queryVector": query_embedding, "numCandidates": 100, "limit": 3 } }, { "$project": { "text": 1, "source": 1, "page": 1, "score": {"$meta": "vectorSearchScore"} } } ])
contexts = [doc.get("text", "") for doc in results] context = "\n\n".join(contexts)
# 2. Construct the prompt prompt = f'''Context from research paper:{context}
Question: {question}
Answer:'''
# 3. Send to Letta Agent response = letta_client.agents.messages.create( agent_id=AGENT_ID, messages=[{"role": "user", "content": prompt}] )
for message in response.messages: if message.message_type == 'assistant_message': print(f"\nAgent: {message.content}")
if __name__ == "__main__": main()import Letta from '@letta-ai/letta-client';import { MongoClient } from 'mongodb';import * as dotenv from 'dotenv';import * as readline from 'readline';import fetch from 'node-fetch';
dotenv.config();
const AGENT_ID = 'your-agent-id'; // Replace with your agent ID
async function getEmbedding(text: string, apiKey: string): Promise<number[]> { const API_URL = "https://router.huggingface.co/hf-inference/models/BAAI/bge-small-en-v1.5"; const headers = { "Authorization": `Bearer ${apiKey}`, "Content-Type": "application/json" };
const response = await fetch(API_URL, { method: 'POST', headers: headers, body: JSON.stringify({ inputs: [text], options: { wait_for_model: true } }) });
if (response.ok) { const result: any = await response.json(); return result[0]; } else { const errorText = await response.text(); throw new Error(`HuggingFace API error: ${response.status} - ${errorText}`); }}
async function main() { const lettaApiKey = process.env.LETTA_API_KEY || ''; const mongoUri = process.env.MONGODB_URI || ''; const dbName = process.env.MONGODB_DB_NAME || ''; const hfApiKey = process.env.HF_API_KEY || '';
if (!lettaApiKey || !mongoUri || !dbName || !hfApiKey) { console.error('Error: Ensure LETTA_API_KEY, MONGODB_URI, MONGODB_DB_NAME, and HF_API_KEY are in .env file'); return; }
// Initialize clients const client = new Letta({ apiKey: lettaApiKey });
const mongoClient = new MongoClient(mongoUri); await mongoClient.connect(); console.log('Connected to MongoDB Atlas\n');
const db = mongoClient.db(dbName); const collection = db.collection('rag_collection');
const rl = readline.createInterface({ input: process.stdin, output: process.stdout });
const askQuestion = () => { rl.question('\nAsk a question about the research papers (or type "exit" to quit): ', async (question) => { if (question.toLowerCase() === 'exit' || question.toLowerCase() === 'quit') { await mongoClient.close(); rl.close(); return; }
try { // 1. Query MongoDB Atlas Vector Search const queryEmbedding = await getEmbedding(question, hfApiKey);
const results = collection.aggregate([ { $vectorSearch: { index: 'vector_index', path: 'embedding', queryVector: queryEmbedding, numCandidates: 100, limit: 3 } }, { $project: { text: 1, source: 1, page: 1, score: { $meta: 'vectorSearchScore' } } } ]);
const docs = await results.toArray(); const contexts = docs.map(doc => doc.text || ''); const context = contexts.join('\n\n');
// 2. Construct the prompt const prompt = `Context from research paper:${context}
Question: ${question}
Answer:`;
// 3. Send to Letta Agent const response = await client.agents.messages.create(AGENT_ID, { messages: [{ role: 'user', content: prompt }] });
for (const message of response.messages) { if (message.message_type === 'assistant_message') { console.log(`\nAgent: ${(message as any).content}`); } }
} catch (error) { console.error('Error:', error); }
askQuestion(); }); };
askQuestion();}
main().catch(console.error);import osimport requestsfrom letta_client import Lettafrom dotenv import load_dotenvfrom qdrant_client import QdrantClient
load_dotenv()
def get_embedding(text, api_key): """Get embedding from Hugging Face Inference API""" API_URL = "https://router.huggingface.co/hf-inference/models/BAAI/bge-small-en-v1.5" headers = {"Authorization": f"Bearer {api_key}"} response = requests.post(API_URL, headers=headers, json={"inputs": text, "options": {"wait_for_model": True}})
if response.status_code == 200: return response.json() else: raise Exception(f"HuggingFace API error: {response.status_code} - {response.text}")
# Initialize clientsletta_client = Letta(api_key=os.getenv("LETTA_API_KEY"))qdrant_client = QdrantClient( url=os.getenv("QDRANT_URL"), api_key=os.getenv("QDRANT_API_KEY"))hf_api_key = os.getenv("HF_API_KEY")
AGENT_ID = "your-agent-id" # Replace with your agent ID
def main(): while True: question = input("\nAsk a question about the research papers: ") if question.lower() in ['exit', 'quit']: break
# 1. Query Qdrant query_embedding = get_embedding(question, hf_api_key)
results = qdrant_client.query_points( collection_name="rag_collection", query=query_embedding, limit=3 )
contexts = [hit.payload["text"] for hit in results.points] context = "\n".join(contexts)
# 2. Construct the prompt prompt = f'''Context from research paper:{context}
Question: {question}
Answer:'''
# 3. Send to Letta Agent response = letta_client.agents.messages.create( agent_id=AGENT_ID, messages=[{"role": "user", "content": prompt}] )
for message in response.messages: if message.message_type == 'assistant_message': print(f"\nAgent: {message.content}")
if __name__ == "__main__": main()import { QdrantClient } from '@qdrant/js-client-rest';import Letta from '@letta-ai/letta-client';import dotenv from 'dotenv';import fetch from 'node-fetch';import * as readline from 'readline';
dotenv.config();
async function getEmbedding(text: string, apiKey: string): Promise<number[]> { const API_URL = "https://router.huggingface.co/hf-inference/models/BAAI/bge-small-en-v1.5";
const response = await fetch(API_URL, { method: 'POST', headers: { "Authorization": `Bearer ${apiKey}`, "Content-Type": "application/json" }, body: JSON.stringify({ inputs: [text], options: { wait_for_model: true } }) });
if (response.ok) { const result: any = await response.json(); return result[0]; } else { const error = await response.text(); throw new Error(`HuggingFace API error: ${response.status} - ${error}`); }}
async function main() { // Initialize clients const client = new Letta({ apiKey: process.env.LETTA_API_KEY || '' });
const qdrantClient = new QdrantClient({ url: process.env.QDRANT_URL || '', apiKey: process.env.QDRANT_API_KEY || '' });
const hfApiKey = process.env.HF_API_KEY || ''; const AGENT_ID = 'your-agent-id'; // Replace with your agent ID
const rl = readline.createInterface({ input: process.stdin, output: process.stdout });
const askQuestion = (query: string): Promise<string> => { return new Promise((resolve) => { rl.question(query, resolve); }); };
while (true) { const question = await askQuestion('\nAsk a question about the research papers (or type "exit" to quit): ');
if (question.toLowerCase() === 'exit' || question.toLowerCase() === 'quit') { rl.close(); break; }
// 1. Query Qdrant const queryEmbedding = await getEmbedding(question, hfApiKey);
const results = await qdrantClient.query( 'rag_collection', { query: queryEmbedding, limit: 3, with_payload: true } );
const contexts = results.points.map((hit: any) => hit.payload.text); const context = contexts.join('\n');
// 2. Construct the prompt const prompt = `Context from research paper:${context}
Question: ${question}
Answer:`;
// 3. Send to Letta Agent const response = await client.agents.messages.create(AGENT_ID, { messages: [{ role: 'user', content: prompt }] });
for (const message of response.messages) { if (message.message_type === 'assistant_message') { console.log(`\nAgent: ${(message as any).content}`); } } }}
main().catch(console.error);When you run this script, your application performs the retrieval, and the Letta agent provides the answer based on the context it receives. This gives you full control over the data pipeline.
Now that you’ve integrated simple RAG with Letta, you can explore more advanced integration patterns:
Agentic RAG
Learn how to empower your agent with custom search tools for autonomous retrieval.
Custom tools
Explore creating more advanced custom tools for your agents.